Food Hunt Level 1037 Walkthrough
ExpertSinger on Stage with Yellow Backdrop Lights
How do you beat level 1037? Watch the video or follow the step-by-step picture and text guide to complete it!

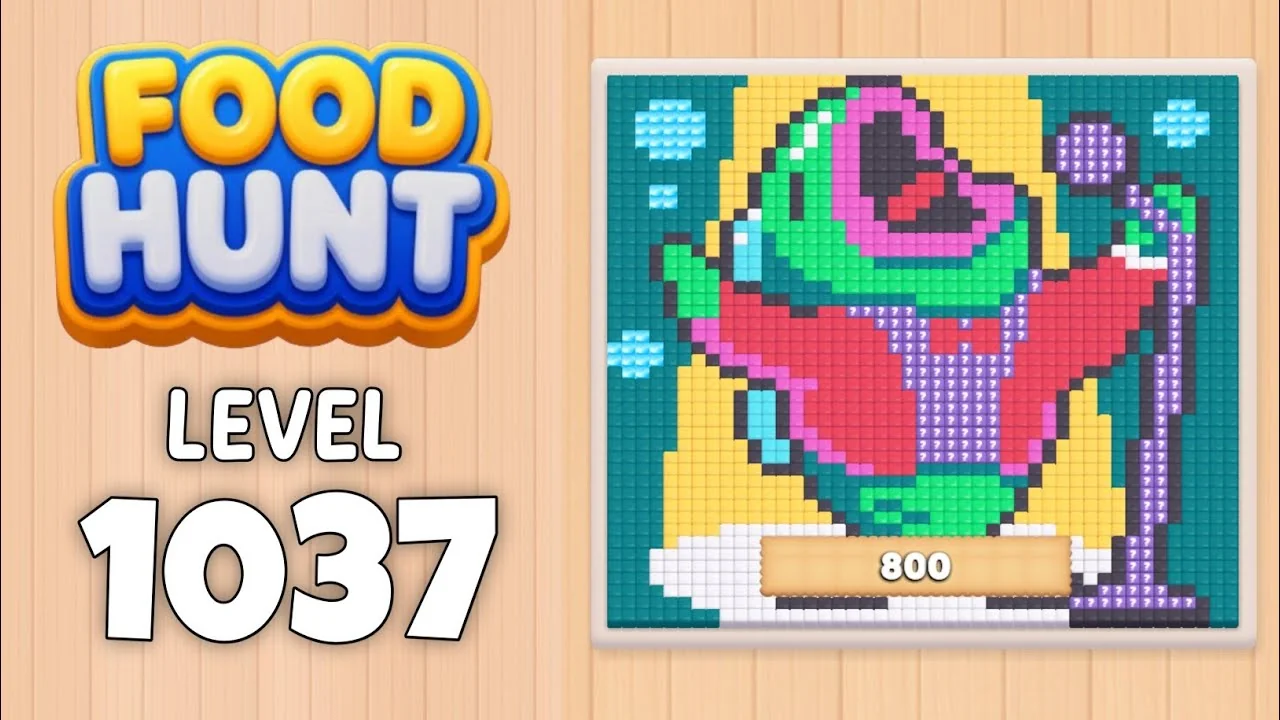
Level board
Step-by-step walkthrough
Prefer screenshots to video? Every phase of the clear is below in order, with the block counts and the frames they were taken from — keep it open next to the game and follow along tap by tap.
Level: 1037 — a singer performing on stage, painted on a dark-teal stage backdrop lit by yellow backdrop lights, water droplets in the top corners and a grey-purple microphone stand down the right side
Source: frame-by-frame analysis of the Level 1037 recording (863 frames @ 2 fps ≈ 7:11; board empty at 7:05 — timestamps below are video time, recorded at the game's 2x eating speed)
Blocks fed: 77 | Total pixels: 2,006 | Move limit: none — order only affects speed
How the Level Works
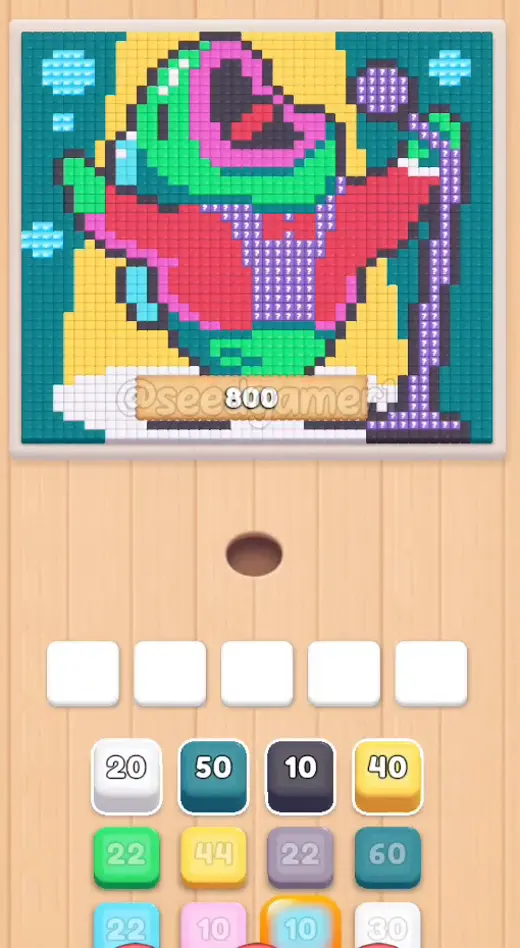
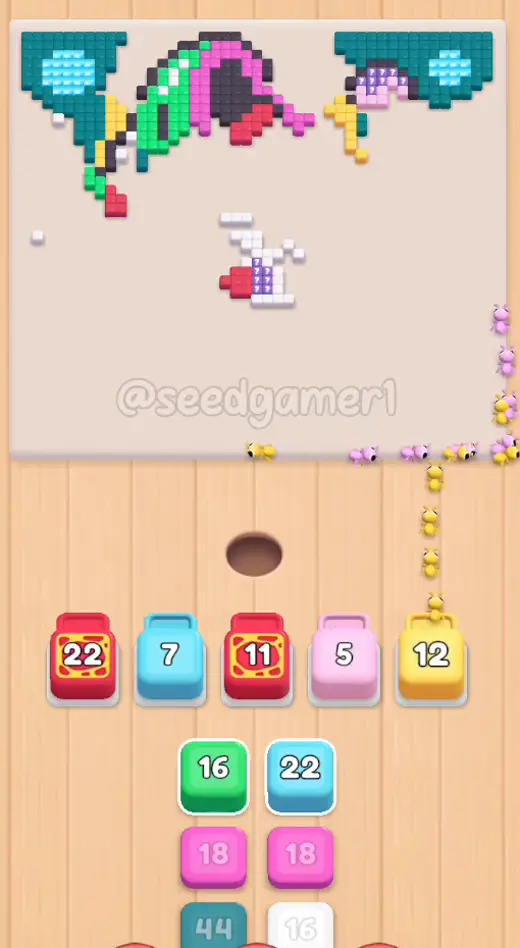
1. Tap a color block in the bottom queue to send it into one of the five slots above. All five slots are open from the start on this level — nothing is chained shut. 2. Ants of that color pour out and eat every reachable pixel of the matching color on the picture; the number printed on the block counts down as pixels are eaten. At 0 the block vanishes and frees its slot. 3. The queue is four columns and three rows, and the bottom row is clipped by the screen edge, so only the top two rows are fully readable. That is the video's framing, not a missing column. 4. Three blocks wear a gold ornamental frame. They are ordinary blocks of their color with a bonus skin — but their last few pixels stay buried for a minute or more, so they look frozen far longer than anything else on the board. 5. The timing is decided by three blocks that park for most of the run. Cyan ×10 holds slot 3 from 0:29 to 4:21; Cyan ×24 holds slot 4 from 1:32 to 4:24; Magenta ×15 holds slot 2 from 2:07 to 4:23. For nearly three minutes you are running a five-slot board on two working slots. 6. Eat the entire picture to win. One clean run takes 7:05, and the order below clears it without a single wasted tap.
Colors in this level: Dark grey (the outline drawn around every shape and the dark marks on the singer's outfit), White (the pale highlights on the singer, the stage-floor band and the board's light border), Yellow (the yellow backdrop lights behind the singer), Green (the singer's body, head, arms and feet), Red (the red stage curtain), Pink (the pale-pink patch in the curtain's fold), Magenta (the singer's mouth and the vivid magenta curtain panels), Mauve (the grey-purple microphone stand and the grey-purple marks on the curtain), Cyan (the water droplets and the tears), Teal (the dark-teal stage backdrop that frames the whole picture).
Complete Block Order (Which Color First, Then Which)
Timestamps are when the block lands in a slot. Count is the number printed on the block as it lands.
Phase 1 — The Opening Five (0:04 – 0:06)
| # | Time | Color Block | Count |
|---|---|---|---|
| 1 | 0:04 | ⬛ Dark grey | 9 |
| 2 | 0:04 | 🟨 Yellow | 40 |
| 3 | 0:05 | 💠 Teal | 59 |
| 4 | 0:05 | ⬜ White | 29 |
| 5 | 0:05 | 🟥 Red | 36 |
| 6 | 0:06 | 🟨 Yellow | 19 |
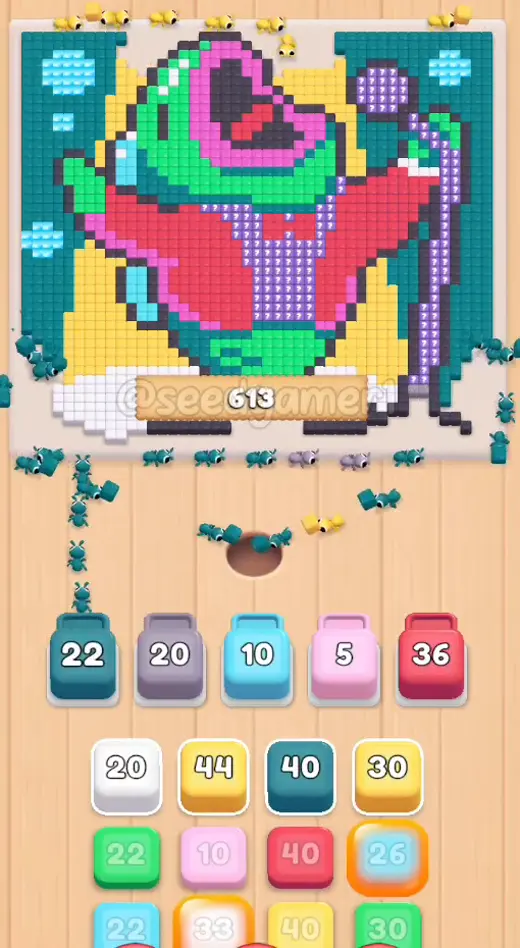
Phase 2 — Mauve and Cyan (0:17 – 0:29)
| # | Time | Color Block | Count |
|---|---|---|---|
| 7 | 0:17 | 🟪 Mauve | 12 |
| 8 | 0:17 | 🩷 Pink | 9 |
| 9 | 0:24 | 💠 Teal | 48 |
| 10 | 0:28 | 🟪 Mauve | 21 |
| 11 | 0:29 | 🩵 Cyan | 10 |
Phase 3 — Yellow, White and Teal Clean-Up (0:52 – 1:17)
| # | Time | Color Block | Count |
|---|---|---|---|
| 12 | 0:52 | 💠 Teal | 39 |
| 13 | 1:01 | 🟨 Yellow | 44 |
| 14 | 1:01 | 🩷 Pink | 9 |
| 15 | 1:10 | ⬜ White | 32 |
| 16 | 1:17 | 💠 Teal | 42 |
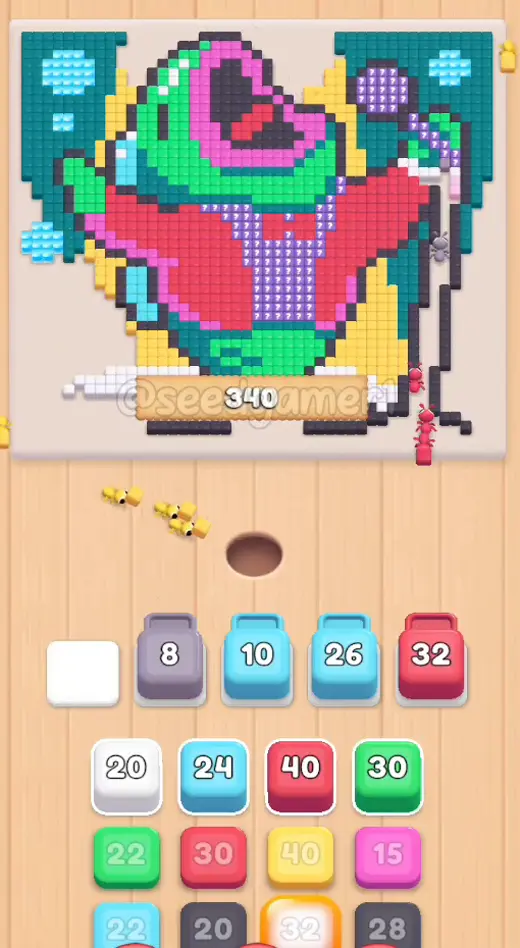
Phase 4 — Mauve, Yellow, Cyan (1:24 – 2:07)
| # | Time | Color Block | Count |
|---|---|---|---|
| 17 | 1:24 | 🟪 Mauve | 12 |
| 18 | 1:30 | 🟨 Yellow | 30 |
| 19 | 1:31 | 🩵 Cyan | 24 |
| 20 | 1:59 | ⬜ White | 19 |
| 21 | 2:06 | 🟩 Green | 30 |
| 22 | 2:07 | 🟪 Magenta | 15 |
| 23 | 2:07 | ⬛ Dark grey | 28 |
Phase 5 — The Long Slot-5 Run (2:13 – 3:13)
| # | Time | Color Block | Count |
|---|---|---|---|
| 24 | 2:13 | 💠 Teal | 60 |
| 25 | 2:33 | 🟥 Red | 18 |
| 26 | 2:46 | 🩵 Cyan | 24 |
| 27 | 2:46 | 🟥 Red | 28 |
| 28 | 3:13 | ⬛ Dark grey | 19 |
Phase 6 — Slot 5 Keeps Recycling (3:22 – 4:14)
| # | Time | Color Block | Count |
|---|---|---|---|
| 29 | 3:22 | 🟨 Yellow | 21 |
| 30 | 3:31 | ⬜ White | 23 |
| 31 | 3:39 | 🟩 Green | 25 |
| 32 | 4:14 | 💠 Teal | 32 |
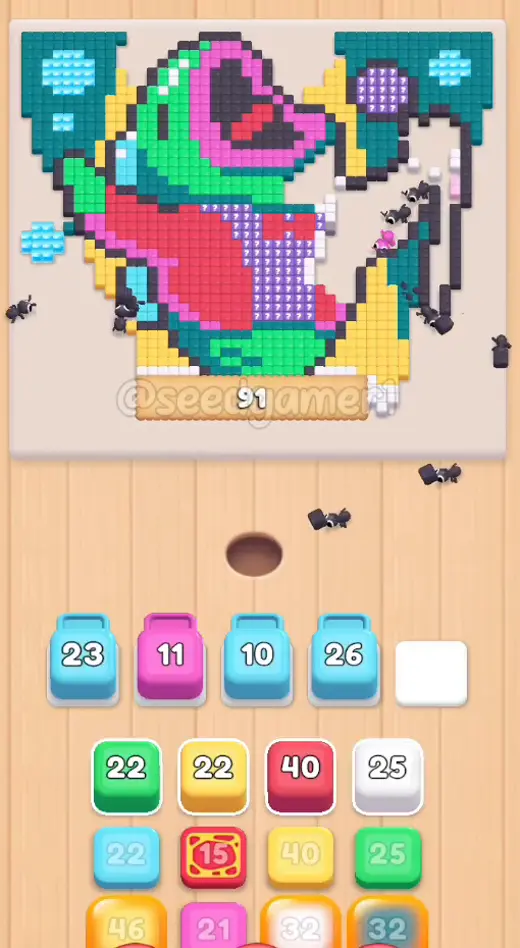
Phase 7 — The Endgame Opens (4:22 – 4:29)
| # | Time | Color Block | Count |
|---|---|---|---|
| 33 | 4:22 | 🟪 Magenta | 10 |
| 34 | 4:22 | ⬛ Dark grey | 80 |
| 35 | 4:28 | 🟥 Red | 39 |
| 36 | 4:28 | 🟨 Yellow | 40 |
| 37 | 4:28 | ⬜ White | 30 |
| 38 | 4:29 | 🟥 Red | 11 |
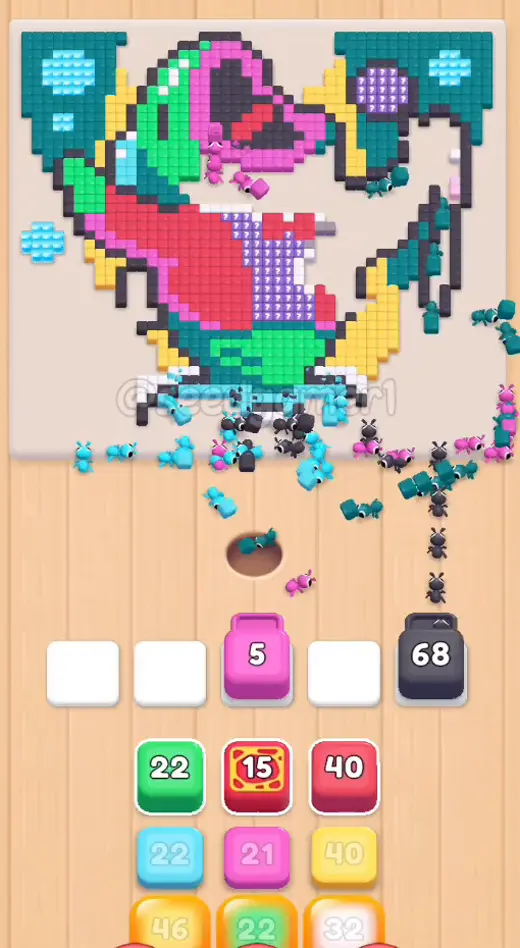
Phase 8 — Fast Slot Recycling (4:36 – 4:45)
| # | Time | Color Block | Count |
|---|---|---|---|
| 39 | 4:36 | 🟩 Green | 21 |
| 40 | 4:36 | 🩵 Cyan | 22 |
| 41 | 4:39 | 🟨 Yellow | 45 |
| 42 | 4:41 | 💠 Teal | 40 |
| 43 | 4:45 | ⬛ Dark grey | 11 |
Phase 9 — The Curtain Comes Down (4:48 – 5:01)
| # | Time | Color Block | Count |
|---|---|---|---|
| 44 | 4:48 | ⬛ Dark grey | 16 |
| 45 | 4:48 | 🟩 Green | 11 |
| 46 | 4:52 | 🟥 Red | 35 |
| 47 | 4:53 | 🟪 Mauve | 11 |
| 48 | 4:57 | 🩷 Pink | 6 |
| 49 | 4:58 | 🟪 Magenta | 19 |
| 50 | 5:01 | 🟥 Red | 24 |
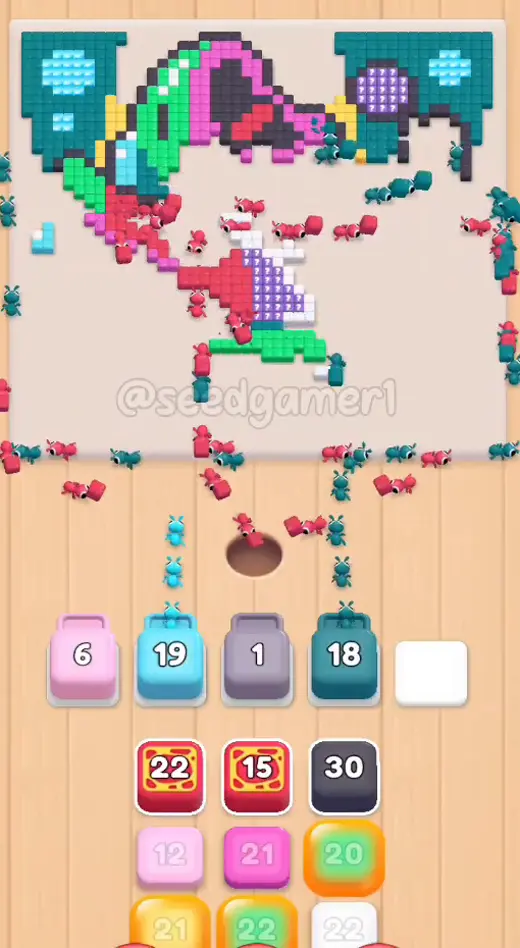
Phase 10 — Big Teal and Cyan Blocks (5:03 – 5:18)
| # | Time | Color Block | Count |
|---|---|---|---|
| 51 | 5:03 | 💠 Teal | 52 |
| 52 | 5:09 | 🩵 Cyan | 22 |
| 53 | 5:10 | ⬛ Dark grey | 29 |
| 54 | 5:13 | 🟩 Green | 20 |
| 55 | 5:18 | ⬜ White | 20 |
| 56 | 5:18 | 💠 Teal | 33 |
Phase 11 — The Gold Block Takes Over Slot 3 (5:23 – 5:31)
| # | Time | Color Block | Count |
|---|---|---|---|
| 57 | 5:23 | 🟥 Red | 13 |
| 58 | 5:23 | 🟪 Magenta | 21 |
| 59 | 5:25 | 🟩 Green | 21 |
| 60 | 5:28 | 🟥 Red | 20 |
| 61 | 5:31 | ⬛ Dark grey | 29 |
Phase 12 — Winding Down (5:47 – 6:11)
| # | Time | Color Block | Count |
|---|---|---|---|
| 62 | 5:47 | 🟥 Red | 22 |
| 63 | 5:47 | 🩷 Pink | 11 |
| 64 | 5:48 | 🟨 Yellow | 20 |
| 65 | 6:00 | 🟩 Green | 16 |
| 66 | 6:08 | 🟪 Magenta | 17 |
| 67 | 6:11 | 💠 Teal | 42 |
Phase 13 — Final Teal and Dark Blocks (6:27 – 6:47)
| # | Time | Color Block | Count |
|---|---|---|---|
| 68 | 6:27 | 🩵 Cyan | 22 |
| 69 | 6:28 | 🟪 Magenta | 18 |
| 70 | 6:31 | ⬜ White | 14 |
| 71 | 6:35 | 🟩 Green | 22 |
| 72 | 6:39 | 💠 Teal | 38 |
| 73 | 6:47 | 🟥 Red | 22 |
Phase 14 — Final Sweep (6:54 – 7:05)
| # | Time | Color Block | Count |
|---|---|---|---|
| 74 | 6:54 | ⬛ Dark grey | 27 |
| 75 | 7:00 | ⬜ White | 27 |
| 76 | 7:01 | 💠 Teal | 41 |
| 77 | 7:02 | ⬛ Dark grey | 30 |
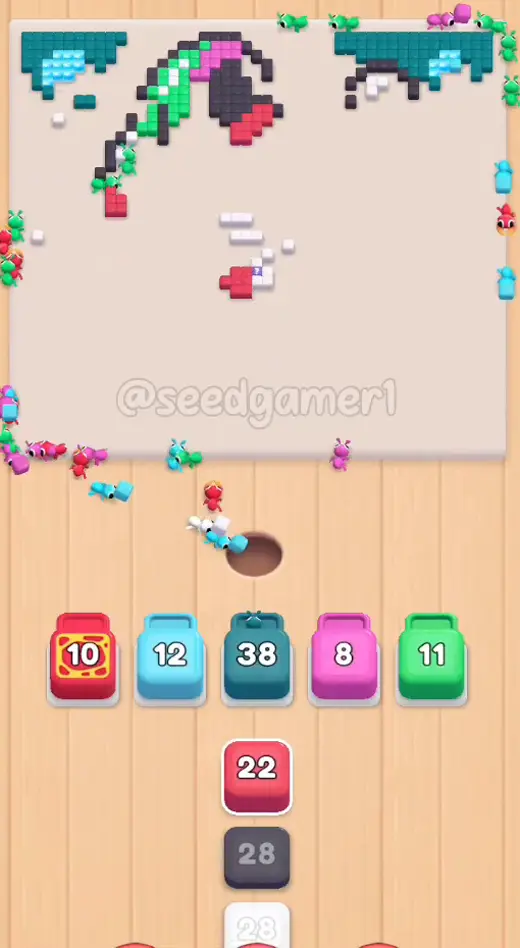
The very last pixel to fall is Green — block 71 (Green ×22, placed at 6:35) is still running when everything else has emptied, and the board goes completely clear at 7:05.
Quick Reference — One-Line Order
Dark grey 9 → Yellow 40 → Teal 59 → White 29 → Red 36 → Yellow 19 → Mauve 12 → Pink 9 → Teal 48 → Mauve 21 → Cyan 10 → Teal 39 → Yellow 44 → Pink 9 → White 32 → Teal 42 → Mauve 12 → Yellow 30 → Cyan 24 → White 19 → Green 30 → Magenta 15 → Dark grey 28 → Teal 60 → Red 18 → Cyan 24 → Red 28 → Dark grey 19 → Yellow 21 → White 23 → Green 25 → Teal 32 → Magenta 10 → Dark grey 80 → Red 39 → Yellow 40 → White 30 → Red 11 → Green 21 → Cyan 22 → Yellow 45 → Teal 40 → Dark grey 11 → Dark grey 16 → Green 11 → Red 35 → Mauve 11 → Pink 6 → Magenta 19 → Red 24 → Teal 52 → Cyan 22 → Dark grey 29 → Green 20 → White 20 → Teal 33 → Red 13 → Magenta 21 → Green 21 → Red 20 → Dark grey 29 → Red 22 → Pink 11 → Yellow 20 → Green 16 → Magenta 17 → Teal 42 → Cyan 22 → Magenta 18 → White 14 → Green 22 → Teal 38 → Red 22 → Dark grey 27 → White 27 → Teal 41 → Dark grey 30
Pro Tips
1. Fill all five slots in the first six seconds. Steps 1-6 land between 0:04 and 0:06, and every one of them is short. There is nothing to wait for and no locked slot in the way.
2. Do not panic about Red ×36 (step 5). It lands at 0:05 and sits frozen at exactly 36 until 1:37, then drains and frees slot 5 at 1:59. That is the curtain being walled in by other colors, not a bug — start a new block in another slot instead of waiting.
3. Three slots park for most of the middle of the run — expect it. Cyan ×10 (step 11) holds slot 3 from 0:29 to 4:21, nearly four minutes, sitting on 10 for most of it. Cyan ×24 (step 26) holds slot 4 from 1:32 to 4:24, and Magenta ×15 (step 22) holds slot 2 from 2:07 to 4:23. Keep slot 1 and slot 5 cycling through short blocks while those three wait — that is the whole game between 1:30 and 4:20.
4. The three gold-framed blocks are the slowest of all. They look like bonus blocks and behave like them, but their last few pixels stay buried for a long time: Red ×11 (step 38) freezes at 4 for its whole stay in slot 4 (4:29–4:54), Red ×13 (step 57) sits on 11 for most of its 75 seconds in slot 3 (5:24–6:39), and Red ×22 (step 62) crawls from 22 down to 0 over 73 seconds in slot 1 (5:47–7:00). Place them and forget them.
5. Place the big teal and dark grey blocks early. Teal is the largest color on the board (526 pixels) and Dark grey is 278 — together they are 40% of the picture. Dark grey ×80 (step 34), Teal ×52 (step 51) and Teal ×33 (step 56) recycle their slots fast once their area is open.
6. Colors that only unlock late. Magenta (steps 58, 66, 69) and Pink (steps 48, 63) come from small areas hidden behind the curtain and the mouth. Save them for when slot pressure is low — they are not worth parking a slot for.
7. The finale belongs to green. Green ×22 (step 71) placed at 6:35 is the last block still running, and the board goes clear at 7:05. The last four blocks (dark grey ×27, white ×27, teal ×41, dark grey ×30) are feed-and-forget.
8. No fail state. Nothing can be lost here — the order above clears the board in one run at 7:05, and the order only affects how fast you get there.
Compiled from frame-by-frame video analysis: 863 frames (2 fps, 7:11 of footage). Every one of the 77 blocks was located by tracking each slot's color across all 863 frames, then re-reading the number box on the landing frame — and on every third frame of every long occupancy, because a same-color replacement leaves no empty frame on a 2 fps recording. Cross-checked against the queue: all 72 column-shift events line up with a landing, and the four shifts that had none turned out to be landings the slot tracker could not see — a block in flight passing over the slot at that exact frame, or a same-frame color swap (1:24, 4:41, 5:13, 6:47). Sanity check: the 77 counts sum to 2,006, which matches the ~2,049 pixel-art cells the board actually cleared at the measured 9.5 px grid pitch.
Food Hunt Level 1037 — frequently asked questions
- What colours are on the Food Hunt Level 1037 board?
- The board image breaks down into 9 main colours, each covering at least 2% of it: dark cyan (#18838B, 19.5% of the board), dark grey (#4F4B57, 13.5% of the board), red (#E24761, 13.2% of the board), green (#2CDD98, 13.1% of the board), yellow (#F5D360, 12.0% of the board), pale purple (#9372C0, 8.7% of the board), orange (#E2B87D, 7.7% of the board), pink (#DC70C5, 7.5% of the board) and white (#EBEDF3, 4.7% of the board).
- Which colour should I clear first in Food Hunt Level 1037?
- dark cyan covers the most of the board at 19.5%, and dark grey is next at 13.5%. The step-by-step walkthrough above is this board's actual tap order; the colour shares here are only what each colour costs to clear.
- What difficulty is Level 1037 in Food Hunt: Pixel Puzzle?
- Level 1037 is rated Expert difficulty in Food Hunt: Pixel Puzzle.
- Is there a video walkthrough for this Food Hunt level?
- Yes — the walkthrough video on this page plays the full clear of this board, so you can follow the tap order block by block. The board image next to it shows what the finished picture is made of.
More expert walkthroughs
View all →
Featured walkthroughs
The levels players search for most - each with a full video guide.