Food Hunt Level 1033 Walkthrough
ExpertStuck on Food Hunt level 1033 EXTREME? Follow the full 52-block clear of the food-truck counter board: a four-block opening, a gold padlock that locks queue column 1 for over two minutes, five one-to-three-minute stalls, and a red-and-brown endgame that empties the board at 6:28.

Level board
Step-by-step walkthrough
Prefer screenshots to video? Every phase of the clear is below in order, with the block counts and the frames they were taken from — keep it open next to the game and follow along tap by tap.
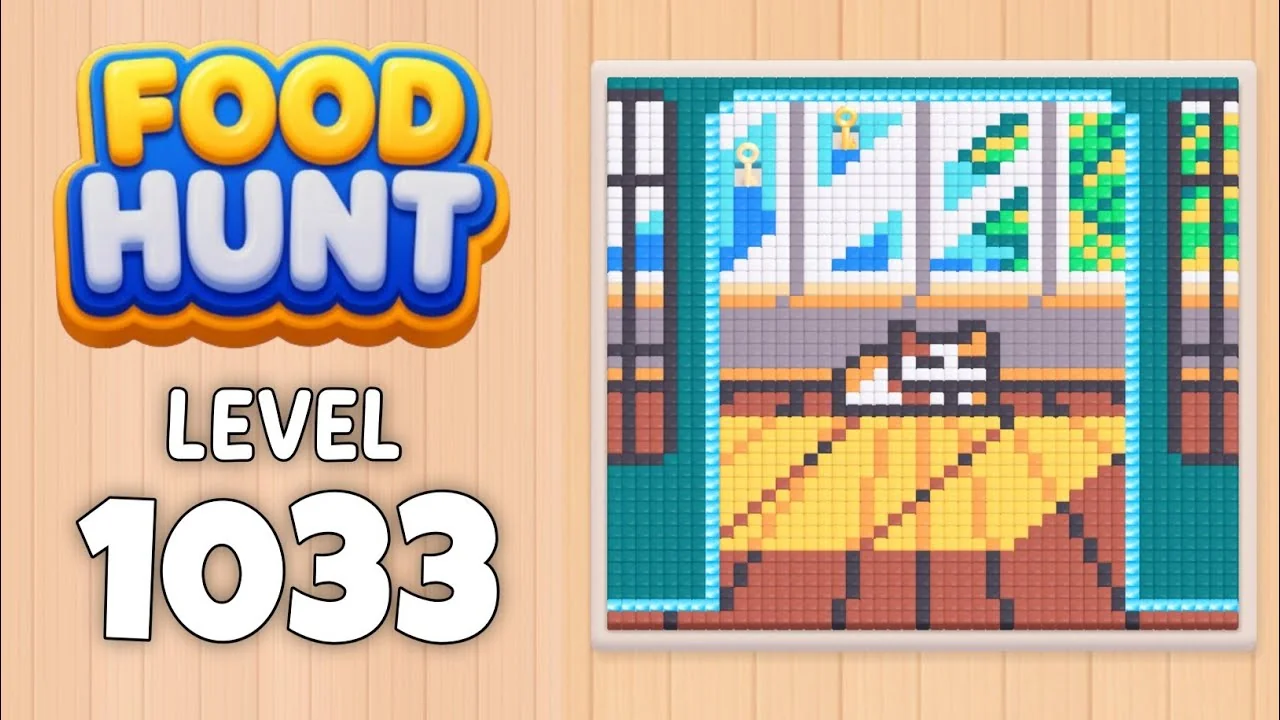
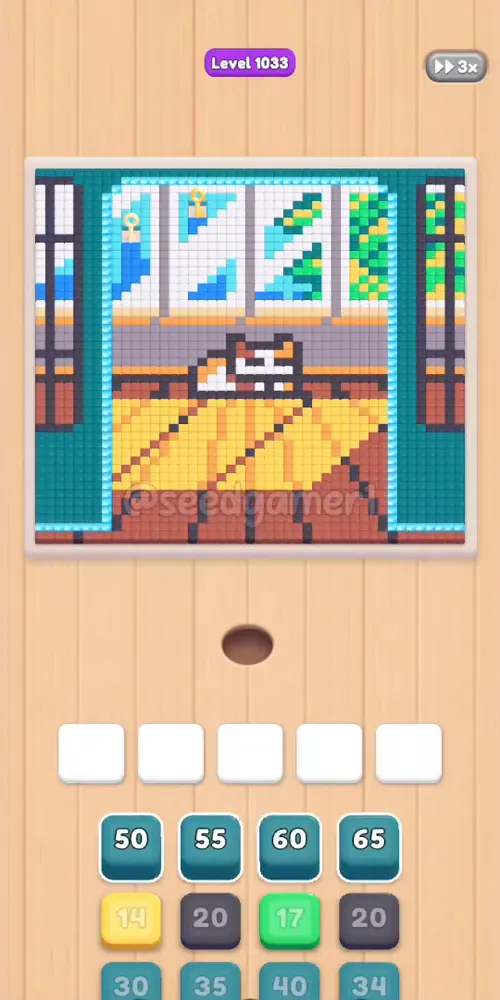
Level: 1033 (EXTREME) — a food-truck / market-stall counter: four display windows with bottles and greenery, a grey wall band, a counter with a food sign, and a big yellow checkered floor criss-crossed by a brown lattice
Source: frame-by-frame analysis of the Level 1033 recording (787 frames @ 2 fps ≈ 6:33; board empty at 6:28, Level Complete at ~6:33 — timestamps below are video time)
Blocks fed: 52 | Total pixels: 2,016 | Move limit: none — order only affects speed
How the Level Works
1. Tap a color block in the bottom queue (4 columns, only the lit top row is tappable). It flies into one of the five slots and an ant of that color starts eating. 2. Five slots sit above the queue and all five work from the start — nothing is chained shut on this level. The first four taps land inside six seconds; slot 5 joins at 0:31. 3. A block eats every reachable cell of its own color; the number printed on it counts down as it eats. At 0 the block vanishes and frees its slot. Refill the freed slot immediately — an empty slot is dead time. 4. Blocks get stuck. A block whose remaining cells are buried behind another color freezes on a low number for a long time. This level is built around those stalls — one block sits in its slot for over three minutes. Do not tap extra blocks hoping to speed them up. 5. Colors are eaten in layers. A color that appears many times (teal ×8, navy ×8, white ×6, yellow ×6) is fed as several separate blocks: the first pass takes what is exposed, the next pass takes the cells the earlier ant could not reach. 6. A gold padlock can block a whole queue column. From 1:42 to 4:00 the top cell of column 1 is a padlock, and the blocks waiting behind it cannot be reached until it breaks (it breaks when you tap it). 7. Eat the whole picture to win. No move limit, no fail state — ordering is about speed, nothing else.
Colors in this level: Teal (the truck's side walls), Navy (window frames & outlines), White (window panes), Yellow (checkered floor), Brown (floor lattice), Mauve (grey wall band), Tan (pale tiles), Orange (counter stripes), Cyan (picture rim & pale-blue shelf items), Green (foliage), Blue (bright blue bottle), Red (the three special gold-panelled blocks).
Complete Block Order (Which Color First, Then Which)
Timestamps are the moment the block lands in its slot, as positions in the footage (t = (frame − 1) / 2). Count = the number printed on the block when it landed.
Phase 1 — The Opening Four (0:04 – 0:10)
| # | Time | Color Block | Count |
|---|---|---|---|
| 1 | 0:04 | 💠 Teal | 48 |
| 2 | 0:04 | 🟨 Yellow | 14 |
| 3 | 0:05 | 💠 Teal | 29 |
| 4 | 0:10 | ⬛ Navy | 29 |
Four taps in six seconds. Tap them in this order so each one takes the next free slot (slot 1 → 2 → 3 → 4).
Phase 2 — Slot 5 Opens, Green Joins (0:21 – 0:32)
| # | Time | Color Block | Count |
|---|---|---|---|
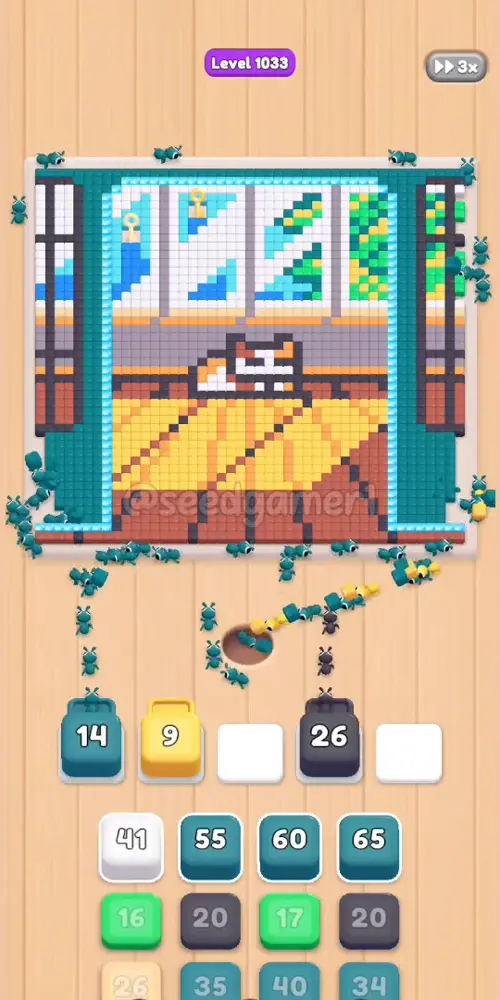
| 5 | 0:21 | ⬜ White | 41 |
| 6 | 0:24 | 🟩 Green | 14 |
| 7 | 0:30 | 💠 Teal | 53 |
| 8 | 0:31 | ⬛ Navy | 20 |
Phase 3 — Tan, Orange, Then a Teal/Navy Pair (0:40 – 0:48)
| # | Time | Color Block | Count |
|---|---|---|---|
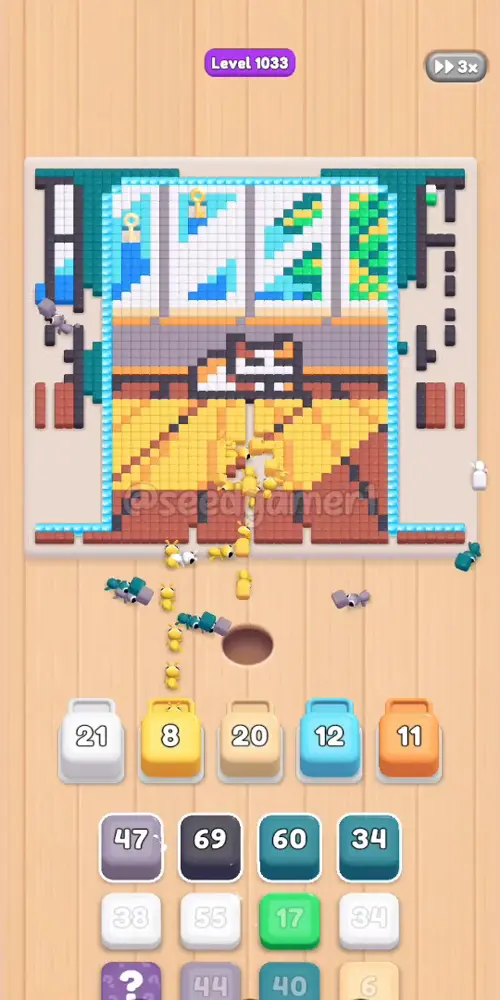
| 9 | 0:40 | 🟤 Tan | 22 |
| 10 | 0:40 | 🟧 Orange | 30 |
| 11 | 0:48 | 💠 Teal | 61 |
| 12 | 0:48 | ⬛ Navy | 17 |
Phase 4 — Teal, Mauve, Yellow, Cyan, Big Navy (1:01 – 1:17)
| # | Time | Color Block | Count |
|---|---|---|---|
| 13 | 1:01 | 💠 Teal | 31 |
| 14 | 1:05 | 🟪 Mauve | 20 |
| 15 | 1:09 | 🟨 Yellow | 34 |
| 16 | 1:14 | 🩵 Cyan | 12 |
| 17 | 1:17 | ⬛ Navy | 68 |
Phase 5 — Three at Once (1:41 – 1:42)
| # | Time | Color Block | Count |
|---|---|---|---|
| 18 | 1:41 | 🟪 Mauve | 47 |
| 19 | 1:41 | ⬜ White | 36 |
| 20 | 1:42 | ⬛ Navy | 70 |
Three slots free inside two seconds and they are all refilled at once. This is the pattern for the whole level: a slot that empties gets the next useful block immediately.
Phase 6 — White and Mauve Again (2:03 – 2:28)
| # | Time | Color Block | Count |
|---|---|---|---|
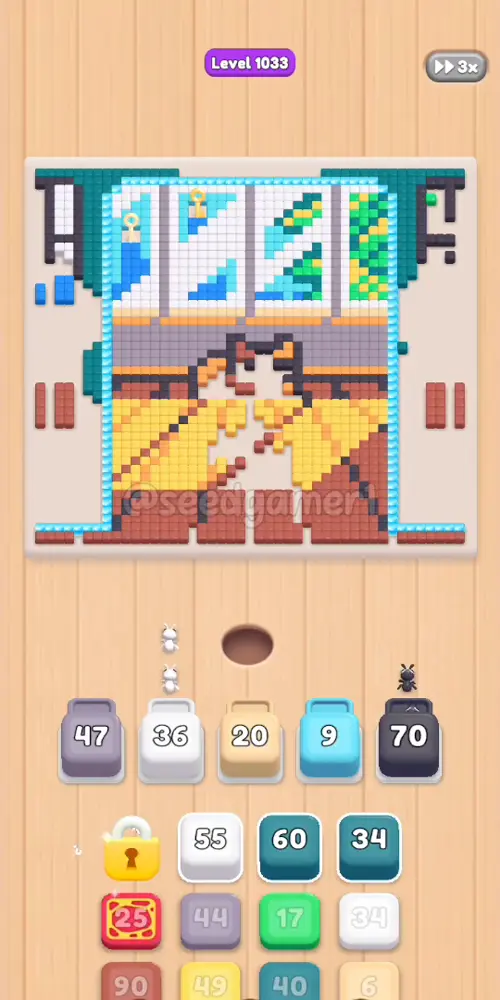
| 21 | 2:03 | ⬜ White | 55 |
| 22 | 2:04 | 🟪 Mauve | 42 |
| 23 | 2:28 | 🟨 Yellow | 45 |
Phase 7 — Back to Teal and Green (2:45 – 3:16)
| # | Time | Color Block | Count |
|---|---|---|---|
| 24 | 2:45 | 💠 Teal | 57 |
| 25 | 2:45 | 🟩 Green | 15 |
| 26 | 3:03 | 💠 Teal | 29 |
| 27 | 3:03 | ⬜ White | 30 |
| 28 | 3:15 | 💠 Teal | 36 |
| 29 | 3:15 | ⬛ Navy | 27 |
| 30 | 3:16 | 🟦 Blue | 3 |
Phase 8 — Orange, White, Cyan — and a Dead Spell (3:29 – 3:55)
| # | Time | Color Block | Count |
|---|---|---|---|
| 31 | 3:29 | 🟧 Orange | 58 |
| 32 | 3:54 | ⬜ White | 49 |
| 33 | 3:55 | 🩵 Cyan | 33 |
Expected dead spell: slots 4 and 5 both sit empty from 3:29 to 3:55 (26 s). Nothing is broken — queue column 1 is carrying the padlock through this stretch (1:42 – 4:00), and the colours those two ants would eat are not exposed yet. Placing a wrong block here just parks it on a stuck number.
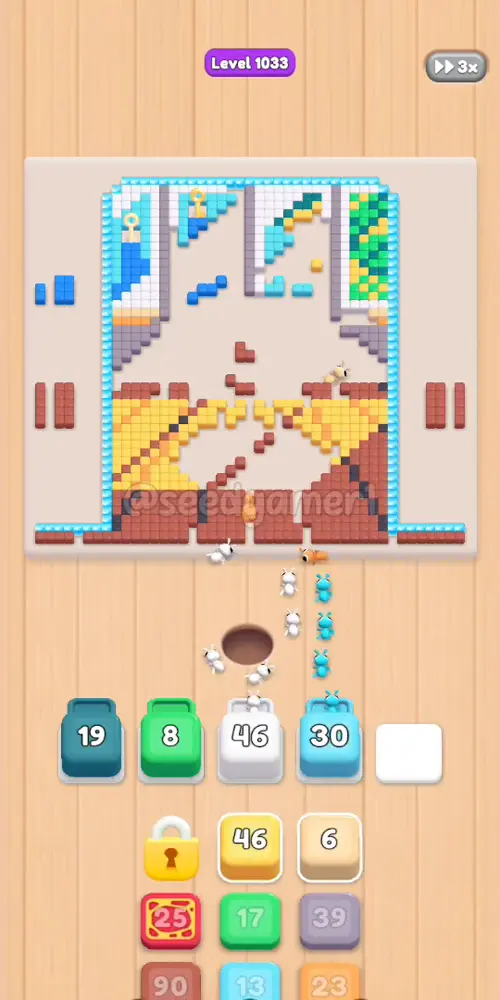
Phase 9 — The Red Special, the First Big Brown, then Cream, Mauve and Orange (4:03 – 4:49)
| # | Time | Color Block | Count |
|---|---|---|---|
| 34 | 4:03 | 🟥 Red | 22 |
| 35 | 4:08 | 🟫 Brown | 87 |
| 36 | 4:18 | 🟨 Yellow | 41 |
| 37 | 4:28 | 🟤 Tan | 5 |
| 38 | 4:28 | 🟪 Mauve | 35 |
| 39 | 4:42 | 🟧 Orange | 20 |
| 40 | 4:49 | 🟩 Green | 14 |
Phase 10 — Cyan, White, Blue (5:20 – 5:41)
| # | Time | Color Block | Count |
|---|---|---|---|
| 41 | 5:20 | 🩵 Cyan | 13 |
| 42 | 5:20 | ⬜ White | 42 |
| 43 | 5:41 | 🟦 Blue | 28 |
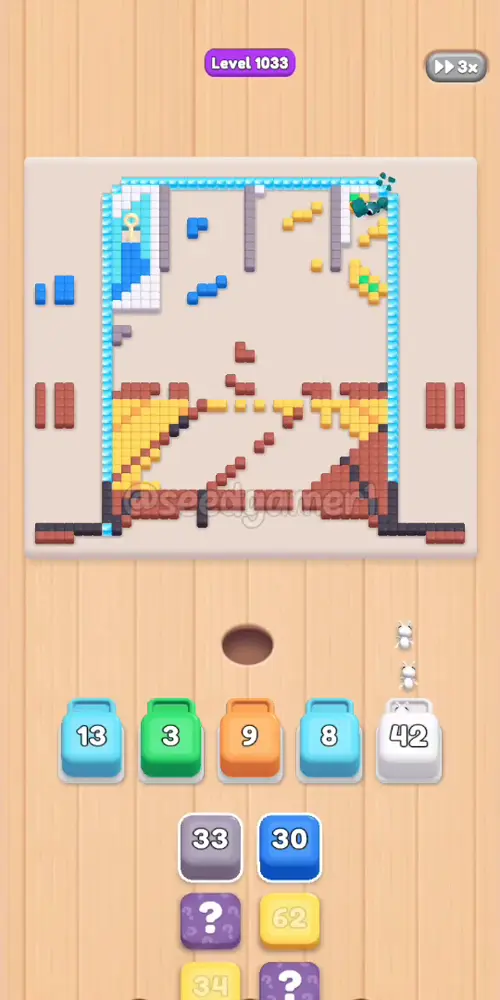
Phase 11 — The Final Sweep (5:50 – 6:28)
| # | Time | Color Block | Count |
|---|---|---|---|
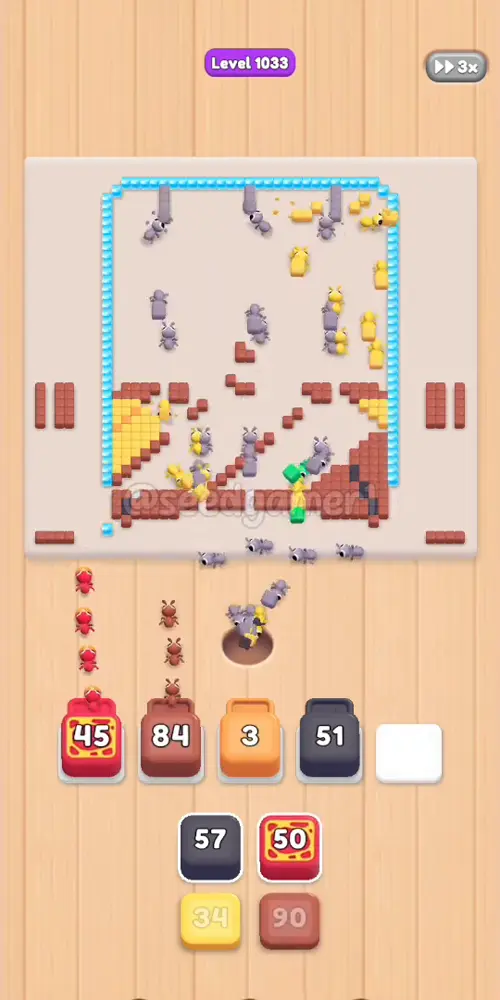
| 44 | 5:50 | 🟨 Yellow | 57 |
| 45 | 5:52 | ⬛ Navy | 86 |
| 46 | 5:56 | 🟪 Mauve | 28 |
| 47 | 6:02 | 🟥 Red | 48 |
| 48 | 6:02 | 🟫 Brown | 87 |
| 49 | 6:12 | 🟥 Red | 50 |
| 50 | 6:16 | ⬛ Navy | 56 |
| 51 | 6:16 | 🟨 Yellow | 32 |
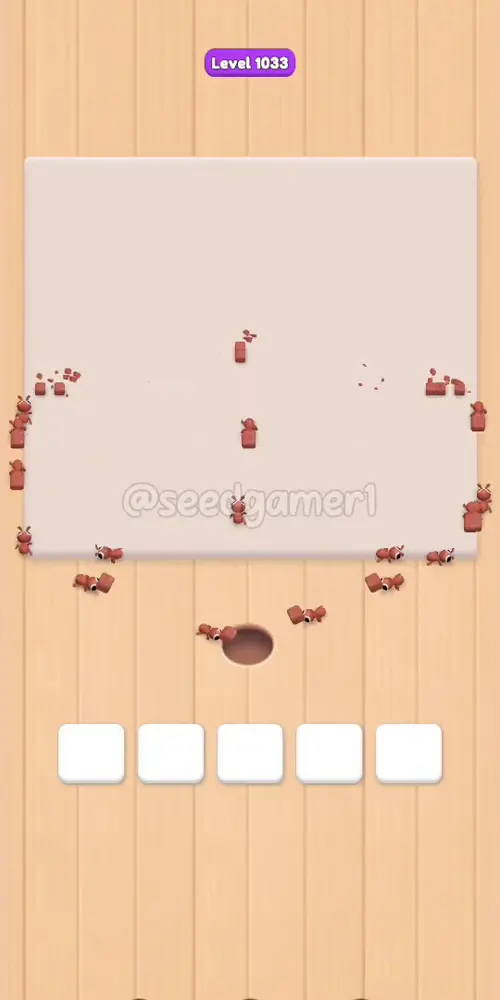
| 52 | 6:20 | 🟫 Brown | 90 |
The very last pixel to fall is brown — block 52 (brown ×90) is the only block still running from 6:22 to 6:28, when the board goes empty. Slots empty out one by one between 6:21 and 6:23 (orange, red, navy, yellow) and the brown block takes the board home alone.
Quick Reference — One-Line Order
Teal 48 → Yellow 14 → Teal 29 → Navy 29 → White 41 → Green 14 → Teal 53 → Navy 20 → Cream 22 → Orange 30 → Teal 61 → Navy 17 → Teal 31 → Mauve 20 → Yellow 34 → Sky 12 → Navy 68 → Mauve 47 → White 36 → Navy 70 → White 55 → Mauve 42 → Yellow 45 → Teal 57 → Green 15 → Teal 29 → White 30 → Teal 36 → Navy 27 → Blue 3 → Orange 58 → White 49 → Sky 33 → Red 22 → Brown 87 → Yellow 41 → Cream 5 → Mauve 35 → Orange 20 → Green 14 → Sky 13 → White 42 → Blue 28 → Yellow 57 → Navy 86 → Mauve 28 → Red 48 → Brown 87 → Red 50 → Navy 56 → Yellow 32 → Brown 90
Pro Tips
1. Fill all five slots and keep them full. The opening (steps 1–4) uses four slots in six seconds; slot 5 joins at 0:31 (step 8). After that the rule is simple: whenever a slot empties, feed it the next useful colour. 2. Big blocks early, small blocks as fillers. The backbone of this level is the 50–90 runs — teal 61/57, navy 68/70/86, white 55, yellow 45/57, orange 58, brown 87/87/90, mauve 47/42. The ×3 – ×20 blocks (green 14/15/14, blue 3/28, cream 5/22, sky 12/13/33) are what you drop into a slot that has just freed. 3. Expected stalls — do not fight them:
- Tan ×22 in slot 3, 0:40 → 3:53 (3 min 13 s). The single longest block of the run: it parks on ×20 for over a minute, crawls to ×4 by 2:29 and then parks again until 3:53. The tan/beige ×5 at step 37 (4:28) is what actually finishes the tan color.
- Teal ×36 in slot 1, 3:15 → 5:17 (2 min 2 s), frozen on ×19 for about 25 s.
- Cyan ×33 in slot 4, 3:55 → 5:39 (1 min 44 s), frozen on ×8 for roughly 2.5 minutes.
- Orange ×20 in slot 3, 4:42 → 6:21 (1 min 39 s), parked on ×9 and then sitting on ×1 for the last minute.
- White ×41 in slot 1, 0:21 → 1:35, white ×36 in slot 2, 1:41 → 2:34, green ×14 in slot 2, 4:49 → 6:00, Cyan ×12 in slot 4, 1:14 → 2:29 (stuck on ×9 for 45 s).
These eight blocks are where the level's minutes go. All of them release on their own once the covering colour is eaten. 4. Longest dead spell: 3:29 – 3:55. Slots 4 and 5 are both empty for 26 s, and slot 5 is empty again from 4:26 to 5:20 (54 s). This is normal — the revealing colour is not exposed yet. Do not waste taps. 5. Feed the same colour twice in a row without hesitation. Teal arrives as 48, 29, 53, 61, 31, 57, 29, 36; white as 41, 36, 55, 30, 49, 42; navy as 29, 20, 17, 68, 70, 27, 86, 56; yellow as 14, 34, 45, 41, 57, 32. Layer by layer the ants dig out the cells the previous ant could not reach — the count on the tray tells you which pass you are on. 6. Watch out for instant refills. Slot 1 runs teal → teal → teal at 2:45 / 3:03 / 3:15, and slot 4 takes navy → navy at 5:52 / 6:16 only one frame apart. Three of the run's replacements (navy ×68 at 1:17, red ×50 at 6:12, brown ×90 at 6:20) happen with no empty frame at all — the finished block is still drawn, number gone, when the new one lands. Watching the tray number jump back up is the cue that the slot is not idle. 7. Hold the reds and the last browns for the endgame. The three red blocks (steps 34, 47, 49) and the browns (35, 48, 52) are the level's finishers: they are seated at 4:03, 6:02, 6:12, 6:02, 6:20 and each one drains in seconds. The brown ×90 that lands at 6:20 is the block that clears the board. 8. If a column looks dead, look for the padlock. A gold padlock sat on queue column 1 from 1:42 to 4:00 — the blocks behind it (red ×25, brown ×90) were unreachable until it broke, which is the main reason the level slows down between 3:30 and 4:00. Tapping it breaks it. 9. The three red blocks are special. Steps 34, 47 and 49 are drawn with a crimson body and a gold dotted counter panel, and crimson appears nowhere in this level's picture. They land while four or five other blocks are already running and drain in seconds, so treat them as free extra diggers — drop them into any free slot. 10. No fail state. Nothing can be lost here — one clean run takes 6:28 of footage. The ▶3× badge in the HUD is the game's own reward multiplier, not a playback speed.
_Compiled from frame-by-frame video analysis: 787 frames (2 fps), per-frame slot tracking with zoom-strip verification of every seat event and countdown; the seat list was cross-checked against the queue contents and the queue's own column-shift events._
More expert walkthroughs
View all →

Featured walkthroughs
The levels players search for most - each with a full video guide.