Food Hunt Level 1021 Walkthrough
ExpertStuck on Food Hunt level 1021? Follow the full 70-block clear of the bandit-raccoon $5-bill board: a four-block opening while slot 5 is chained shut until 1:39, long stalls on Pink 29, Red 10 and Tan 26, and a Yellow 22 finale that empties the board.
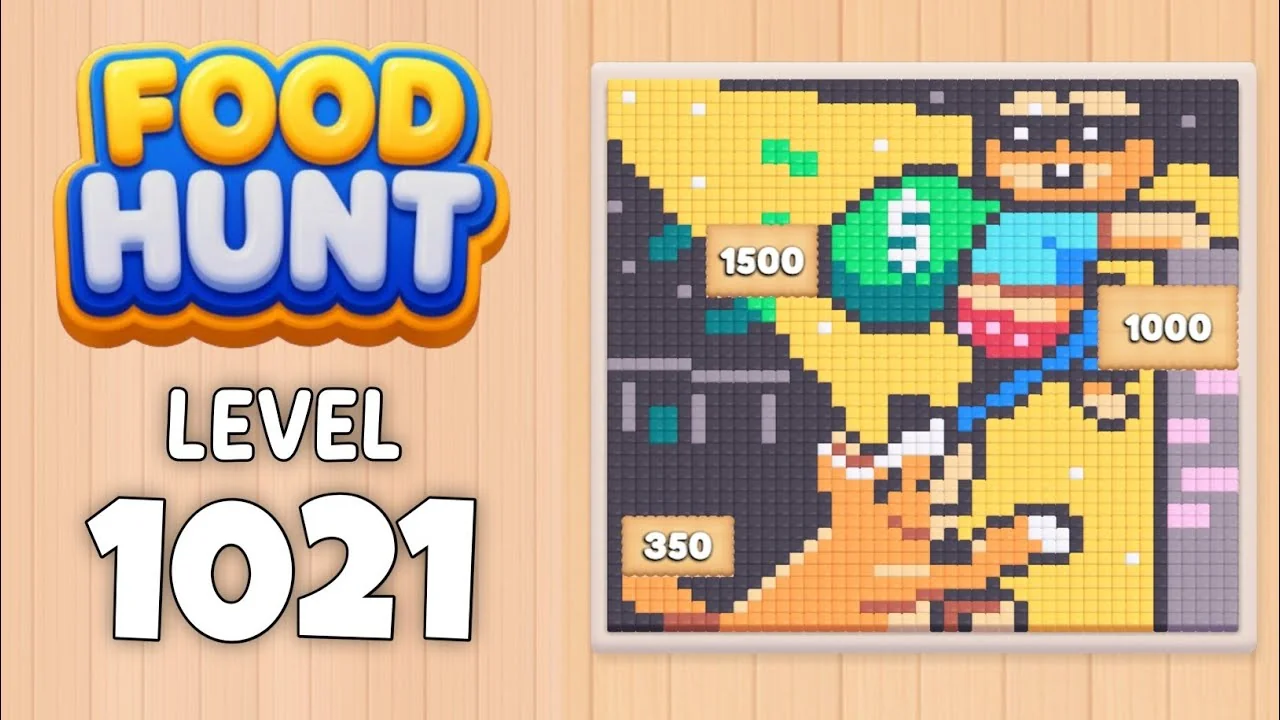
Level board
Step-by-step walkthrough
Prefer screenshots to video? Every phase of the clear is below in order, with the block counts and the frames they were taken from — keep it open next to the game and follow along tap by tap.
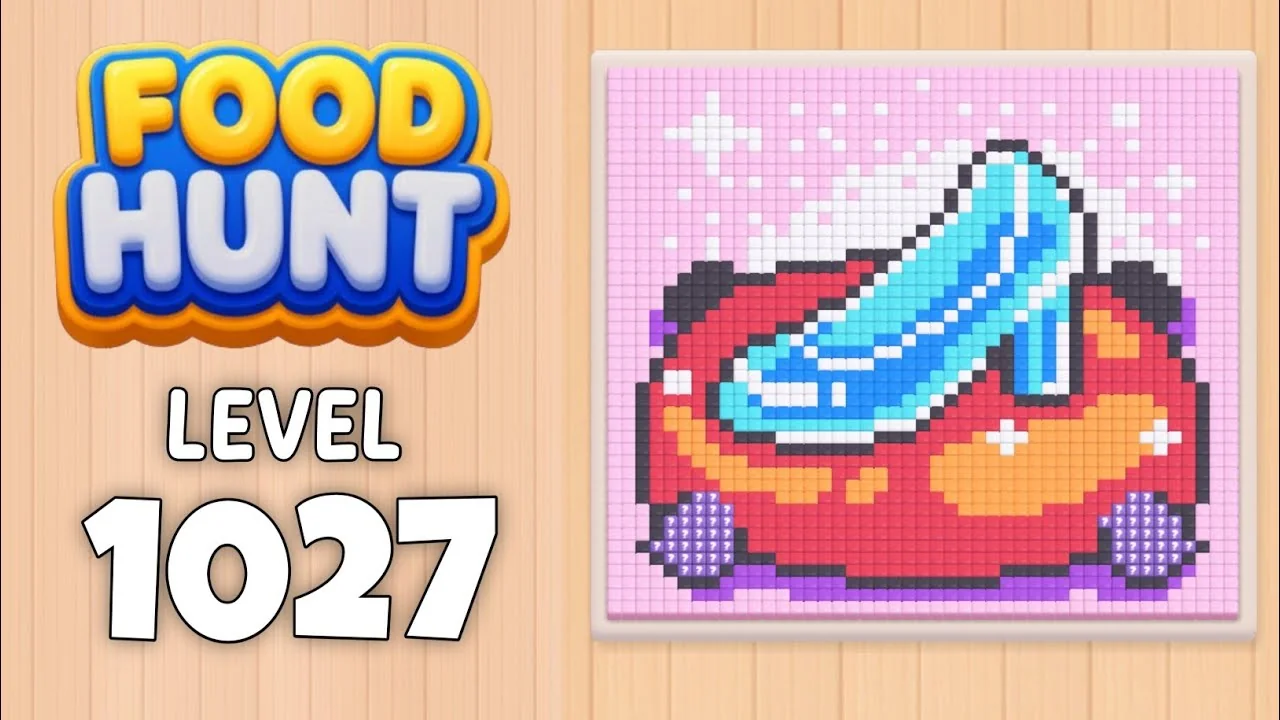
Level: 1021 — a bandit raccoon holding a giant green $5 banknote, with a small orange fox below
Source: frame-by-frame analysis of the Level 1021 recording (715 frames @ 2 fps ≈ 5:57, cleared in one run, final pixel falls at ~5:51 — timestamps below are video time; the in-game clock reads 7:08 at Level Complete)
Blocks fed: 70 | Total pixels: ~1,810 | Move limit: none — order only affects speed
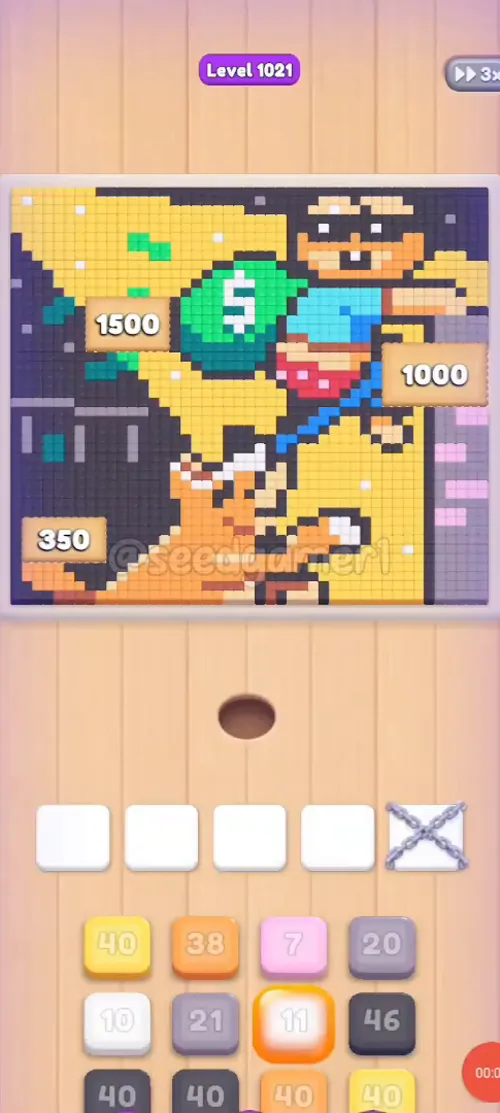
How the Level Works
1. Tap a color block in the bottom queue. It flies into a slot and an ant of that color starts eating. 2. Five slots sit above the queue — but slot 5 is chained shut (a rope X) at the start. It only opens at 1:39, and until then only four blocks can be active at once. Use the first 100 seconds to burn the cheap blocks. 3. A block eats every reachable cell of its own color; the number printed on it counts down as it eats. 4. When the number hits 0 the block vanishes and frees its slot. Feed the freed slot immediately — an empty slot is dead time. 5. Blocks get stuck. A block that cannot reach its remaining cells (they are buried under another color) freezes on a low number for a long time. That is normal here — this level is full of stalls, and the stalls are what set the pace. 6. Every tap takes the top block of one queue column; that column scrolls up one cell. Tap the leftmost queued block you need — the block always flies to the leftmost free slot, so keeping the order below means the queue never idles. 7. Eat the whole picture to win. No move limit, no fail state.
Colors in this level: Yellow/gold (the big gold fields), Navy (background & outlines), Silver (sparkle glints), White (glints & shirt stripe), Tan (fox fur & badges), Brown (raccoon fur outline), Orange (fox & coin rings), Cyan (light-blue shirt), Blue (chest strap), Teal ($5 coin side), Green ($5 coin), Red (shorts/sash), Pink (badge & patches), Mauve (side panels).
Complete Block Order (Which Color First, Then Which)
Timestamps are the moment the block lands in its slot (time in the footage). Count = the number printed on the block as it landed.
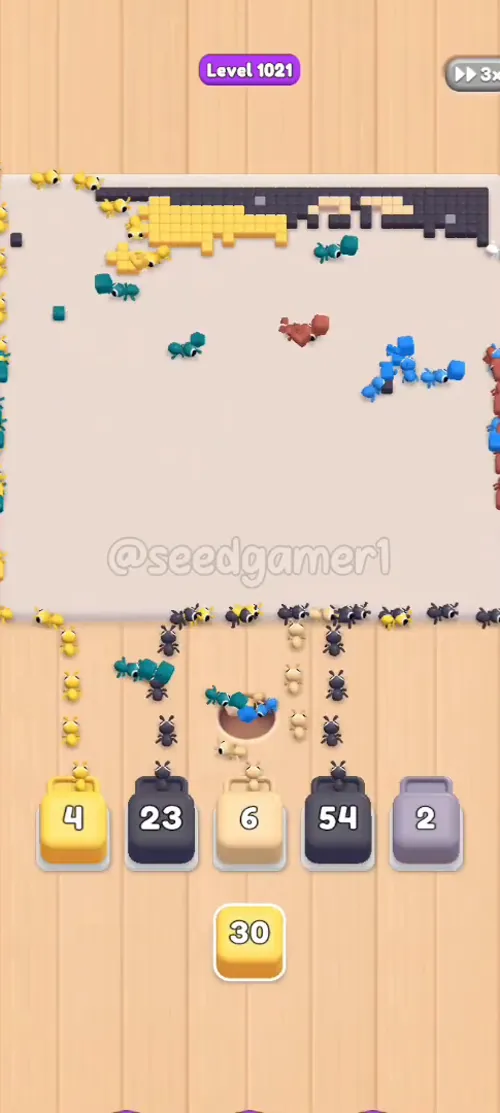
Phase 1 — Open All Four Slots (0:03 – 0:05)
| # | Time | Color Block | Count |
|---|---|---|---|
| 1 | 0:03 | ⬜ Silver | 19 |
| 2 | 0:04 | ⬛ Navy | 45 |
| 3 | 0:04 | 🟨 Yellow | 38 |
| 4 | 0:05 | 🩵 Cyan | 10 |
Four taps inside two seconds — this is the whole opening. Tap them in this order so each one takes the next free slot (slot 1 → 2 → 3 → 4).
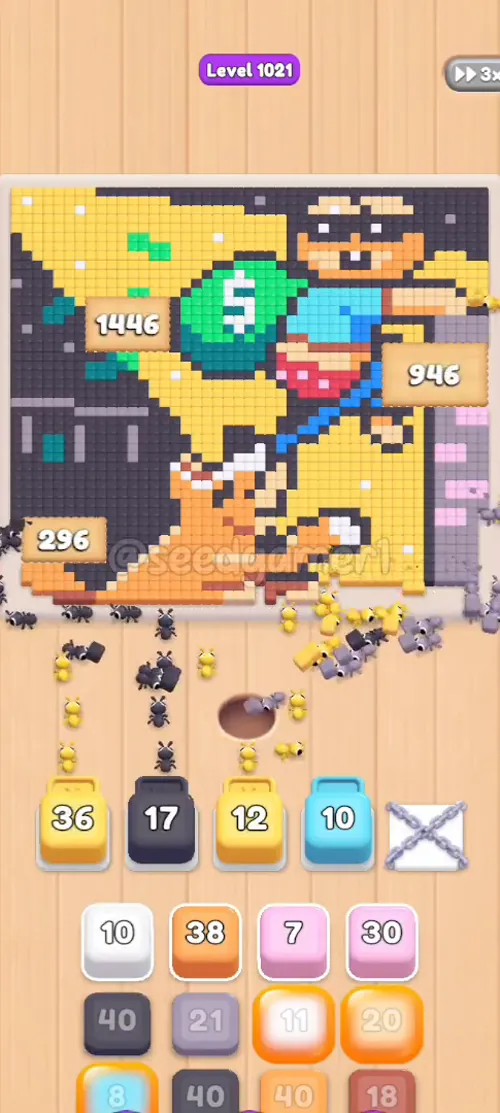
Phase 2 — First Sweep (0:09 – 0:18)
| # | Time | Color Block | Count |
|---|---|---|---|
| 5 | 0:09 | 🟨 Yellow | 38 |
| 6 | 0:14 | 🩷 Pink | 29 |
| 7 | 0:14 | 🟤 Tan | 18 |
| 8 | 0:17 | 🟫 Brown | 15 |
Phase 3 — The First Long Wait (0:36 – 1:01)
| # | Time | Color Block | Count |
|---|---|---|---|
| 9 | 0:36 | 🟤 Tan | 20 |
| 10 | 0:53 | 🟧 Orange | 33 |
| 11 | 1:01 | ⬜ Silver | 18 |
Expected stall: from here slot 1 stays occupied by the brown ×15 for 35 s (frozen on ×3 for the last 26 s of it) and slot 2 stays occupied by the pink until 4:00 — almost four minutes. Nothing is wrong — those two colors are buried under the gold and navy layers. Do not tap extra blocks hoping to speed them up.
Phase 4 — Black Pair Plus White and Cyan (1:03 – 1:21)
| # | Time | Color Block | Count |
|---|---|---|---|
| 12 | 1:03 | ⬛ Navy | 36 |
| 13 | 1:08 | ⬜ White | 6 |
| 14 | 1:12 | ⬛ Navy | 37 |
| 15 | 1:18 | 🩵 Cyan | 6 |
| 16 | 1:21 | ⬜ Silver | 15 |
Phase 5 — Red, Cyan, Tan, and Slot 5 Opens (1:26 – 1:40)
| # | Time | Color Block | Count |
|---|---|---|---|
| 17 | 1:26 | 🟥 Red | 10 |
| 18 | 1:29 | 🩵 Cyan | 9 |
| 19 | 1:39 | 🟤 Tan | 7 |
| 20 | 1:40 | ⬛ Navy | 60 |
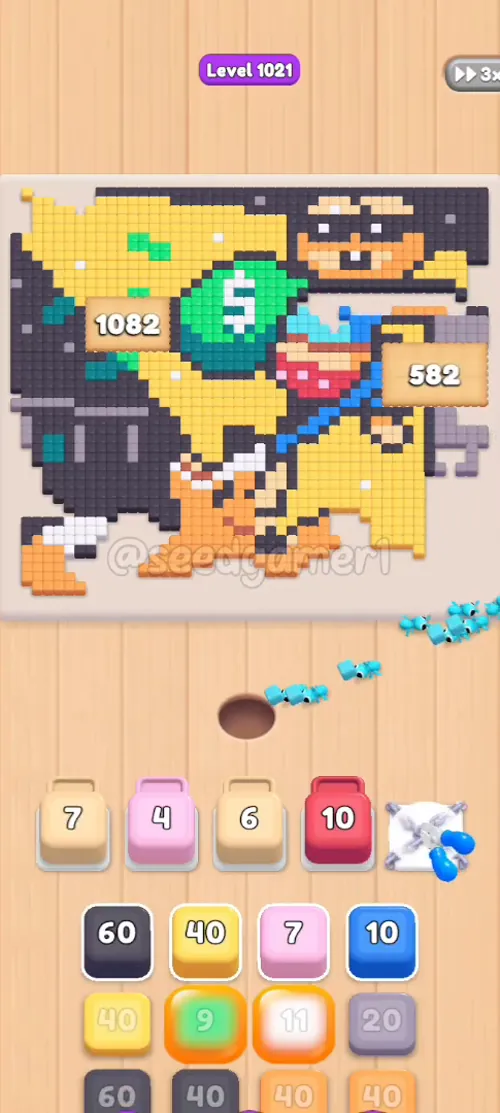
Key moment: at 1:39 an animation cuts the rope X off slot 5. From here on keep five blocks running — that is roughly 25 % more ants for the rest of the level.
Phase 6 — Five Slots in Rotation (1:53 – 2:24)
| # | Time | Color Block | Count |
|---|---|---|---|
| 21 | 1:53 | 🟨 Yellow | 39 |
| 22 | 2:01 | ⬛ Navy | 56 |
| 23 | 2:15 | 🟨 Yellow | 37 |
| 24 | 2:17 | 🟩 Green | 9 |
| 25 | 2:24 | ⬜ White | 7 |
Phase 7 — Navy, Blue, Gold, Grey (2:34 – 2:57)
| # | Time | Color Block | Count |
|---|---|---|---|
| 26 | 2:34 | ⬛ Navy | 38 |
| 27 | 2:46 | 🟦 Blue | 6 |
| 28 | 2:46 | 🟨 Yellow | 37 |
| 29 | 2:53 | ⬜ Silver | 18 |
| 30 | 2:54 | 🟧 Orange | 27 |
| 31 | 2:57 | 🩵 Cyan | 6 |
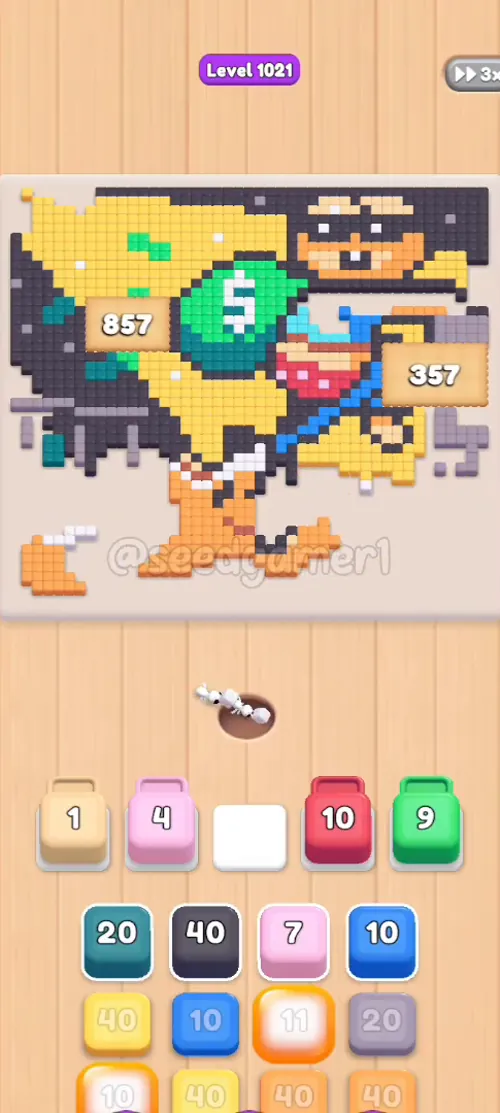
Phase 8 — Gold, White, Green, Navy (3:01 – 3:26)
| # | Time | Color Block | Count |
|---|---|---|---|
| 32 | 3:01 | ⬛ Navy | 56 |
| 33 | 3:14 | 🟨 Yellow | 37 |
| 34 | 3:25 | ⬜ White | 18 |
| 35 | 3:25 | 🟩 Green | 20 |
| 36 | 3:26 | ⬛ Navy | 58 |
Phase 9 — Blue, Grey, Orange, Gold (3:38 – 3:50)
| # | Time | Color Block | Count |
|---|---|---|---|
| 37 | 3:38 | 🟦 Blue | 8 |
| 38 | 3:41 | ⬜ Silver | 16 |
| 39 | 3:45 | 🟧 Orange | 37 |
| 40 | 3:50 | 🟨 Yellow | 35 |
Phase 10 — Two Heavyweights at Once (3:56 – 4:05)
| # | Time | Color Block | Count |
|---|---|---|---|
| 41 | 3:56 | 🟤 Tan | 26 |
| 42 | 3:56 | 🟪 Mauve | 28 |
| 43 | 3:58 | ⬛ Navy | 57 |
| 44 | 4:02 | 🟩 Green | 19 |
| 45 | 4:05 | 💠 Teal | 16 |
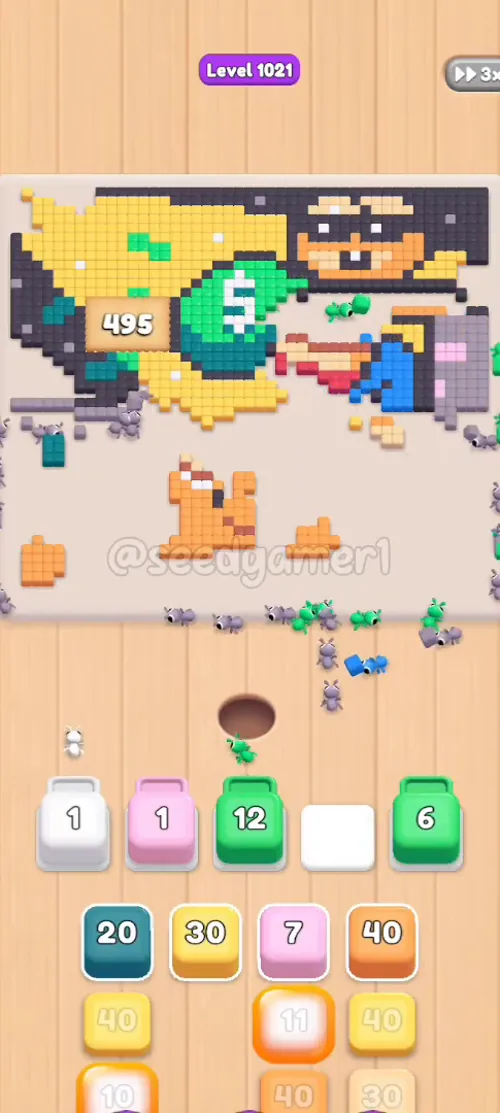
Phase 11 — Teal, Gold, White, Pink (4:09 – 4:21)
| # | Time | Color Block | Count |
|---|---|---|---|
| 46 | 4:09 | 🟨 Yellow | 37 |
| 47 | 4:09 | ⬜ White | 10 |
| 48 | 4:18 | 🩷 Pink | 6 |
| 49 | 4:21 | ⬜ White | 11 |
| 50 | 4:21 | 🟧 Orange | 39 |
Phase 12 — Fast Small Blocks (4:25 – 4:43)
| # | Time | Color Block | Count |
|---|---|---|---|
| 51 | 4:25 | 💠 Teal | 5 |
| 52 | 4:27 | 🟨 Yellow | 38 |
| 53 | 4:29 | 🟧 Orange | 38 |
| 54 | 4:36 | 💠 Teal | 7 |
| 55 | 4:39 | ⬛ Navy | 38 |
| 56 | 4:43 | 🟥 Red | 7 |
Phase 13 — Black, Green, Gold (4:49 – 5:10)
| # | Time | Color Block | Count |
|---|---|---|---|
| 57 | 4:49 | 🟨 Yellow | 36 |
| 58 | 4:49 | 🟪 Mauve | 21 |
| 59 | 4:58 | ⬛ Navy | 57 |
| 60 | 5:02 | 🟩 Green | 17 |
| 61 | 5:10 | 🟨 Yellow | 36 |
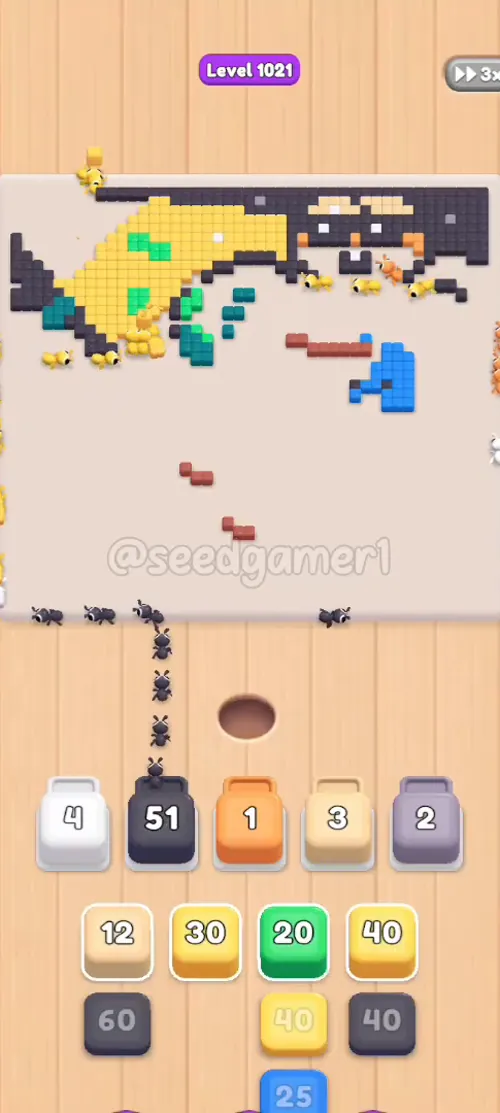
Phase 14 — The Last Big Colors (5:26 – 5:40)
| # | Time | Color Block | Count |
|---|---|---|---|
| 62 | 5:26 | ⬛ Navy | 39 |
| 63 | 5:35 | 🟦 Blue | 22 |
| 64 | 5:37 | 💠 Teal | 17 |
| 65 | 5:39 | 🟥 Red | 10 |
| 66 | 5:40 | 🟨 Yellow | 25 |
Phase 15 — Final Sweep (5:43 – 5:51)
| # | Time | Color Block | Count |
|---|---|---|---|
| 67 | 5:43 | ⬛ Navy | 30 |
| 68 | 5:44 | 🟤 Tan | 8 |
| 69 | 5:44 | ⬛ Navy | 57 |
| 70 | 5:47 | 🟨 Yellow | 22 |
The very last pixel to fall is gold — block 70 (yellow ×22) empties the board at about 5:51. Slot 5's mauve ×2 is the last block still sitting in a slot (it never finishes; it disappears when the board is complete).
Quick Reference — One-Line Order
Silver 19 → Black 45 → Yellow 38 → Cyan 10 → Yellow 38 → Pink 29 → Tan 18 → Brown 15 → Tan 20 → Orange 33 → Silver 18 → Black 36 → White 6 → Black 37 → Cyan 6 → Silver 15 → Red 10 → Cyan 9 → Tan 7 → Black 60 → Yellow 39 → Black 56 → Yellow 37 → Green 9 → White 7 → Black 38 → Blue 6 → Yellow 37 → Silver 18 → Orange 27 → Cyan 6 → Black 56 → Yellow 37 → White 18 → Green 20 → Black 58 → Blue 8 → Silver 16 → Orange 37 → Yellow 35 → Tan 26 → Mauve 28 → Black 57 → Green 19 → Teal 16 → Yellow 37 → White 10 → Pink 6 → White 11 → Orange 39 → Teal 5 → Yellow 38 → Orange 38 → Teal 7 → Black 38 → Red 7 → Yellow 36 → Mauve 21 → Black 57 → Green 17 → Yellow 36 → Black 39 → Blue 22 → Teal 17 → Red 10 → Yellow 25 → Black 30 → Tan 8 → Black 57 → Yellow 22
Pro Tips
1. Fill all five slots, and fill them fast. The first four taps land inside two seconds (steps 1–4). Slot 5 stays chained until 1:39, so the first 100 seconds only ever run four ants — expect this stretch to feel slow, and don't waste taps on colors that are not on the board yet. 2. Keep slot 1 busy from 1:30 to 4:30. Slot 1 frees a block every 30–60 s across the middle of the level; steps 18, 27, 31, 33, 40, 43 and 47/49 are nothing but slot-1 refills. An idle slot 1 in that window costs you real time. 3. Big blocks early, small blocks as fillers. Blocks 20, 22, 32, 36, 43, 59, 69 are the 55–62 cell navy runs — they are the backbone of the level. The ×5 – ×10 blocks (13, 15, 18, 24, 27, 31, 37, 48, 51, 56) are perfect for topping up a slot that just freed. 4. Expected stalls — do not fight them:
- Pink ×29 in slot 2, 0:14 → 4:00 (nearly four minutes; frozen on ×4 from 1:39 to 3:14, then ×1). Do not tap another pink hoping to speed it up.
- Brown/rust ×15 in slot 1, 0:17 → 0:52, frozen at ×3 for the last 26 s.
- Cyan ×10 in slot 4, 0:05 → 1:00, frozen on ×10 for the first 53 s.
- Tan ×26 and Mauve ×28 from 3:56 — the tan crawls (26 → 2 over 100 s) and the mauve parks on ×2 for the final 90 s of the level.
- Gold ×36 (step 61) sticks at ×35 for about 15 s from 5:10.
5. Time your orange. Orange appears only five times (steps 10, 30, 39, 50 and 53). Step 50's orange ×39 is the single biggest orange run and it unlocks the $5 coin's orange ring — place it as soon as slot 3 frees at 4:21, not later. 6. Same-color refills are real, not a misread. Slot 1 runs cyan → cyan (steps 15/18 at 1:18 and 1:29), white → white (steps 47/49 at 4:09 and 4:21); slot 4 runs black → black (steps 12/14 at 1:03 and 1:12); slot 3 runs orange → orange (steps 50/53 at 4:21 and 4:29). Watch the number jump back up — that is your cue. 7. Finale color: gold. Save the last two gold blocks (steps 66 and 70) for the end; they clean the bottom-left corner and the very last cells. 8. No fail state. Nothing can be lost — one clean run takes 5:51 of footage (the game's own clock reads 7:08). Only the order changes how long it takes.
_Compiled from frame-by-frame video analysis: 715 frames (2 fps), per-frame slot tracking with zoom-strip verification of every seat event and countdown._
More expert walkthroughs
View all →
Featured walkthroughs
The levels players search for most - each with a full video guide.