Food Hunt Level 917 Walkthrough
ExpertPixel-Art Monkey and Its Roast Chicken
How do you beat level 917? Watch the video or follow the step-by-step picture and text guide to complete it!

Level board
Step-by-step walkthrough
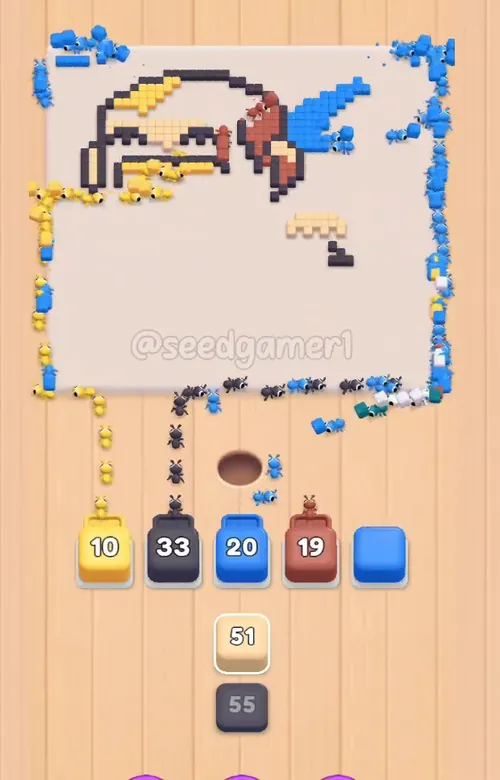
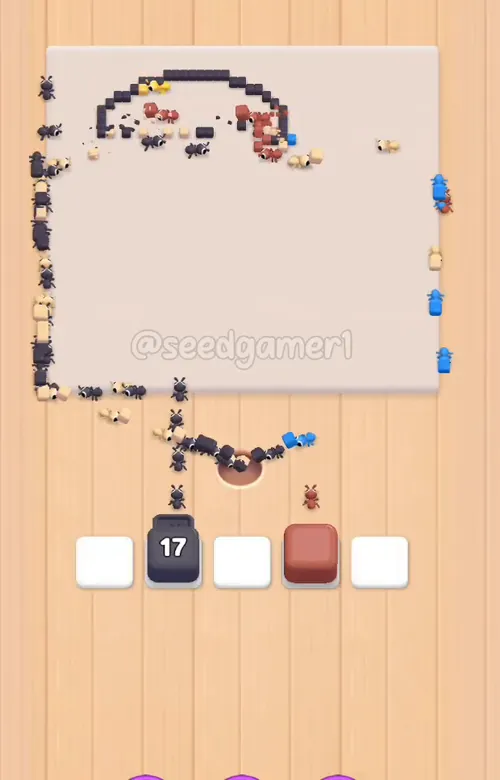
Prefer screenshots to video? Every phase of the clear is below in order, with the block counts and the frames they were taken from — keep it open next to the game and follow along tap by tap.
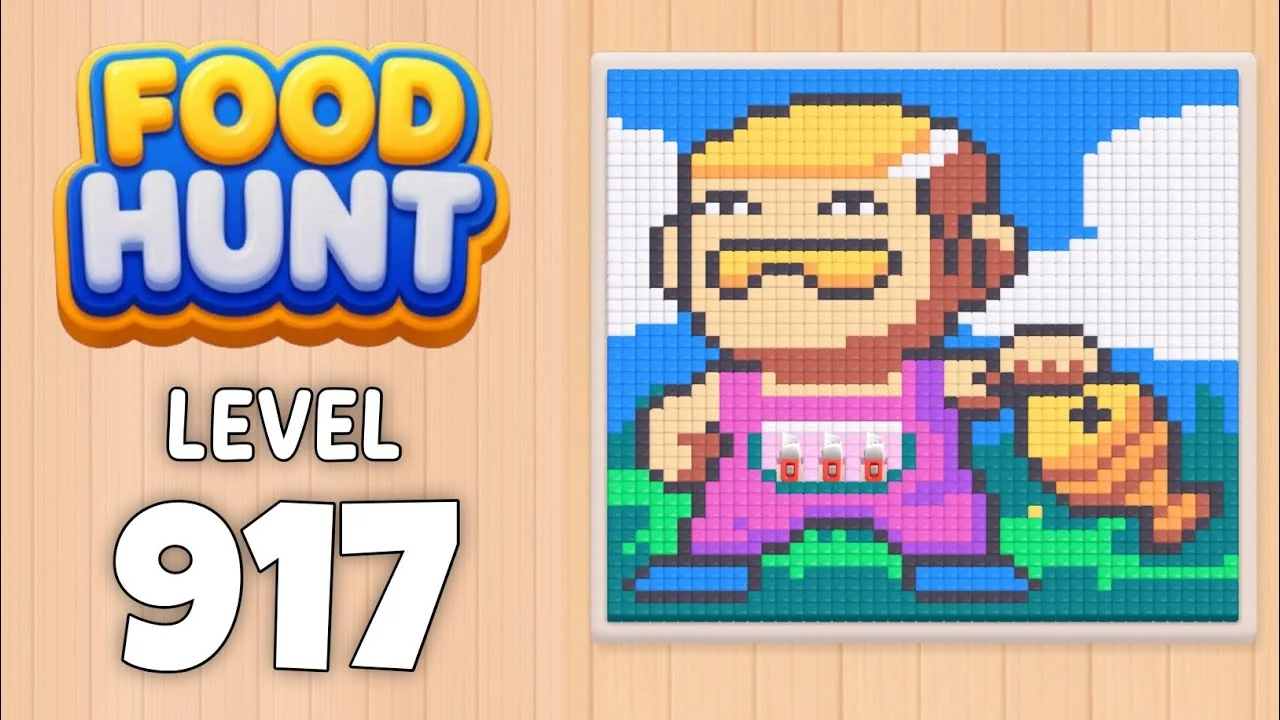
Level: 917 — an EXTREME level:an old man with a head of golden-blonde hair, a wide toothy grin, wearing red dungarees over a white-and-pink striped bib, carrying a golden fish under his right arm, against a bright blue sky with two big white clouds, dark teal foliage at the edges, a green grass strip and a teal-blue ground band under its feet.
Source: frame-by-frame analysis of the Level 917 recording (
917.mp4, 833 frames @ 2 fps ≈ 6:56; board empty at 6:52 — timestamps below are video time, recorded at the game's 3x eating speed)Blocks fed: 49 | Total pixels: 1,975 | Move limit: none — order only affects speed
How the Level Works
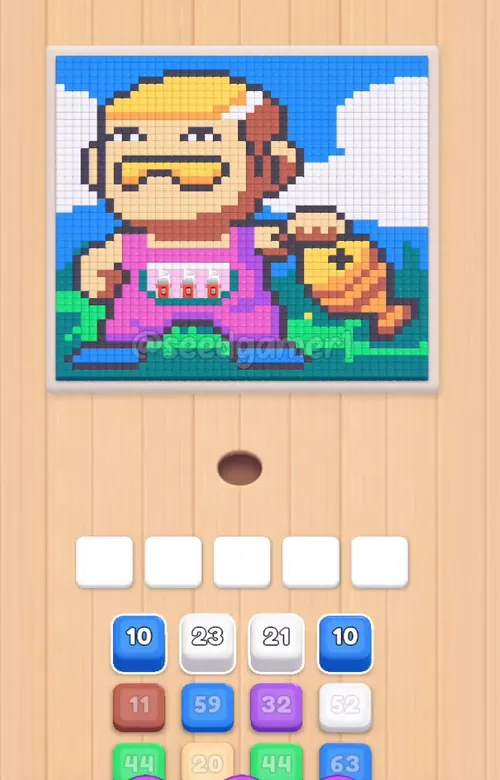
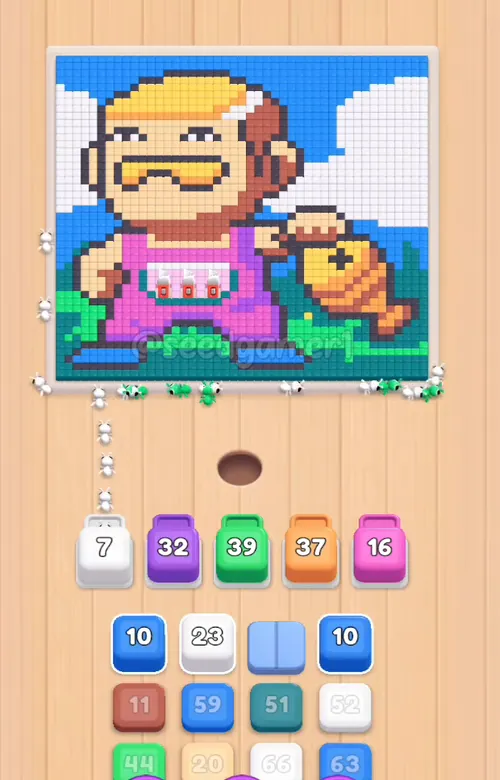
1. Tap a color block in the bottom queue to send it into one of the five slots above. All five slots are open from the start on this level — nothing is chained shut. 2. A tapped block flies to a free slot, so the slot a block lands in is not the order it was tapped; the tables below are in landing order, left to right. 3. Ants of that color pour out and eat every reachable pixel of the matching color on the picture; the number printed on the block counts down as pixels are eaten. At 0 the block vanishes and frees its slot. 4. Blocks shrink as they eat. A block is drawn smaller and smaller as its count falls, so late in a block's life the white slot tile shows all around it. That is a block nearly finished, not an empty slot. 5. A block only eats while its color is reachable. A block whose remaining pixels are walled in behind another colour just sits in its slot. This is the whole character of level 917: three blocks park for minutes at a time — the Purple ×32 that lands at 0:04 sits in slot 2 until 6:02, the Orange ×37 holds slot 4 from 0:04 to 6:28, and the Yellow ×41 that lands at 1:17 stays in slot 1 until 5:27. Nearly the entire first five minutes are these three waiting. 6. Some blocks arrive wrapped in cloth and show no number until a little red knife cuts the cloth open. This level uses the mechanic twice, both times on Dark grey: the Dark grey ×96 that lands at 5:47 shows its number one second later, and the Dark grey ×78 at 6:07 does the same. 7. The queue narrows as it empties. The bottom panel starts four columns wide, drops to three around 1:55, to two around 5:27 and to a single column at 6:37, because whole columns of the stack are used up. New blocks roll up from below the visible rows. 8. Eat the entire picture to win. One clean run takes 6:52, and the order below clears it without a single wasted tap.
Colors in this level: 🟦 Blue (351 pixels across 7 blocks) · ⬜ White (334 pixels across 8 blocks) · 💠 Teal (223 pixels across 6 blocks) · ⬛ Dark grey (176 pixels across 3 blocks) · 🟨 Cream (139 pixels across 3 blocks) · 🟫 Rust (131 pixels across 4 blocks) · 🟨 Yellow (105 pixels across 3 blocks) · ⬜ Grey (101 pixels across 3 blocks) · 🟪 Magenta (97 pixels across 2 blocks) · 🟩 Green (86 pixels across 2 blocks) · 🟨 Peach (75 pixels across 2 blocks) · 🟧 Orange (65 pixels across 2 blocks) · 🟪 Purple (52 pixels across 2 blocks) · 🩷 Pink (40 pixels across 2 blocks).
Complete Block Order (Which Color First, Then Which)
Timestamps are when the block lands in a slot. Count is the number printed on the block as it lands (it has already started counting down, so the true starting count can be a pixel or two higher).
Phase 1 — The Opening Five (0:03 – 0:05)
| # | Time | Color Block | Count |
|---|---|---|---|
| 1 | 0:04 | ⬜ White | 20 |
| 2 | 0:04 | 🟪 Purple | 32 |
| 3 | 0:04 | 🟩 Green | 44 |
| 4 | 0:04 | 🟧 Orange | 37 |
| 5 | 0:05 | 🩷 Pink | 16 |
All five blocks land within two seconds of each other and two of them — the Purple ×32 and the Orange ×37 — will still be sitting in their slots five minutes later.
Phase 2 — The Early Churn in Slot 1 (0:09 – 1:11)
| # | Time | Color Block | Count |
|---|---|---|---|
| 6 | 0:10 | 🟦 Blue | 8 |
| 7 | 0:16 | ⬛ Dark grey | 2 |
| 8 | 0:22 | 💠 Teal | 50 |
| 9 | 0:32 | ⬜ White | 21 |
| 10 | 0:36 | 🟦 Blue | 58 |
| 11 | 0:38 | 🟨 Cream | 19 |
| 12 | 0:48 | ⬜ White | 42 |
| 13 | 0:58 | 🟦 Blue | 10 |
| 14 | 1:04 | ⬜ White | 65 |
| 15 | 1:11 | 🟦 Blue | 82 |
Slot 1 does all the work early on: eight blocks in, eight blocks out, each one draining in a few seconds while slots 2, 3, 4 and 5 sit parked. The Blue ×82 at 1:11 is the biggest of this run.
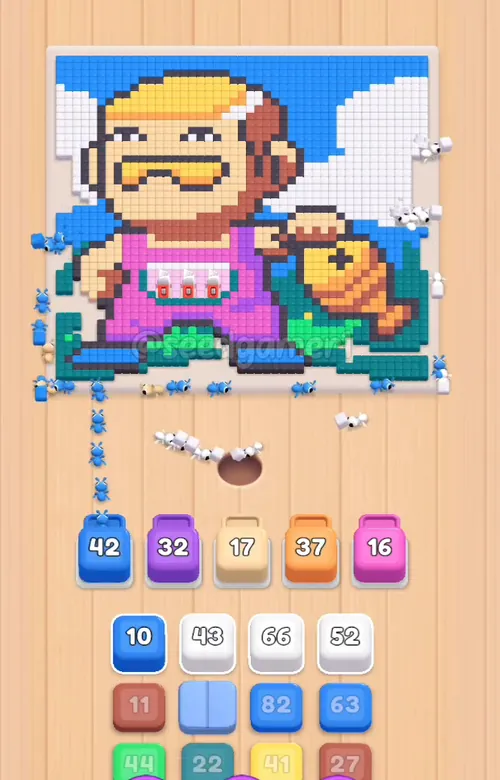
Phase 3 — The Long Parks (1:17 – 4:44)
| # | Time | Color Block | Count |
|---|---|---|---|
| 16 | 1:18 | 🟨 Yellow | 41 |
| 17 | 1:26 | 🟨 Cream | 70 |
| 18 | 1:44 | ⬜ White | 51 |
| 19 | 1:54 | 🟦 Blue | 63 |
| 20 | 2:06 | 🟫 Rust | 26 |
| 21 | 2:26 | 🟫 Rust | 11 |
| 22 | 2:45 | 🟪 Purple | 20 |
| 23 | 2:46 | 💠 Teal | 26 |
| 24 | 2:52 | 🟪 Magenta | 55 |
| 25 | 3:22 | 🟨 Peach | 49 |
| 26 | 3:57 | 🩷 Pink | 24 |
| 27 | 4:24 | ⬜ Grey | 4 |
| 28 | 4:26 | 💠 Teal | 41 |
| 29 | 4:36 | ⬜ White | 42 |
| 30 | 4:44 | 🟨 Peach | 26 |
This is the slow heart of level 917. The Yellow ×41 parks in slot 1 for four minutes, the Purple ×32 and Orange ×37 never budge, and slot 5 quietly cycles small blocks through. Nothing here needs a special order — it is a waiting game.
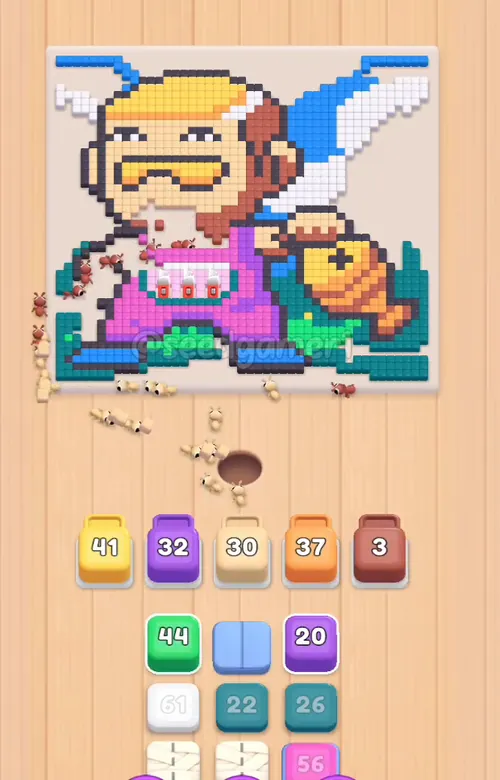
Phase 4 — The Wrapped Dark Greys (5:27 – 5:34)
| # | Time | Color Block | Count |
|---|---|---|---|
| 31 | 5:27 | 🟧 Orange | 28 |
| 32 | 5:28 | 💠 Teal | 22 |
| 33 | 5:34 | 🟩 Green | 42 |
The level wakes up: the Yellow ×41 finally finishes (it was holding 41 pixels for four minutes) and an Orange ×28 takes slot 1, while the wrapper of the first big Dark grey block appears.
Phase 5 — The Final Churn (5:47 – 6:46)
| # | Time | Color Block | Count |
|---|---|---|---|
| 34 | 5:47 | ⬛ Dark grey | 96 |
| 35 | 6:00 | 🟫 Rust | 54 |
| 36 | 6:06 | ⬜ White | 61 |
| 37 | 6:08 | ⬛ Dark grey | 78 |
| 38 | 6:16 | 💠 Teal | 27 |
| 39 | 6:18 | 🟨 Yellow | 27 |
| 40 | 6:22 | 🟪 Magenta | 42 |
| 41 | 6:24 | 💠 Teal | 57 |
| 42 | 6:25 | 🟦 Blue | 68 |
| 43 | 6:27 | ⬜ White | 32 |
| 44 | 6:28 | 🟫 Rust | 40 |
| 45 | 6:30 | 🟦 Blue | 62 |
| 46 | 6:34 | 🟨 Yellow | 37 |
| 47 | 6:37 | ⬜ Grey | 44 |
| 48 | 6:40 | 🟨 Cream | 50 |
| 49 | 6:46 | ⬜ Grey | 53 |
Two cloth-wrapped Dark grey blocks (×96 and ×78) do the heavy lifting of the endgame, and a stream of Blue, Teal, Rust, White and Grey blocks clears what is left. The last block to finish is the Grey ×53 that lands at 6:46 in slot 2.
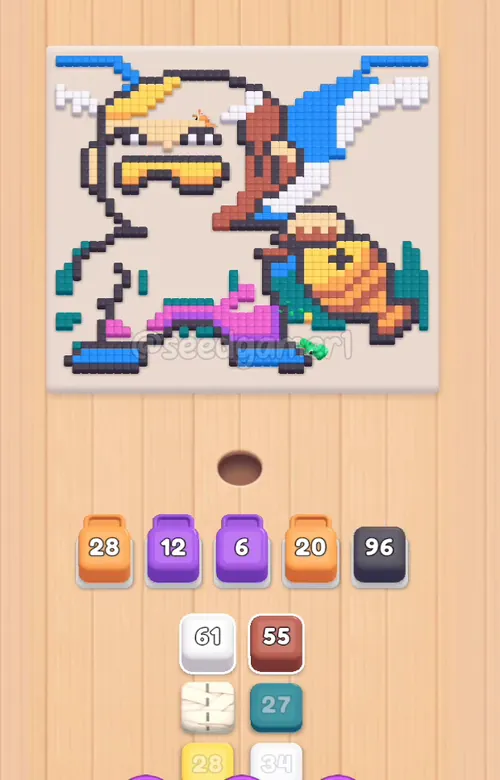
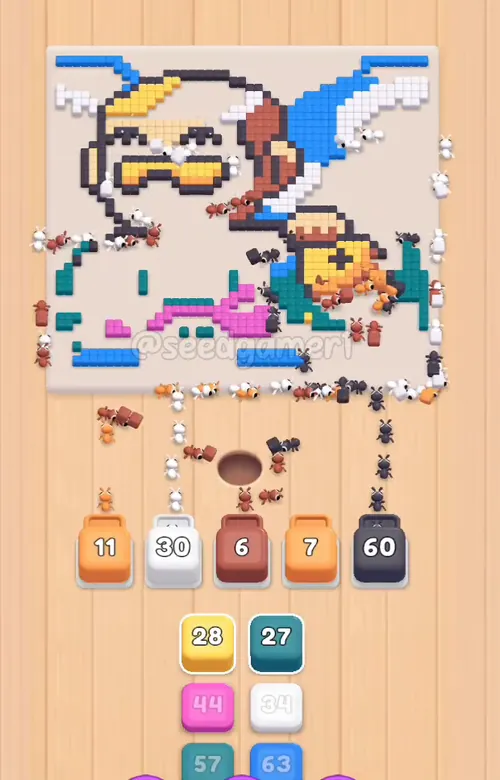
The Endgame
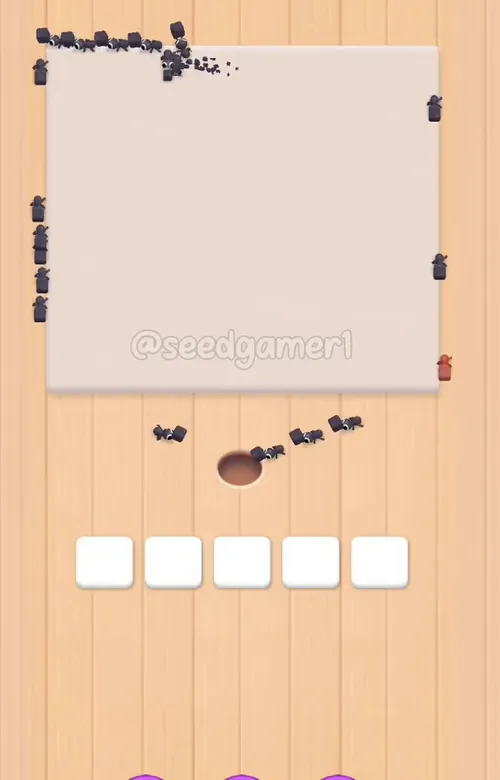
From 6:24 the board is made of leftovers: a rust-brown band on the right of the picture is the last colour standing, and the last three blocks to drain are the Blue ×68 (slot 5, 6:25), the Rust ×40 (slot 4, 6:27) and the Grey ×53 (slot 2, 6:46). The board goes completely bare at 6:52 (frame 826) and the level-complete popup paints over it at 6:54.
Quick Reference — One-Line Order
White ×20 → Purple ×32 → Green ×44 → Orange ×37 → Pink ×16 → Blue ×8 → Dark grey ×2 → Teal ×50 → White ×21 → Blue ×58 → Cream ×19 → White ×42 → Blue ×10 → White ×65 → Blue ×82 → Yellow ×41 → Cream ×70 → White ×51 → Blue ×63 → Rust ×26 → Rust ×11 → Purple ×20 → Teal ×26 → Magenta ×55 → Peach ×49 → Pink ×24 → Grey ×4 → Teal ×41 → White ×42 → Peach ×26 → Orange ×28 → Teal ×22 → Green ×42 → Dark grey ×96 → Rust ×54 → White ×61 → Dark grey ×78 → Teal ×27 → Yellow ×27 → Magenta ×42 → Teal ×57 → Blue ×68 → White ×32 → Rust ×40 → Blue ×62 → Yellow ×37 → Grey ×44 → Cream ×50 → Grey ×53
Pro Tips
- Feed the exposed colours first. On this level the picture opens up from the outside in: the sky blues, the cloud whites and the grass greens are reachable from the start, which is why the early game is all White and Blue while the big Purple and Orange blocks wait.
- Do not read a nearly-eaten block as an empty slot. Blocks shrink as they drain on this level, so a slot that looks mostly white with a tiny block in the middle may still be holding 5 or 10 pixels. Tapping into it does nothing until it hits 0.
- Expect the three long parks. Purple ×32 (slot 2), Orange ×37 (slot 4) and Yellow ×41 (slot 1) hold their slots for minutes. That is the level's design, not a mistake — the board only starts moving at 5:27.
- Watch for the cloth. The two endgame Dark grey blocks (×96 and ×78) arrive wrapped and eat nothing until the knife cuts them open about a second after landing.
Food Hunt Level 917 — frequently asked questions
- What colours are on the Food Hunt Level 917 board?
- The board image breaks down into 10 main colours, each covering at least 2% of it: orange (#F7CF8B, 21.1% of the board), dark grey (#514955, 15.6% of the board), white (#F3F0F7, 15.3% of the board), blue (#2C90F4, 13.0% of the board), red (#C26E59, 9.5% of the board), dark cyan (#197F8C, 7.0% of the board), pink (#E666C9, 6.6% of the board), green (#1FE080, 4.9% of the board), light grey (#CBB4C9, 3.6% of the board) and purple (#B359E0, 3.4% of the board).
- Which colour should I clear first in Food Hunt Level 917?
- orange covers the most of the board at 21.1%, and dark grey is next at 15.6%. The step-by-step walkthrough above is this board's actual tap order; the colour shares here are only what each colour costs to clear.
- What difficulty is Level 917 in Food Hunt: Pixel Puzzle?
- Level 917 is rated Expert difficulty in Food Hunt: Pixel Puzzle.
- Is there a video walkthrough for this Food Hunt level?
- Yes — the walkthrough video on this page plays the full clear of this board, so you can follow the tap order block by block. The board image next to it shows what the finished picture is made of.
More expert walkthroughs
View all →
Featured walkthroughs
The levels players search for most - each with a full video guide.