Food Hunt Level 913 Walkthrough
ExpertPixel-Art Girl and Her White Bunny
How do you beat level 913? Watch the video or follow the step-by-step picture and text guide to complete it!

Level board
Step-by-step walkthrough
Prefer screenshots to video? Every phase of the clear is below in order, with the block counts and the frames they were taken from — keep it open next to the game and follow along tap by tap.
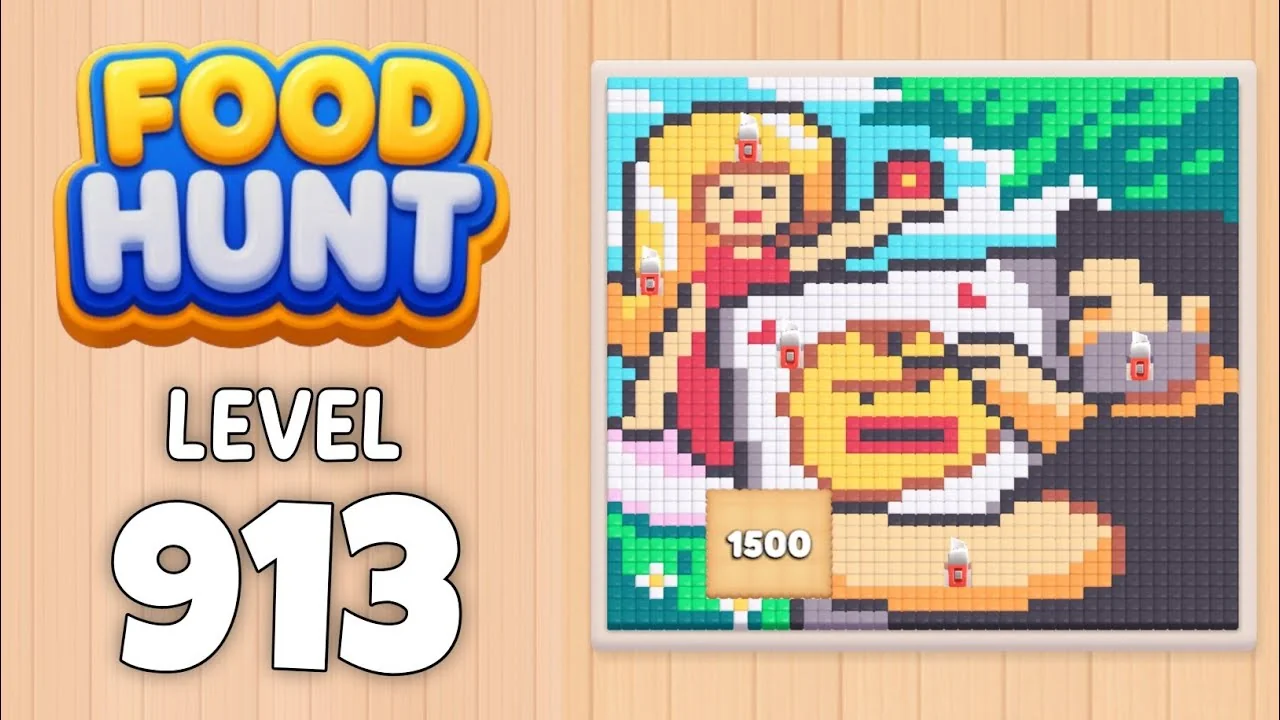
Level: 913 — A man with black hair, dressed in black, is painting a lady in a red dress. Above them is a cyan sky, with green foliage in the top right, a heavy dark-brown shadow stretching across the right side of the picture, and a pale tan ground beneath their feet.
How the Level Works
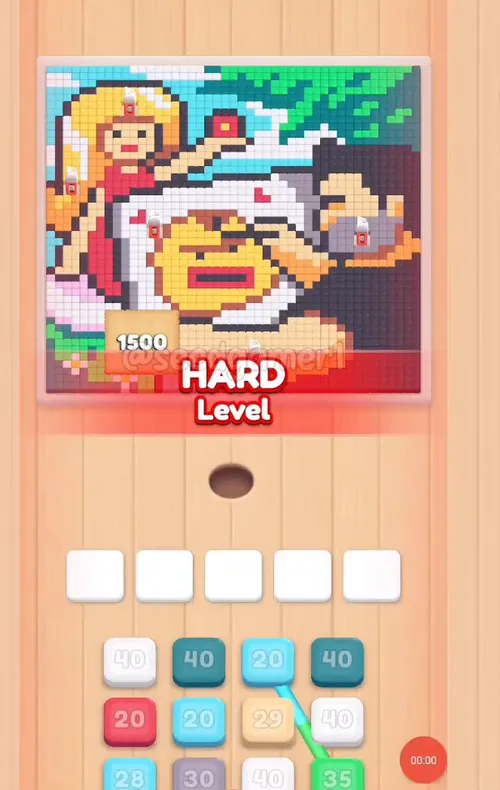
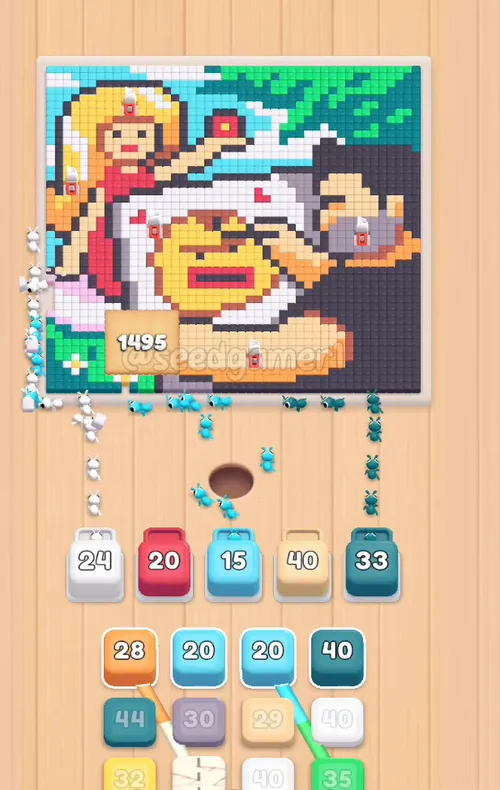
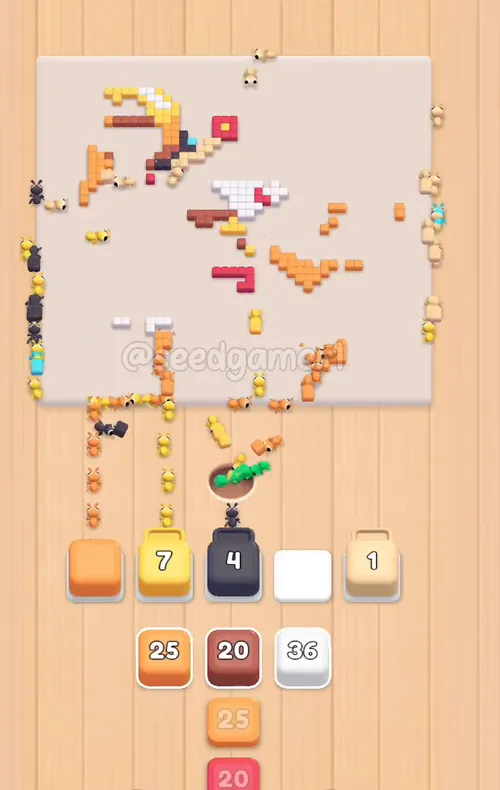
1. Tap a color block in the bottom queue to send it into one of the five slots above. All five slots are open from the start on this level — nothing is chained shut. 2. A tapped block flies to a free slot, so the slot it lands in is not the order it was tapped; the tables below are in landing order, left to right. 3. Ants of that color pour out and eat every reachable pixel of the matching color on the picture; the number printed on the block counts down as pixels are eaten. At 0 the block vanishes and frees its slot. 4. The board is the whole canvas. The cyan sky, the green foliage, the girl's dress, the bunny's white fur and the big dark shadow on the right are all part of the artwork and all have to be eaten too — which is why this level needs nine Dark grey blocks and eight White ones. 5. A block only eats while its color is reachable. A block whose remaining pixels are walled in behind another colour just sits in its slot, and some of them park for a very long time. The Dark grey ×57 that lands at 4:33 counts straight down to zero by 4:44 and then leaves a blank, numberless tile sitting in its slot until 5:51 — the single deadest slot of the level. A Teal ×4 parks at "4" for over a minute for the same reason. 6. Some blocks arrive wrapped in cloth. A wrapped block has no number and eats nothing until a little red knife cuts the cloth open — which only happens once its pixels become reachable. This level has five of them; the first one lands at 0:35 and is not cut open until 0:58. 7. The queue shows four columns and its bottom row is clipped by the screen edge; fresh blocks roll up from below it. That is the recording's framing, not a missing row.
Colors in this level: ⬜ White (the bunny's fur, the girl's collar and the pale streaks, 277 pixels) · ⬛ Dark grey (the heavy outline drawn around the whole picture plus the big shadow mass on the right — the biggest area at 511, and nine separate blocks) · 🟨 Peach (the tan ground and the shading under the muzzle, 198) · 💠 Teal (the dark blue-green foliage and the shaded sky wedges, 162) · 🟨 Yellow (the golden muzzle and the leaf highlights, 155) · 🟩 Green (the bright foliage at the top right, 139) · 🟧 Orange (the warm edges and the amber shading, 124) · 🟪 Mauve (the grey-violet shading, 106) · 🩵 Cyan (the pale blue sky patches, 84) · 🟥 Red (the girl's dress and the bunny's mouth, 80) · 🟫 Rust (the dark bark tones, 80) · 🩷 Pink (the small bright accents, 22).
Complete Block Order (Which Color First, Then Which)
Timestamps are when the block lands in a slot. Count is the number printed on the block as it lands.
Phase 1 — The Opening Five (0:03 – 0:05)
| # | Time | Color Block | Count |
|---|---|---|---|
| 1 | 0:03 | ⬜ White | 39 |
| 2 | 0:04 | 🟥 Red | 20 |
| 3 | 0:04 | 🩵 Cyan | 28 |
| 4 | 0:04 | 🟨 Peach | 40 |
| 5 | 0:05 | 💠 Teal | 40 |
Phase 2 — The Cloth in Slot 5 (0:15 – 0:35)
| # | Time | Color Block | Count |
|---|---|---|---|
| 6 | 0:15 | 🩵 Cyan | 19 |
| 7 | 0:15 | 🟪 Mauve | 30 |
| 8 | 0:17 | 💠 Teal | 38 |
| 9 | 0:35 | 🟧 Orange | 28 |
| 10 | 0:35 | ⬛ Dark grey | 51 |
The Dark grey ×51 in step 10 arrives wrapped in cloth and stays blank in slot 5 until 0:58, when the knife cuts it open.
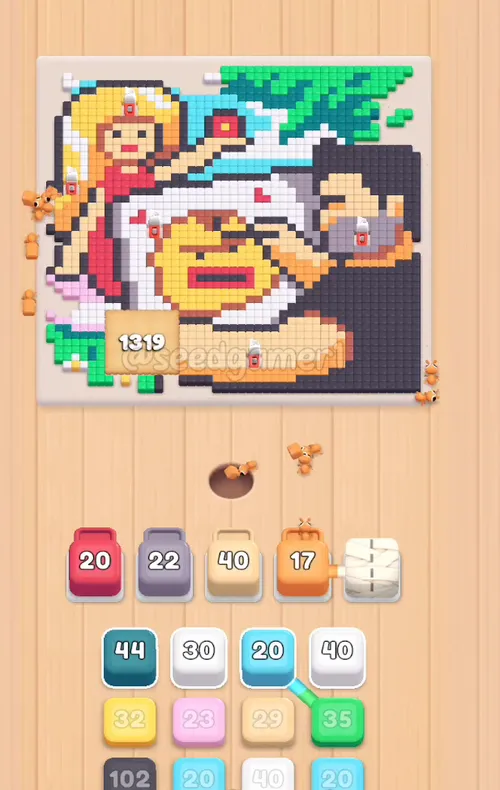
Phase 3 — The First Long Park (1:12 – 1:54)
| # | Time | Color Block | Count |
|---|---|---|---|
| 11 | 1:12 | ⬜ White | 38 |
| 12 | 1:12 | 💠 Teal | 44 |
| 13 | 1:53 | 🟩 Green | 35 |
| 14 | 1:54 | 🩵 Cyan | 18 |
Nothing much happens for the better part of a minute here: slot 5 is empty from 1:38 to 1:53 while the two big blocks already seated work through the picture.
Phase 4 — The Big Dark Blocks (2:06 – 2:45)
| # | Time | Color Block | Count |
|---|---|---|---|
| 15 | 2:06 | 🟨 Yellow | 32 |
| 16 | 2:07 | ⬛ Dark grey | 101 |
| 17 | 2:27 | ⬜ White | 28 |
| 18 | 2:36 | 🩵 Cyan | 19 |
| 19 | 2:45 | 🟥 Red | 20 |
Step 16 is the level's monster: a single Dark grey ×101 tile that takes twenty seconds to drain. Watch it whenever you think the level has stalled.
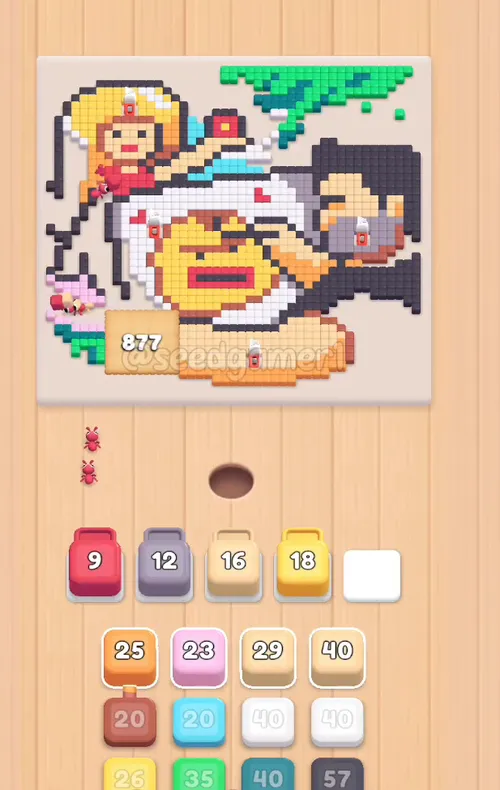
Phase 5 — Mid-Level Churn (3:32 – 3:47)
| # | Time | Color Block | Count |
|---|---|---|---|
| 20 | 3:32 | 🟧 Orange | 23 |
| 21 | 3:32 | 🟫 Rust | 19 |
| 22 | 3:42 | ⬜ White | 38 |
| 23 | 3:42 | 💠 Teal | 40 |
| 24 | 3:43 | 🟪 Mauve | 30 |
| 25 | 3:47 | 🟨 Peach | 40 |
Step 24 lands wrapped and is cut open one second later — this is the quick end of the wrapped-block range.
Phase 6 — The Long Grind (3:55 – 4:45)
| # | Time | Color Block | Count |
|---|---|---|---|
| 26 | 3:55 | 🟫 Rust | 24 |
| 27 | 3:58 | ⬜ White | 39 |
| 28 | 4:02 | 🟨 Yellow | 25 |
| 29 | 4:09 | 🟨 Peach | 39 |
| 30 | 4:13 | 🟩 Green | 35 |
| 31 | 4:20 | ⬛ Dark grey | 51 |
| 32 | 4:30 | 🟩 Green | 35 |
| 33 | 4:33 | 🟪 Mauve | 27 |
| 34 | 4:33 | ⬛ Dark grey | 57 |
| 35 | 4:35 | 🟨 Yellow | 29 |
| 36 | 4:43 | 🟨 Peach | 39 |
| 37 | 4:45 | 🟥 Red | 20 |
Steps 26 and 31 both land wrapped (opened at 3:56 and 4:21). Step 34 is the block that leaves the level's blank tile behind at 4:44.
Phase 7 — The Blank Tile and the Endgame (5:07 – 6:18)
| # | Time | Color Block | Count |
|---|---|---|---|
| 38 | 5:07 | ⬛ Dark grey | 48 |
| 39 | 5:07 | 🟪 Mauve | 19 |
| 40 | 5:12 | ⬜ White | 30 |
| 41 | 5:26 | ⬛ Dark grey | 50 |
| 42 | 5:26 | 🟨 Yellow | 39 |
| 43 | 5:39 | ⬜ White | 29 |
| 44 | 5:39 | ⬛ Dark grey | 51 |
| 45 | 5:49 | 🩷 Pink | 22 |
| 46 | 5:53 | 🟫 Rust | 19 |
| 47 | 5:53 | ⬛ Dark grey | 51 |
| 48 | 5:55 | ⬛ Dark grey | 51 |
| 49 | 5:58 | 🟩 Green | 34 |
| 50 | 6:00 | 🟨 Peach | 40 |
| 51 | 6:07 | 🟧 Orange | 25 |
| 52 | 6:07 | 🟨 Yellow | 30 |
| 53 | 6:13 | 🟫 Rust | 18 |
| 54 | 6:14 | 🟧 Orange | 23 |
| 55 | 6:14 | 🟥 Red | 20 |
| 56 | 6:18 | ⬜ White | 36 |
| 57 | 6:18 | 🟧 Orange | 25 |
Step 48 lands wrapped and opens at 5:56. From 6:07 the board is small enough that steps 51–57 land in eleven seconds.
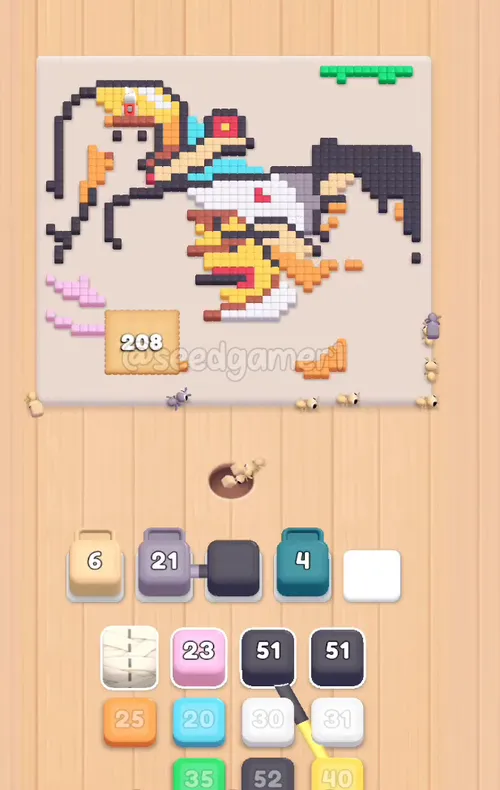
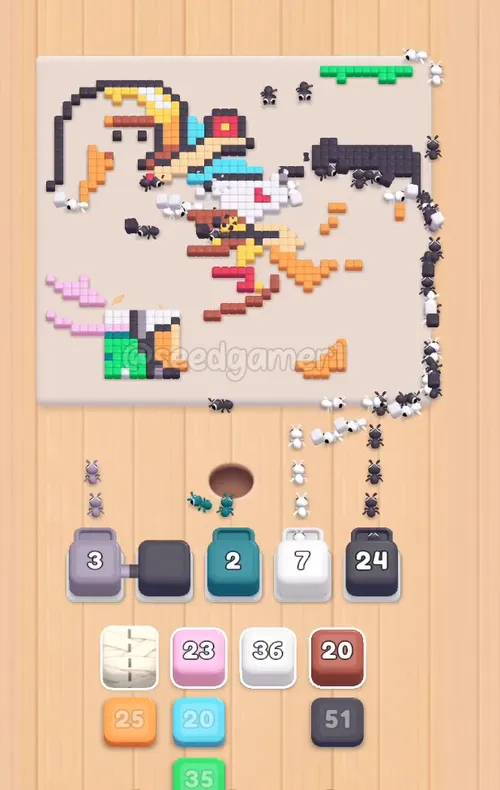
The Endgame
From 6:07 the queue empties as fast as it fills: steps 51–57 land between 6:07 and 6:18, and most of them are gone within seconds because every one of their pixels is already exposed.
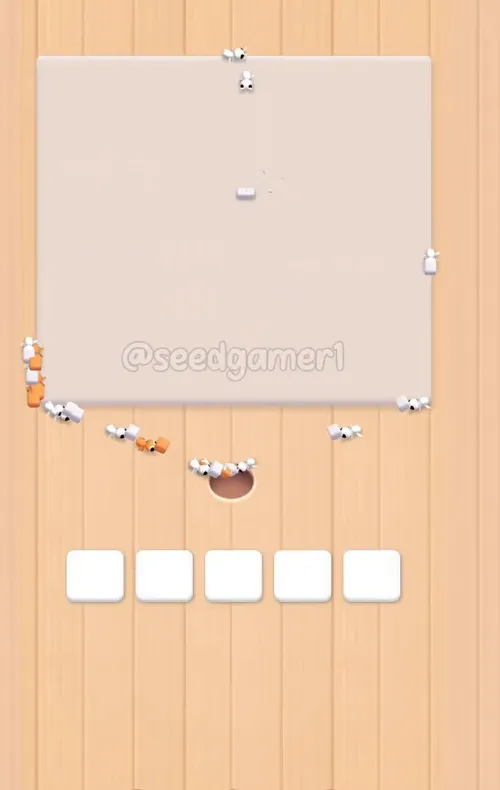
The last pixel to fall is White. Step 56 (White ×36) does the damage: from 6:20 the board is down to a handful of cells, at 6:24 a single white cell on the right edge of the picture is the only thing left, and the board is completely clear at 6:25.
Quick Reference — One-Line Order
White 39 → Red 20 → Cyan 28 → Peach 40 → Teal 40 → Cyan 19 → Mauve 30 → Teal 38 → Orange 28 → Dark grey 51 (wrapped) → White 38 → Teal 44 → Green 35 → Cyan 18 → Yellow 32 → Dark grey 101 → White 28 → Cyan 19 → Red 20 → Orange 23 → Rust 19 → White 38 → Teal 40 → Mauve 30 (wrapped) → Peach 40 → Rust 24 (wrapped) → White 39 → Yellow 25 → Peach 39 → Green 35 → Dark grey 51 (wrapped) → Green 35 → Mauve 27 → Dark grey 57 → Yellow 29 → Peach 39 → Red 20 → Dark grey 48 → Mauve 19 → White 30 → Dark grey 50 → Yellow 39 → White 29 → Dark grey 51 → Pink 22 → Rust 19 → Dark grey 51 → Dark grey 51 (wrapped) → Green 34 → Peach 40 → Orange 25 → Yellow 30 → Rust 18 → Orange 23 → Red 20 → White 36 → Orange 25
Pro Tips
1. Fill all five slots in the first five seconds. Steps 1–5 land between 0:03 and 0:05, one per free slot. Nothing is locked and there is nothing to wait for.
2. The wrapped block in slot 5 is why the level feels slow at the start. Step 10 lands at 0:35 with no number on it and is not cut open until 0:58 — twenty-three seconds of a slot doing nothing while the Cyan ×19 in step 6 counts down beside it.
3. Feed Dark grey relentlessly. Dark grey is 511 pixels across nine blocks — 26% of the whole picture — and it never stops being useful. Steps 16, 31, 34, 38, 41, 44, 47 and 48 are all in the 48–101 range.
4. Expect the blank tile. The Dark grey ×57 in step 34 counts down to zero by 4:44 and then parks as a numberless tile in its slot until 5:51. That is 67 seconds where one of your five slots is dead no matter what you tap; work the other four and let it sit.
5. Some small tiles are stuck, not slow. A Teal ×4 sits in a slot from 4:33 to about 5:47 because its last four pixels are walled in behind other colours. It is not broken — it just has nothing to eat.
6. Longest idle slots: slot 5 is empty from 2:48 to 3:31 (44 s), slot 5 again from 4:52 to 5:12 (20 s), slot 1 from 0:20 to 0:34 (15 s), slot 5 from 1:38 to 1:53 (15 s), slot 2 from 4:20 to 4:32 (13 s). Slot 5 spends 280 of the level's 775 frames empty — by far the least useful slot.
7. Same color back to back is normal. Dark grey arrives as 51, 101, 51, 57, 48, 50, 51, 51, 51. White as 39, 38, 28, 38, 39, 30, 29, 36. Peach as 40, 40, 39, 39, 40. Each pass digs out the cells the previous block could not reach.
8. The middle is where the level is won. Eighteen blocks land between 3:32 and 4:45, and thirteen more between 5:07 and 6:00. If slots sit empty through those two windows you lose minutes.
Food Hunt Level 913 — frequently asked questions
- What colours are on the Food Hunt Level 913 board?
- The board image breaks down into 9 main colours, each covering at least 2% of it: dark grey (#504854, 22.2% of the board), pale orange (#F7D5A4, 16.1% of the board), orange (#F6C065, 15.8% of the board), white (#F2EDF3, 14.9% of the board), red (#CD615C, 10.9% of the board), grey (#A99CA6, 6.0% of the board), dark cyan (#15858A, 6.0% of the board), green (#1ECE7F, 4.2% of the board) and cyan (#64E0EE, 3.9% of the board).
- Which colour should I clear first in Food Hunt Level 913?
- dark grey covers the most of the board at 22.2%, and pale orange is next at 16.1%. The step-by-step walkthrough above is this board's actual tap order; the colour shares here are only what each colour costs to clear.
- What difficulty is Level 913 in Food Hunt: Pixel Puzzle?
- Level 913 is rated Expert difficulty in Food Hunt: Pixel Puzzle.
- Is there a video walkthrough for this Food Hunt level?
- Yes — the walkthrough video on this page plays the full clear of this board, so you can follow the tap order block by block. The board image next to it shows what the finished picture is made of.
More expert walkthroughs
View all →
Featured walkthroughs
The levels players search for most - each with a full video guide.