Food Hunt Level 369 Walkthrough
AdvancedHow do you beat level 369? Watch the video or follow the step-by-step picture and text guide to complete it!
Level board
Step-by-step walkthrough
Prefer screenshots to video? Every phase of the clear is below in order, with the block counts and the frames they were taken from — keep it open next to the game and follow along tap by tap.
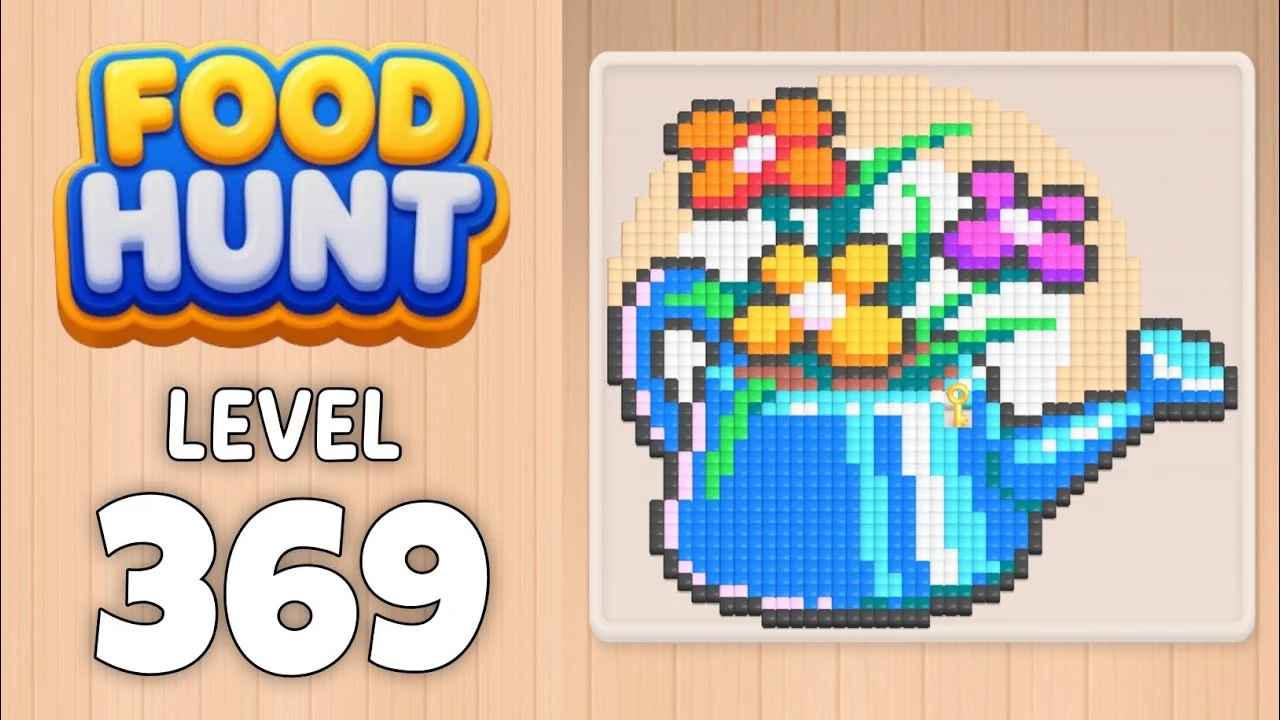
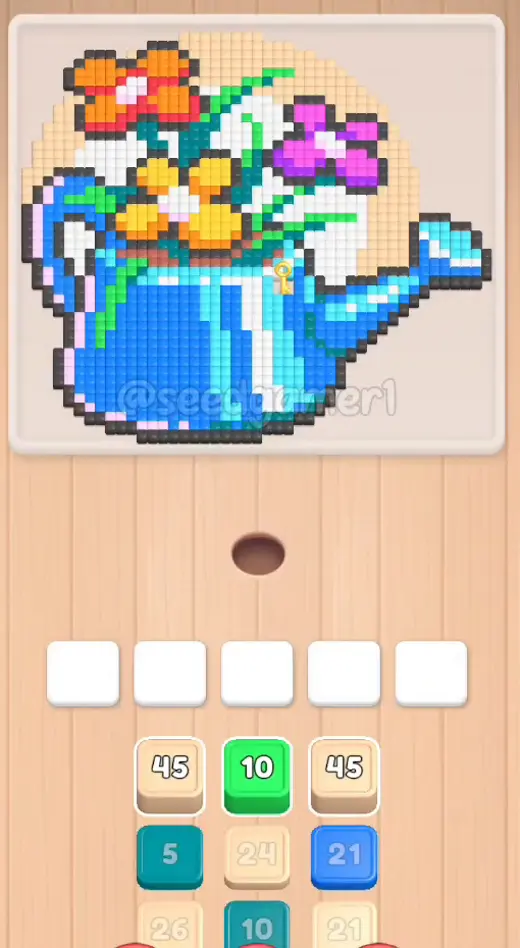
Level: 369 — a pixel-art blue watering can holding a bouquet: an orange bloom top-left, a white water-lily and yellow blossoms in the middle, magenta blooms on the right, green stems, all on a pale sand-beige textured backdrop
Blocks fed: 44 | Total on the blocks: ~1,419 | Move limit: none — order only affects speed
How the Level Works
1. Tap a color block in the bottom queue to send it into one of the 5 slots above.
2. Ants of that color pour out and eat every reachable pixel of the matching color on the picture; the number on the block counts down as pixels are eaten.
3. When a block hits 0 it vanishes and frees its slot.
4. Eat the entire picture to win. Pixels buried under another color cannot be reached, so blocks freeze on a low number until a neighbouring color opens the way — this level leans on that heavily.
5. The first queue column is padlocked. From 0:50 to 3:41 a gold padlock sits in front of the left column, so nothing in that column can be sent up. The lock only opens at 3:41; the three blocks waiting behind it (dark grey, sky blue, orange) are the ones you spend in the 3:45–4:25 stretch.
6. The 3rd queue row is cut off by the recording's bottom edge. Blocks that scroll up into rows 1–2 are readable; lower ones are not.
Colors in this level: 🟨 Sand (the pale sand-beige textured backdrop behind the flowers) · 🟦 Blue (the watering can's body) · 🩵 Sky blue (the can's pale-blue highlight stripes and rim) · 💠 Teal (the dark-teal leaf shading and the can's dark seams) · ⬜ White (the water-lily and the can's white highlight stripes) · 🟩 Green (the flower stems and leaves) · 🟨 Yellow (the yellow blossoms) · 🟧 Orange (the orange bloom top-left and the can's orange accents) · 🟥 Red (the red petals of the top-left bloom) · 🟥 Salmon (the russet shading inside the top-left bloom) · 🟪 Magenta (the magenta blooms on the right) · 🟣 Purple (the deep-purple cores of those blooms) · 🩷 Pale pink (the pale pink rim highlights) · ⬛ Dark grey (the dark outline drawn around every shape)
Complete Block Order (Which Color First, Then Which)
Timestamps = the moment the block lands in a slot (t = (frame − 1) / 2). Count = the value printed on the block as it settles.
Phase 1 — The Opening Ten (0:04 – 0:50)
| # | Time | Color Block | Count |
|---|---|---|---|
| 1 | 0:04 | 🟩 Green | 10 |
| 2 | 0:04 | 🟨 Sand | 45 |
| 3 | 0:14 | 🟨 Sand | 24 |
| 4 | 0:19 | 🟨 Sand | 45 |
| 5 | 0:30 | 💠 Teal | 10 |
| 6 | 0:30 | ⬜ White | 15 |
| 7 | 0:42 | 💠 Teal | 5 |
| 8 | 0:42 | 🟨 Sand | 26 |
| 9 | 0:49 | 🟩 Green | 8 |
| 10 | 0:50 | ⬜ White | 54 |
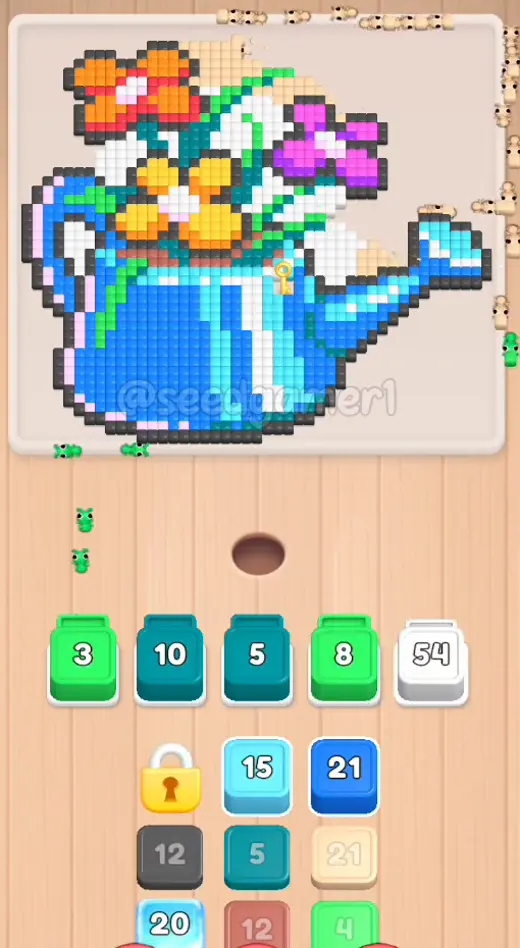
Phase 2 — Blue, White and the Locked Column (1:16 – 3:20)
| # | Time | Color Block | Count |
|---|---|---|---|
| 11 | 1:16 | 🩵 Sky blue | 14 |
| 12 | 1:16 | 💠 Teal | 5 |
| 13 | 1:19 | 🟦 Blue | 21 |
| 14 | 1:20 | 🟨 Sand | 21 |
| 14 | 1:24 | 🟩 Green | 4 |
| 15 | 1:27 | 🟥 Salmon | 5 |
| 16 | 1:27 | 🟨 Sand | 25 |
| 17 | 1:43 | 💠 Teal | 11 |
| 18 | 2:04 | 🟥 Salmon | 12 |
| 19 | 2:24 | 🩵 Sky blue | 30 |
| 20 | 2:25 | 🟦 Blue | 39 |
| 21 | 2:38 | 🟩 Green | 21 |
| 22 | 3:06 | 🟨 Yellow | 44 |
| 23 | 3:07 | 🟦 Blue | 76 |
| 24 | 3:13 | 🟥 Red | 27 |
| 25 | 3:20 | 🩵 Sky blue | 30 |
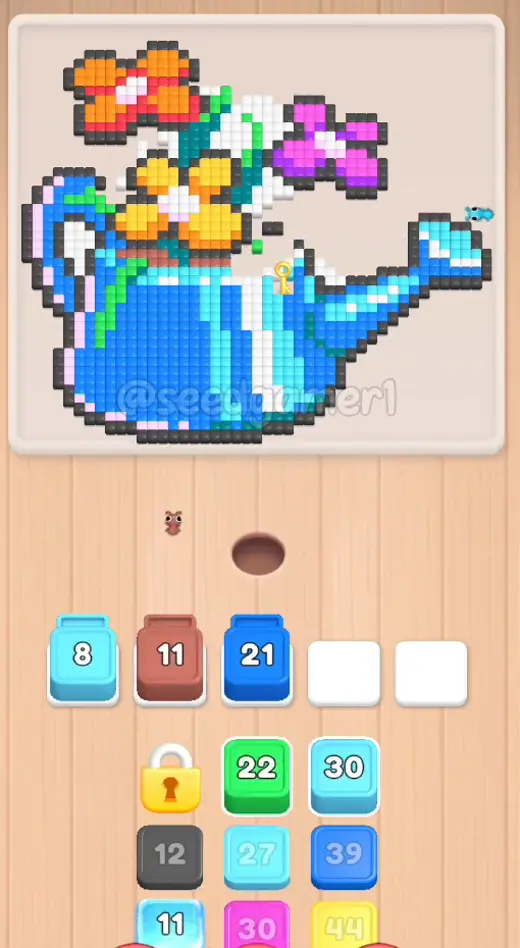
Phase 3 — Grey, Magenta and the Orange (3:31 – 4:25)
| # | Time | Color Block | Count |
|---|---|---|---|
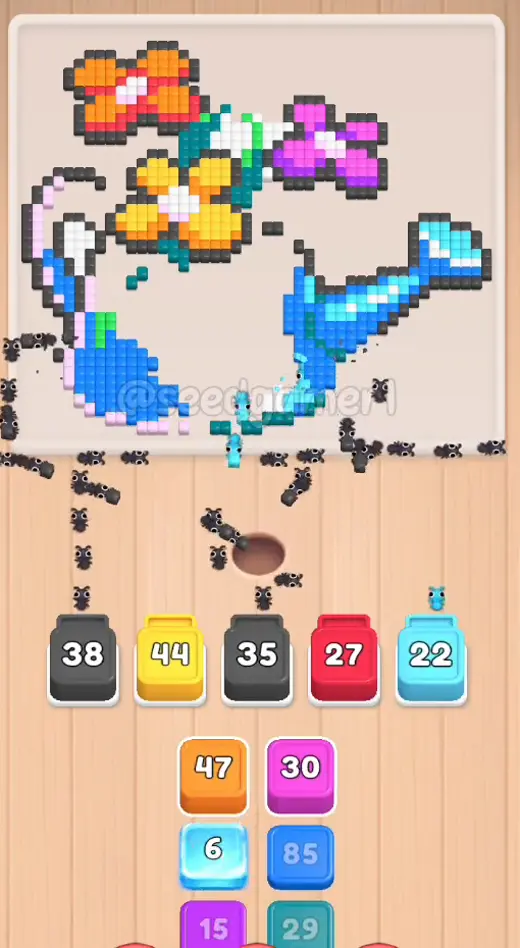
| 26 | 3:31 | ⬜ White | 70 |
| 27 | 3:45 | ⬛ Dark grey | 12 |
| 28 | 3:48 | 🟦 Blue | 25 |
| 29 | 4:00 | ⬛ Dark grey | 65 |
| 30 | 4:00 | ⬛ Dark grey | 58 |
| 31 | 4:02 | 🩵 Sky blue | 27 |
| 32 | 4:23 | 🟧 Orange | 47 |
| 33 | 4:24 | 🟪 Magenta | 30 |
| 34 | 4:25 | 🟦 Blue | 85 |
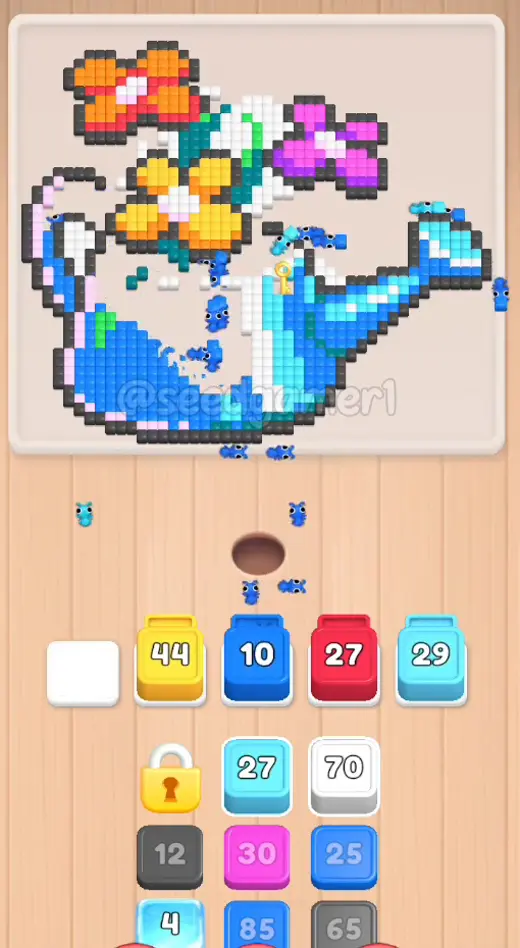
Phase 4 — The Late Game (4:42 – 5:01)
| # | Time | Color Block | Count |
|---|---|---|---|
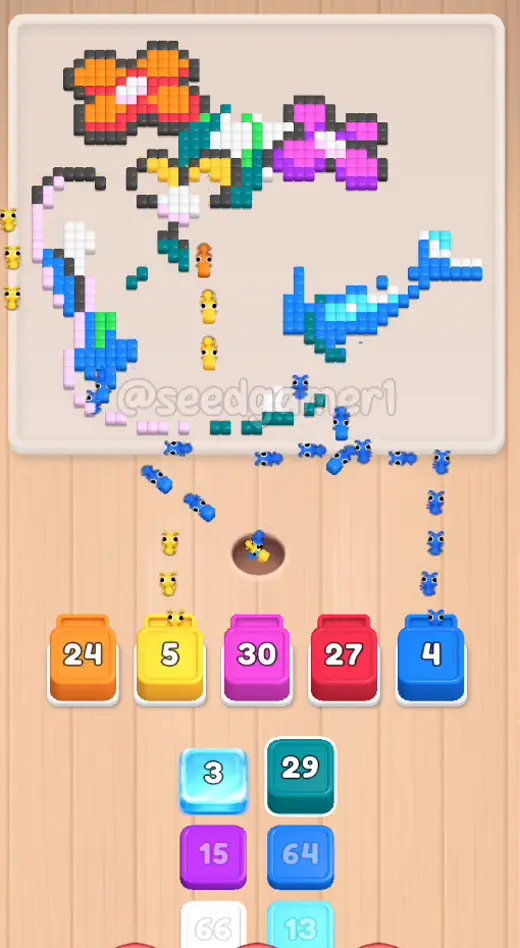
| 35 | 4:42 | 💠 Teal | 29 |
| 36 | 4:46 | 🟦 Blue | 64 |
| 37 | 4:52 | 🩵 Sky blue | 13 |
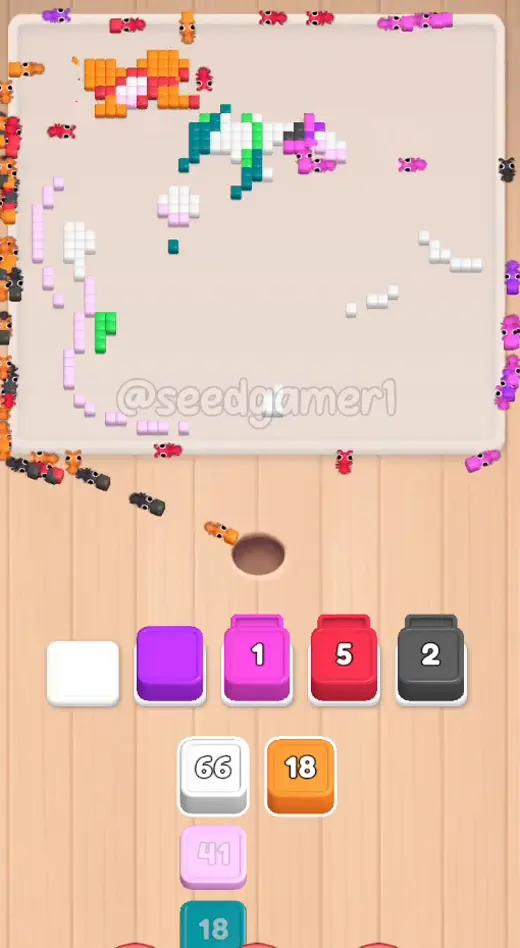
| 38 | 4:56 | ⬛ Dark grey | 100 |
| 39 | 5:01 | 🟣 Purple | 15 |
Phase 5 — The Final Sweep (5:20 – 5:33)
| # | Time | Color Block | Count |
|---|---|---|---|
| 40 | 5:20 | ⬜ White | 66 |
| 41 | 5:22 | 🩷 Pale pink | 41 |
| 42 | 5:23 | 💠 Teal | 18 |
| 43 | 5:25 | 🟩 Green | 13 |
| 44 | 5:26 | 🟧 Orange | 18 |
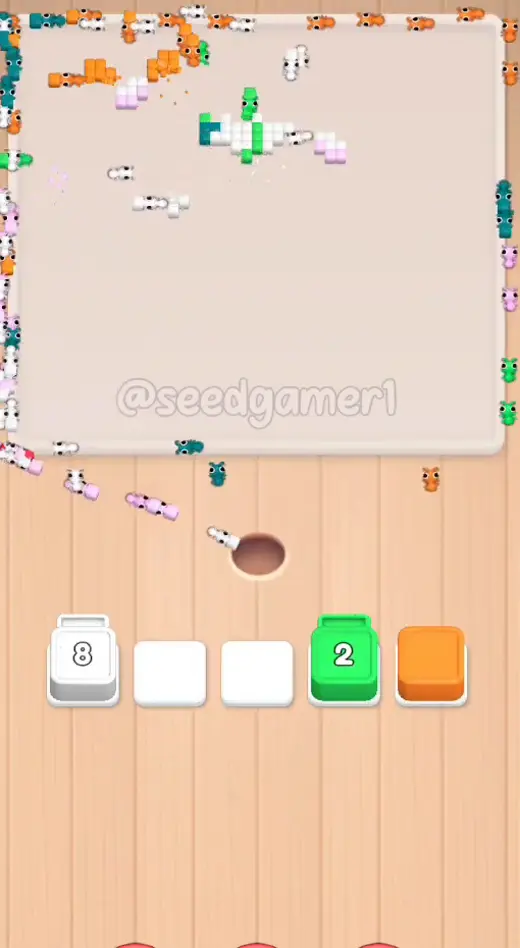
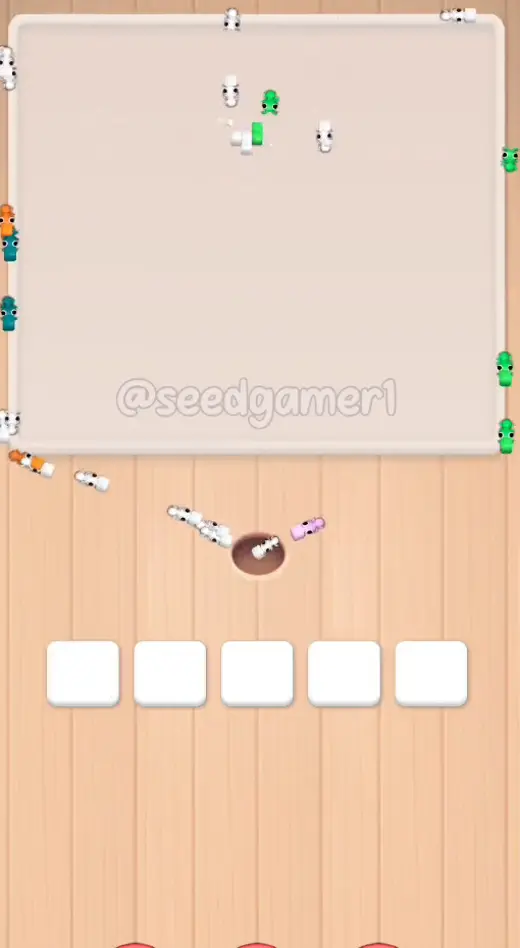
The very last pixel to fall is White (the block seated at 5:20).
Quick Reference — One-Line Order
Green 10 → Sand 45 → Sand 24 → Sand 45 → Teal 10 → White 15 → Teal 5 → Sand 26 → Green 8 → White 54 → Sky blue 14 → Teal 5 → Blue 21 → Sand 21 → Salmon 5 → Sand 25 → Teal 11 → Salmon 12 → Sky blue 30 → Blue 39 → Green 21 → Yellow 44 → Blue 76 → Red 27 → Sky blue 30 → White 70 → Dark grey 12 → Blue 25 → Dark grey 65 → Dark grey 58 → Sky blue 27 → Orange 47 → Magenta 30 → Blue 85 → Teal 29 → Blue 64 → Sky blue 13 → Dark grey 100 → Purple 15 → White 66 → Pale pink 41 → Teal 18 → Green 13 → Orange 18
Pro Tips
1. Keep all 5 slots full. An empty slot = idle ants. The board is empty for a stretch around 2:04 while you wait for the sand column to come up. 2. The padlock costs you nothing but time. The whole left column is dead from 0:50 to 3:41 — spend column 2 and 3 instead, and be ready to fire the three unlocked blocks the moment the padlock clears. 3. Big blocks first, but do not panic when they freeze. Red ×27 sits at exactly 27 from 3:13 all the way to 5:19 (two minutes) while its petals are walled in by the sand and the outline. That is a genuine stall — tapping more blocks will not speed it up. 4. The sand-beige backdrop is six separate passes. Sand ×45 at 0:04 drops to 22 in five seconds, then the next sand block finds the rest. Expect the same colour on the queue several times; that is the point, not a duplicate tap. 5. Dark grey ×100 (4:56) is the door-opener. Almost every other colour is stuck until the outline goes. Place it as soon as it shows. 6. Save the pink and the green for the end. The pale pink ×41 and the last green ×13 only become reachable once the grey and the magenta have gone. 7. No fail state. The run clears the whole picture in one pass at 5:33.
Compiled from frame-by-frame video analysis: 684 frames (2 fps). The slot row was tracked on every frame, every landing was read off a zoomed strip with the seated slot boxed, and the block values were read from the jars as they settled.
Food Hunt Level 369 — frequently asked questions
- What colours are on the Food Hunt Level 369 board?
- The board image breaks down into 10 main colours, each covering at least 2% of it: blue (#228AF5, 17.5% of the board), dark grey (#5B5758, 13.3% of the board), white (#F3F1F6, 12.8% of the board), pale orange (#F6D6AB, 9.5% of the board), cyan (#57E5F2, 7.4% of the board), orange (#F8AC32, 5.9% of the board), dark cyan (#12838F, 4.6% of the board), green (#3BE469, 3.4% of the board), red (#DC5954, 2.8% of the board) and purple (#E15AEC, 2.4% of the board). The cream around the picture reads as the board's empty background — it frames the artwork rather than forming part of it.
- Which colour should I clear first in Food Hunt Level 369?
- blue covers the most of the board at 17.5%, and dark grey is next at 13.3%. The step-by-step walkthrough above is this board's actual tap order; the colour shares here are only what each colour costs to clear.
- What difficulty is Level 369 in Food Hunt: Pixel Puzzle?
- Level 369 is rated Advanced difficulty in Food Hunt: Pixel Puzzle.
- Is there a video walkthrough for this Food Hunt level?
- Yes — the walkthrough video on this page plays the full clear of this board, so you can follow the tap order block by block. The board image next to it shows what the finished picture is made of.
More advanced walkthroughs
View all →
Featured walkthroughs
The levels players search for most - each with a full video guide.