Food Hunt Level 321 Walkthrough
AdvancedHow do you beat level 321? Watch the video or follow the step-by-step picture and text guide to complete it!
Level board
Step-by-step walkthrough
Prefer screenshots to video? Every phase of the clear is below in order, with the block counts and the frames they were taken from — keep it open next to the game and follow along tap by tap.
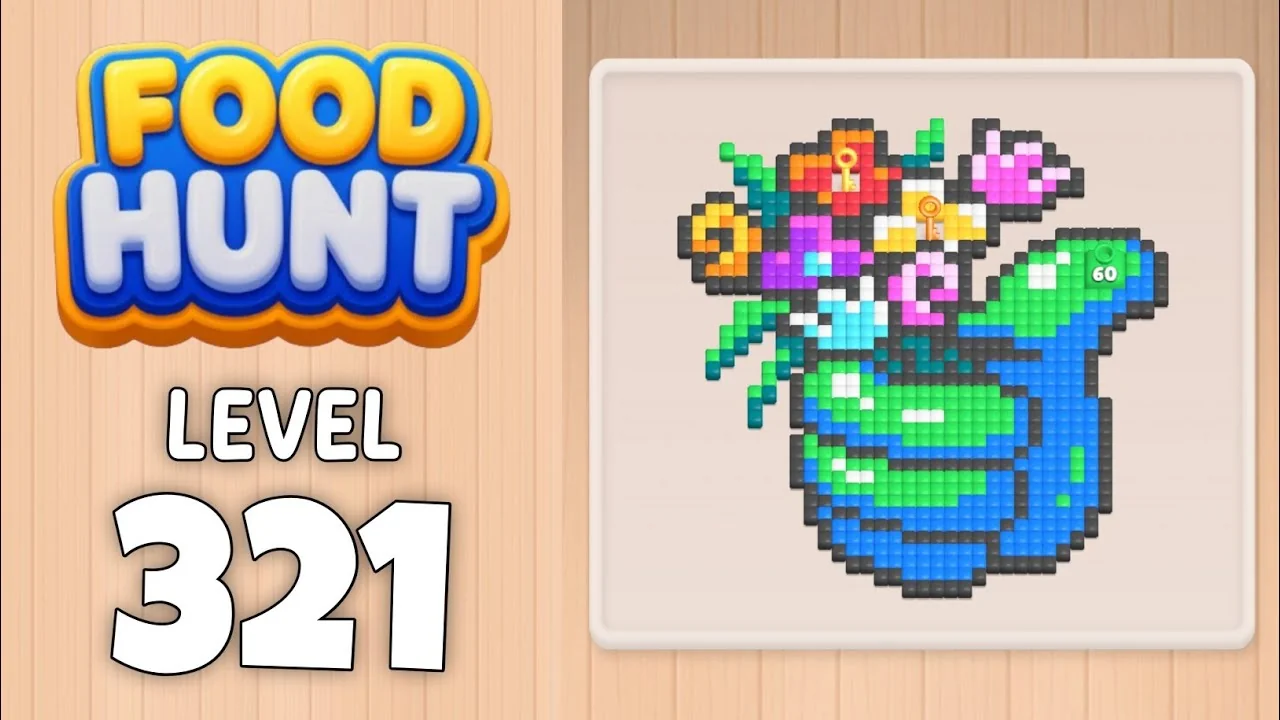
Level: 321 — a big green thumbs-up in front of a bouquet: an orange flower and a red flower with a key on the left, a white-and-gold flower holding a second key in the middle, pink, magenta and violet blooms on the right, and green leaves and stems woven through the whole picture
Source: frame-by-frame analysis of the Level 321 recording (317 frames @ 2 fps ≈ 2:38; board empty at 2:36 — timestamps below are video time, recorded at the game's 2x eating speed)
Blocks fed: 51 | Total pixels: ~878 | Move limit: none — order only affects speed
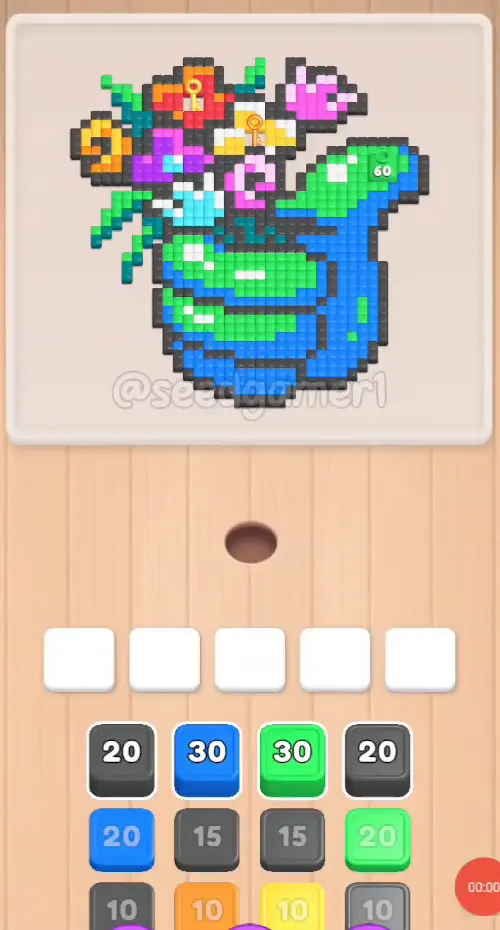
How the Level Works
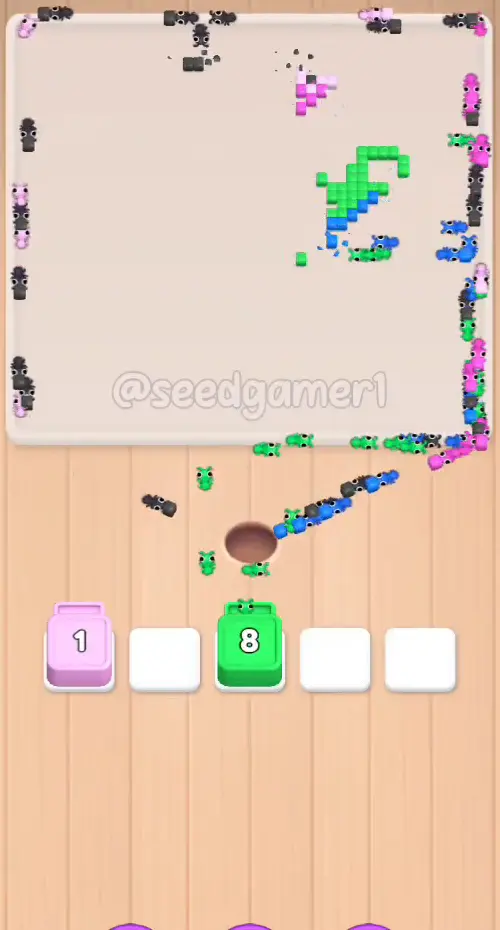
1. Tap a color block in the bottom queue to send it into one of the five slots above. All five slots are open from the start on this level — there is nothing chained shut. 2. Ants of that color pour out and eat every reachable pixel of the matching color on the picture; the number printed on the block counts down as pixels are eaten. At 0 the block vanishes and frees its slot. 3. The queue is four columns, and two of them are padlocked — one at each end. The lock icon shows up as soon as that column advances onto it (the left-hand one at about 0:04, the right-hand one at about 0:12) and it blocks everything behind it. The right-hand column unlocks at about 0:40 when the orange key on the white flower is eaten, and the left-hand column at about 1:43 when the gold key on the red flower is eaten. Until then the level runs on two feed lines, not four. 4. Same-color replacements hide in plain sight. Blue ×29 (step 40) and Blue ×28 (step 44) land in slot 1 ten seconds apart with no empty frame between them — the printed number simply jumps back up to 28. If you only watch colors you will count them as one block. 5. The level stalls in waves. Red ×10 sits untouched for half a minute (twice), White ×20 freezes at 9 for over half a minute and Pink ×14 grinds at 5 for forty seconds. That is the level's normal rhythm, not a mistake — the release always comes from another color. 6. Eat the entire picture to win. One clean run takes 2:36 of footage, and roughly a third of it is spent waiting on frozen blocks rather than tapping.
Colors in this level: Dark grey (the outline drawn around every shape and around the thumbs-up), Green (the upright thumb, the bands across the hand and the leaf sprigs), Blue (the big curled hand the thumb rises from), Teal (the dark-green leaves and the shading in the stems), Cyan (the pale-blue stem highlights in the middle), Red (the red flower at the top centre), Orange (the orange flower at the top left, and the orange key), Yellow (the flower centers and the gold key), Pink (the pink blooms at the top right), Magenta (the magenta bloom at the top right and the buds in the middle), Purple (the violet flower in the middle left), White (the white flower and the pale highlights across the picture).
Complete Block Order (Which Color First, Then Which)
Timestamps are when the block lands in a slot. Count is the number printed on the block as it lands.
Phase 1 — The Opening Rush (0:03 – 0:07)
| # | Time | Color Block | Count |
|---|---|---|---|
| 1 | 0:03 | ⬛ Dark grey | 18 |
| 2 | 0:04 | 🟦 Blue | 20 |
| 3 | 0:04 | ⬛ Dark grey | 10 |
| 4 | 0:05 | ⬛ Dark grey | 18 |
| 5 | 0:07 | 🟦 Blue | 29 |
Phase 2 — All Five Slots Full (0:08 – 0:12)
| # | Time | Color Block | Count |
|---|---|---|---|
| 6 | 0:08 | ⬛ Dark grey | 15 |
| 7 | 0:10 | 🟩 Green | 29 |
| 8 | 0:10 | ⬛ Dark grey | 15 |
| 9 | 0:10 | 🟩 Green | 20 |
| 10 | 0:12 | ⬛ Dark grey | 10 |
Ten blocks in the first twelve seconds: five dark greys, two blues and two greens, with nothing stalling. The first three dark greys drain in three or four seconds each, so by 0:12 every slot has been recycled at least once. Feed the next block the moment a slot frees.
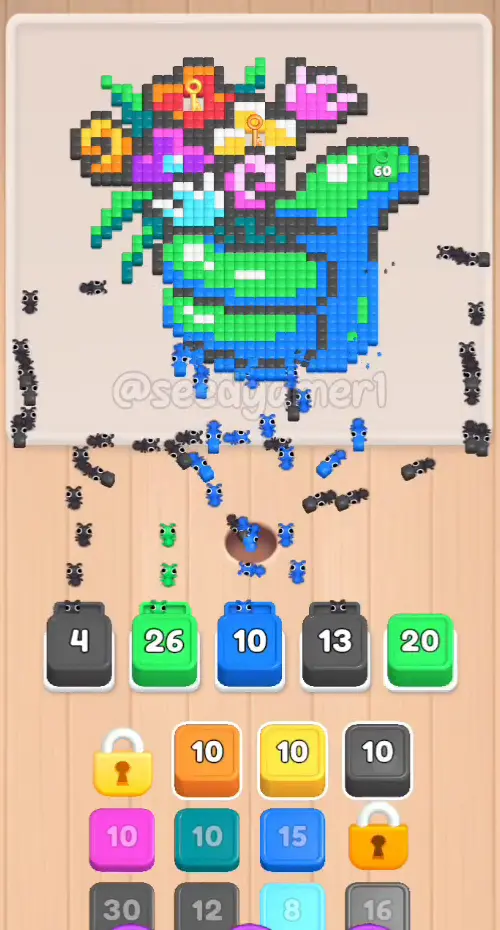
Phase 3 — Both Padlocks, and the First Lull (0:21 – 0:29)
| # | Time | Color Block | Count |
|---|---|---|---|
| 11 | 0:21 | 🟧 Orange | 9 |
| 12 | 0:21 | 💠 Teal | 9 |
| 13 | 0:21 | ⬛ Dark grey | 12 |
| 14 | 0:29 | 🟨 Yellow | 6 |
| 15 | 0:29 | 🩵 Cyan | 9 |
From 0:12 to 0:21 the board is busy and all five slots recycle; from 0:22 the pace drops sharply because both locked columns are stuck at the head of their queues. Only the two middle columns can still be tapped, so you will often run with two or three blocks instead of five. Do not wait for the locks — take everything the middle columns offer.
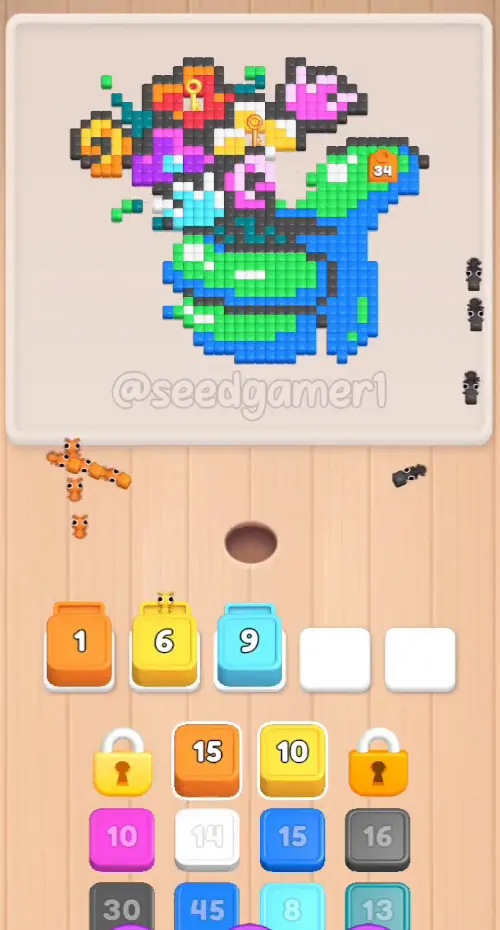
Phase 4 — The Right-Hand Lock Opens (0:33 – 0:41)
| # | Time | Color Block | Count |
|---|---|---|---|
| 16 | 0:33 | 🟧 Orange | 14 |
| 17 | 0:34 | ⬜ White | 13 |
| 18 | 0:35 | 🟦 Blue | 43 |
| 19 | 0:41 | ⬛ Dark grey | 15 |
The orange ×14 is the last orange block of the level and the one that pays off the right-hand padlock: the lock icon turns back into a block at 0:40, and from then on three columns are live. Blue ×43 is the largest block of the first half — it drains in under ten seconds and takes the whole blue side of the thumbs-up with it.
Phase 5 — The Middle Grind (0:51 – 1:03)
| # | Time | Color Block | Count |
|---|---|---|---|
| 20 | 0:51 | 🟨 Yellow | 9 |
| 21 | 0:52 | 🟦 Blue | 13 |
| 22 | 0:56 | 🟥 Red | 10 |
| 23 | 0:56 | ⬛ Dark grey | 25 |
| 24 | 1:02 | 💠 Teal | 12 |
| 25 | 1:02 | 🟣 Purple | 10 |
The red ×10 (step 22) freezes at exactly 10 from 0:56 all the way to about 1:25 — its flower is walled in by the outline above it. Meanwhile the dark grey ×25 drains almost at once and frees its slot. Do not feed a second red block hoping to hurry it along; the outline blocks are what release it.
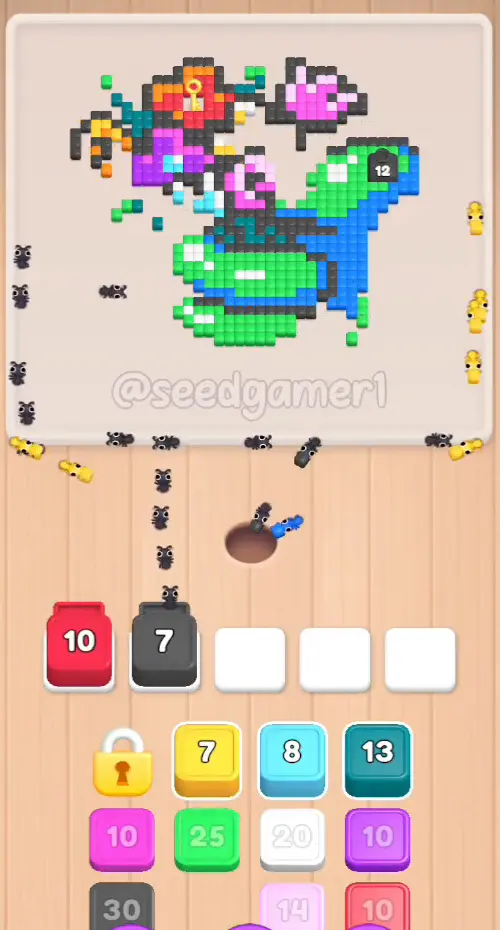
Phase 6 — Three Frozen Blocks (1:12 – 1:26)
| # | Time | Color Block | Count |
|---|---|---|---|
| 26 | 1:12 | 🩵 Cyan | 8 |
| 27 | 1:13 | ⬜ White | 20 |
| 28 | 1:16 | 🩷 Pink | 14 |
| 29 | 1:16 | ⬛ Dark grey | 30 |
| 30 | 1:19 | 🟩 Green | 13 |
| 31 | 1:26 | 🟥 Red | 10 |
This is the slowest stretch of the level. White ×20 sits at 9 from about 1:24 to 1:57, Pink ×14 sits at 5 from about 1:27 to 2:09, and the second red ×10 sits at 10 from 1:26 to about 1:44. Three of the five slots are effectively parked, so the level runs on two feeds again — feed outline and green blocks whenever they appear, and be patient.
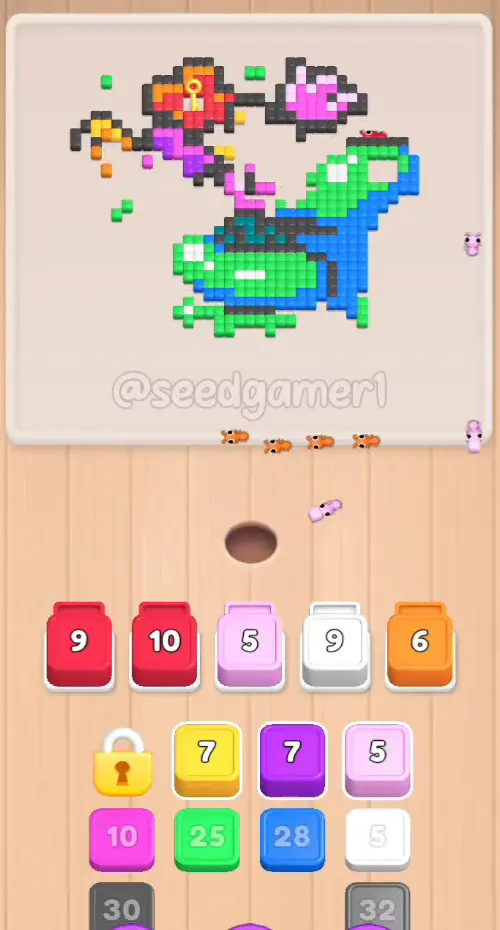
Phase 7 — The Left-Hand Lock Opens (1:27 – 1:56)
| # | Time | Color Block | Count |
|---|---|---|---|
| 32 | 1:27 | 🟧 Orange | 10 |
| 33 | 1:46 | 🟨 Yellow | 6 |
| 34 | 1:51 | 🟪 Magenta | 8 |
| 35 | 1:53 | ⬛ Dark grey | 28 |
| 36 | 1:53 | 🟩 Green | 45 |
| 37 | 1:56 | 💠 Teal | 8 |
At 1:43 the gold key on the red flower is eaten and the left-hand column finally unlocks — from here all four columns are usable and the taps come thick and fast. Green ×45 (step 36) is the level's biggest block and drains in about ten seconds, taking a large slice of the leaves with it.
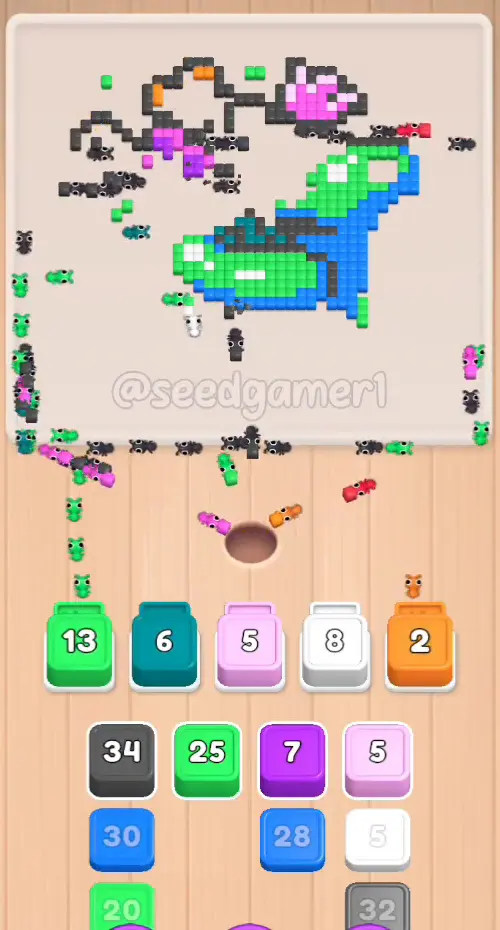
Phase 8 — The Board Empties (1:59 – 2:09)
| # | Time | Color Block | Count |
|---|---|---|---|
| 38 | 1:59 | 🟧 Orange | 4 |
| 39 | 2:01 | ⬛ Dark grey | 33 |
| 40 | 2:05 | 🟦 Blue | 29 |
| 41 | 2:08 | 🟩 Green | 19 |
| 42 | 2:09 | ⬛ Dark grey | 28 |
Orange ×4 (step 38) is a two-second throwaway: tap it, let it vanish, and use the slot immediately. Everything after it is big — this is where the board visibly shrinks frame by frame.
Phase 9 — Twin Blues Back to Back (2:11 – 2:13)
| # | Time | Color Block | Count |
|---|---|---|---|
| 43 | 2:11 | 🟣 Purple | 5 |
| 44 | 2:11 | 🟦 Blue | 28 |
| 45 | 2:13 | 🟩 Green | 23 |
Blue ×29 (step 40) and Blue ×28 (step 44) are easy to mistake for one long block, because the replacement arrives in the same frame the old one disappears — there is no empty slot in between. Watch the printed number instead: it climbs back up to 28 at 2:11.
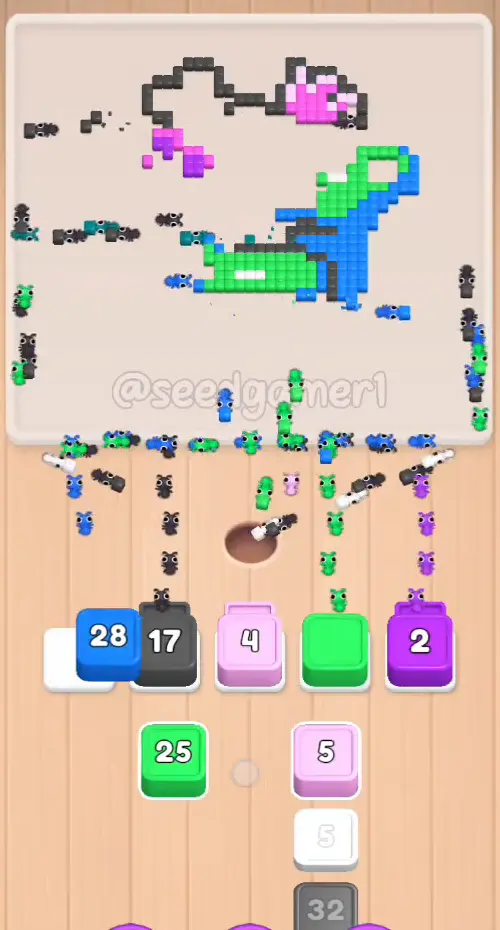
Phase 10 — The Last Six Blocks (2:21 – 2:27)
| # | Time | Color Block | Count |
|---|---|---|---|
| 46 | 2:21 | 🩷 Pink | 5 |
| 47 | 2:21 | ⬜ White | 5 |
| 48 | 2:21 | ⬛ Dark grey | 32 |
| 49 | 2:21 | 🟪 Magenta | 21 |
| 50 | 2:22 | 🟦 Blue | 25 |
| 51 | 2:27 | 🟩 Green | 28 |
Steps 46–49 land within one second of each other (2:21); the order between them changes nothing. The queue is empty by 2:22 — blue ×25 and green ×30 are the last two blocks in it.
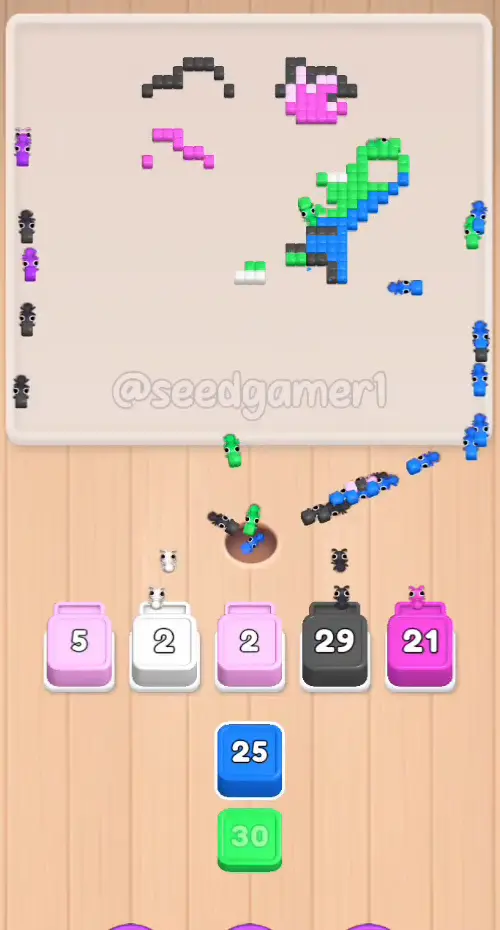
The very last pixel to fall is 🟩 Green (Green ×28, step 51, fed at 2:27 and finishing at about 2:36).
Quick Reference — One-Line Order
Dark grey 18 → Blue 20 → Dark grey 10 → Dark grey 18 → Blue 29 → Dark grey 15 → Green 29 → Dark grey 15 → Green 20 → Dark grey 10 → Orange 9 → Teal 9 → Dark grey 12 → Yellow 6 → Cyan 9 → Orange 14 → White 13 → Blue 43 → Dark grey 15 → Yellow 9 → Blue 13 → Red 10 → Dark grey 25 → Teal 12 → Purple 10 → Cyan 8 → White 20 → Pink 14 → Dark grey 30 → Green 13 → Red 10 → Orange 10 → Yellow 6 → Magenta 8 → Dark grey 28 → Green 45 → Teal 8 → Orange 4 → Dark grey 33 → Blue 29 → Green 19 → Dark grey 28 → Purple 5 → Blue 28 → Green 23 → Pink 5 → White 5 → Dark grey 32 → Magenta 21 → Blue 25 → Green 28
Pro Tips
1. Fill all five slots in the first twelve seconds. Steps 1-10 land between 0:03 and 0:12 and every one of them is short — the first three dark greys drain in three or four seconds each. There is nothing to wait for and no locked slot in the way.
2. Dark grey is the level's backbone: 258 of the ~878 pixels. Thirteen of the fifty-one blocks are dark grey, and they clear the outline that wraps every shape — including the wall that holds the red and pink flowers prisoner. Whenever a dark grey block is available, take it.
3. Never wait on a padlock. The left-hand column is locked until about 1:43 and the right-hand one until about 0:40. Between 0:12 and 0:40 only two columns are tappable and the level is slow on purpose. Feed the middle columns non-stop instead of hoarding slots.
4. Orange ×14 (step 16) is the key to the right-hand lock. It is the block that eats the orange key on the white flower; the padlock becomes a block at 0:40 and a third feed line opens. Feed it as soon as it is in reach.
5. Three blocks stall in the middle — expect it. White ×20 freezes at 9 (about 1:24 - 1:57), Pink ×14 freezes at 5 (about 1:27 - 2:09) and both red blocks sit at 10 for half a minute or more (1:26 - 1:44). Do not feed duplicates of a stalled color; the outline blocks are what release them.
6. Red ×10 is the most stuck color in the level. It appears twice (steps 22 and 31) and both times it holds a slot for over thirty seconds. Plan to run on four slots, not five, from 0:56 to 1:45.
7. Blue ×43 (step 18) and Green ×45 (step 36) are the two big sweepers. Each clears a large connected area in ten seconds or so and recycles its slot quickly — they are the fastest progress in the run.
8. Twin same-color blocks are two taps, not one. Blue ×29 (step 40) and Blue ×28 (step 44) share slot 1 with no empty frame in between; Green ×19 and Green ×23 (steps 41 and 45) refill slot 4 the same way, with a short gap. Count them as two taps each when you plan your slots.
9. The finale is green. Six of the last eight blocks are feed-and-forget: pink ×5, white ×5, dark grey ×32, magenta ×21, blue ×25, green ×28. Green ×28 is last and takes the level's final pixel at about 2:36.
10. No fail state. Nothing can be lost here — one clean run takes 2:36 of footage at the game's 2x eating speed, and the order only affects how fast you get there.
Compiled from frame-by-frame video analysis: 317 frames (2 fps). Every one of the 51 blocks was located by tracking each slot's color across all 317 frames, then re-reading the number box on the landing frame — and on every third frame of every long run, because a same-color replacement leaves no empty frame on a 2 fps recording. Sanity check: the 51 counts sum to 878, which matches the picture's ~878 painted pixel-art cells at the measured 9.7 px grid pitch.
Food Hunt Level 321 — frequently asked questions
- What colours are on the Food Hunt Level 321 board?
- The board image breaks down into 9 main colours, each covering at least 2% of it: dark grey (#4B4F51, 15.4% of the board), blue (#248AF3, 9.5% of the board), green (#39DF66, 9.3% of the board), white (#E0DCDB, 4.7% of the board), orange (#EB9549, 4.2% of the board), dark cyan (#207698, 4.0% of the board), cyan (#40BEB9, 2.9% of the board), deep grey (#7A6577, 2.8% of the board) and purple (#DE5DE7, 2.6% of the board). The cream around the picture reads as the board's empty background — it frames the artwork rather than forming part of it.
- Which colour should I clear first in Food Hunt Level 321?
- dark grey covers the most of the board at 15.4%, and blue is next at 9.5%. The step-by-step walkthrough above is this board's actual tap order; the colour shares here are only what each colour costs to clear.
- What difficulty is Level 321 in Food Hunt: Pixel Puzzle?
- Level 321 is rated Advanced difficulty in Food Hunt: Pixel Puzzle.
- Is there a video walkthrough for this Food Hunt level?
- Yes — the walkthrough video on this page plays the full clear of this board, so you can follow the tap order block by block. The board image next to it shows what the finished picture is made of.
More advanced walkthroughs
View all →
Featured walkthroughs
The levels players search for most - each with a full video guide.