Food Hunt Level 305 Walkthrough
AdvancedFASHION Runway Cat
How do you beat level 305? Watch the video or follow the step-by-step picture and text guide to complete it!

Level board
Step-by-step walkthrough
Prefer screenshots to video? Every phase of the clear is below in order, with the block counts and the frames they were taken from — keep it open next to the game and follow along tap by tap.
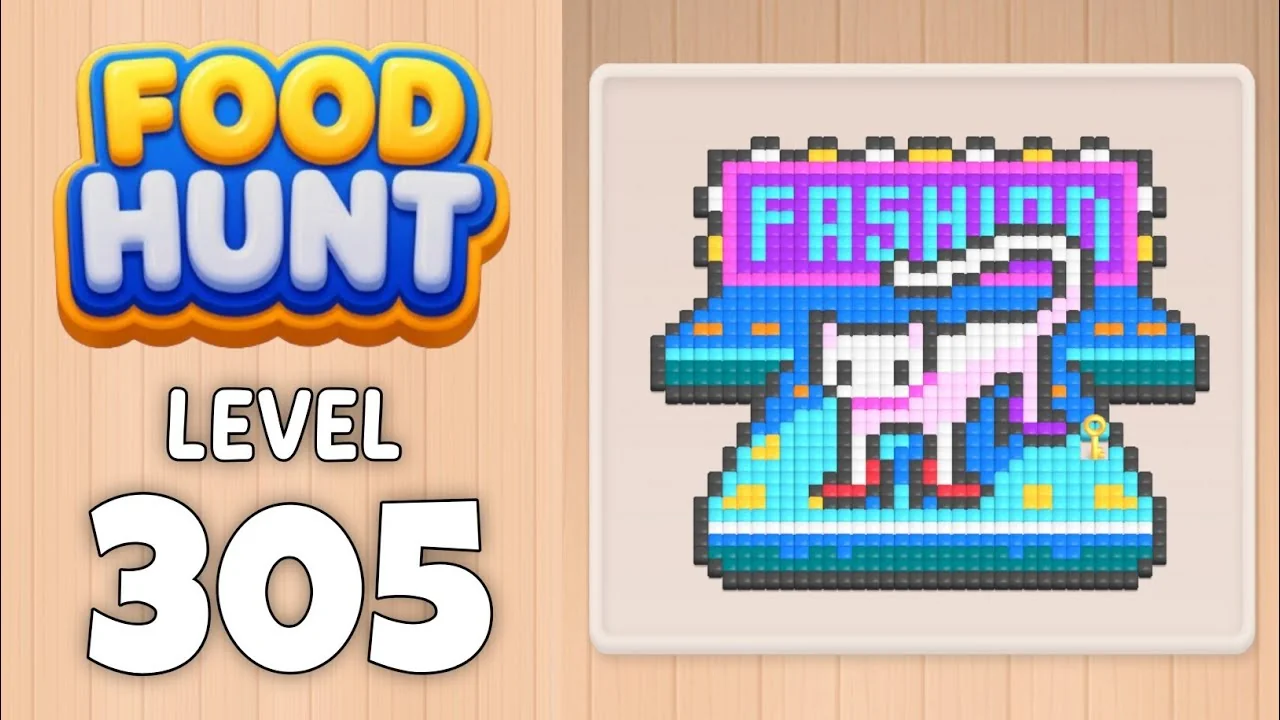
Level: 305 (Hard) — pixel art of a white cat in a pink outfit and red high heels strutting down a teal runway under a big magenta "FASHION" neon sign, with a dark blue backdrop, pale blue panels, yellow bulb strips and purple sparkles
Source: frame-by-frame analysis of the
foodhunt-level-305recording (452 frames @ 2 fps, 3:46 of footage, one clean run; the recording carries the game's2xspeed badge)Blocks fed: 40 | Cells eaten: ~1,102 as printed across those blocks | Move limit: none — the order only decides how fast you finish
Clear time: board empty at 3:38 (frame 438) — the last block still running is a Blue one
How the Level Works
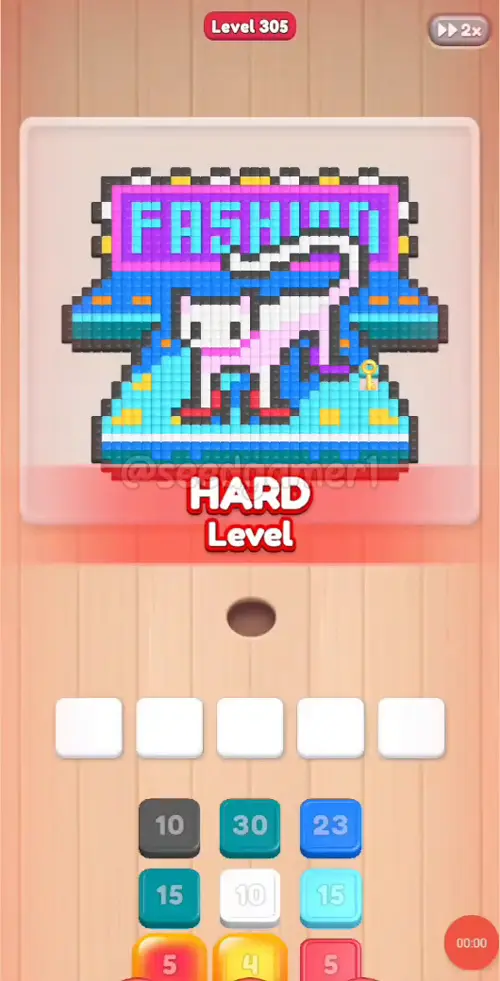
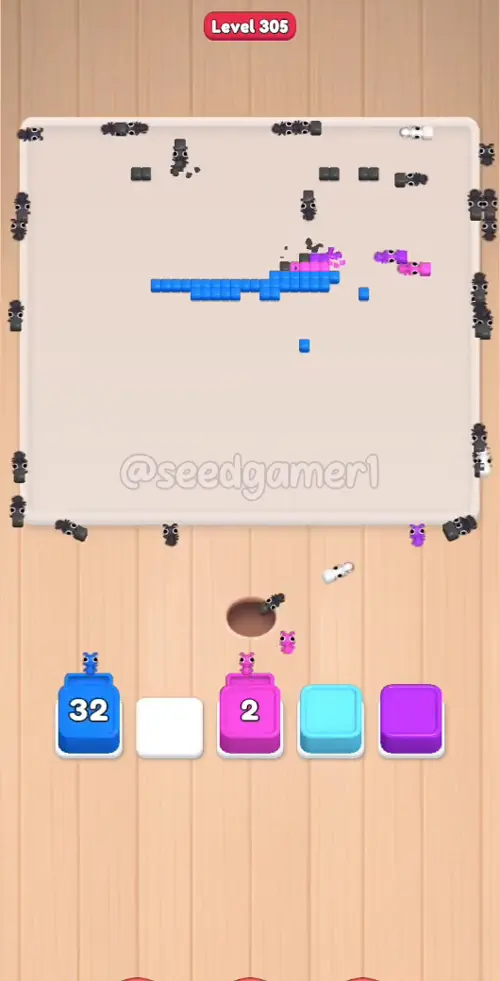
1. Tap a color block in the bottom queue (three columns, bright top block first). It flies into one of the five slots above, and an ant of that color starts eating.
2. A block eats every reachable cell of its own color; the printed number counts down as it eats. At 0 the block vanishes and frees its slot — refill immediately.
3. This level is built around chained blocks. Four times, two blocks landing in neighboring slots come in linked by a bar. Both blocks must finish before the chain lets go of both slots: the faster block eats down to zero first, then sits on its slot as a solid colorless shell while the slower partner keeps eating. Until the second block clears, neither slot can take a new block. The four chains here occupy slots 4+5 for 40 s, 79 s and 73 s, and slots 1+2 for 13 s.
4. Big areas come back as separate blocks. The pale blue backdrop, the dark blue backdrop, the sign frame, the runway and the cat's pink patches each feed several blocks — the first block takes what is exposed, later blocks take what was buried.
5. Stuck blocks are normal. A block whose remaining cells are buried freezes on its number for tens of seconds. The worst here: Yellow ×19 frozen ~95 s and Purple ×60 frozen ~79 s. Do not tap extra blocks hoping to hurry them.
6. Eat the whole picture to win. No fail state; played at 2x the whole run takes 3:38.
Colors in this level: ⬛ Dark grey (the sign frame and its shadow) · 🟦 Blue (the dark backdrop strips around the runway) · 🩵 Sky blue (the pale blue side panels) · 💠 Teal (the runway the cat walks on) · 🩷 Pale pink (the light patches on the cat's body) · 🟪 Magenta (the FASHION letters and the cat's bright outfit patches) · 🟣 Purple (the sparkles around the sign) · ⬜ White (the cat's fur and sign highlights) · 🟨 Yellow (the bulb strips above and below) · 🟥 Red (the high heels) · 🟧 Orange (the small lamp dots)
Complete Block Order (Which Color First, Then Which)
Timestamps are the moment the block lands in its slot (t = (frame − 1) / 2). Count = the number printed when it landed. Chained blocks say "chained to #N" in the last column.
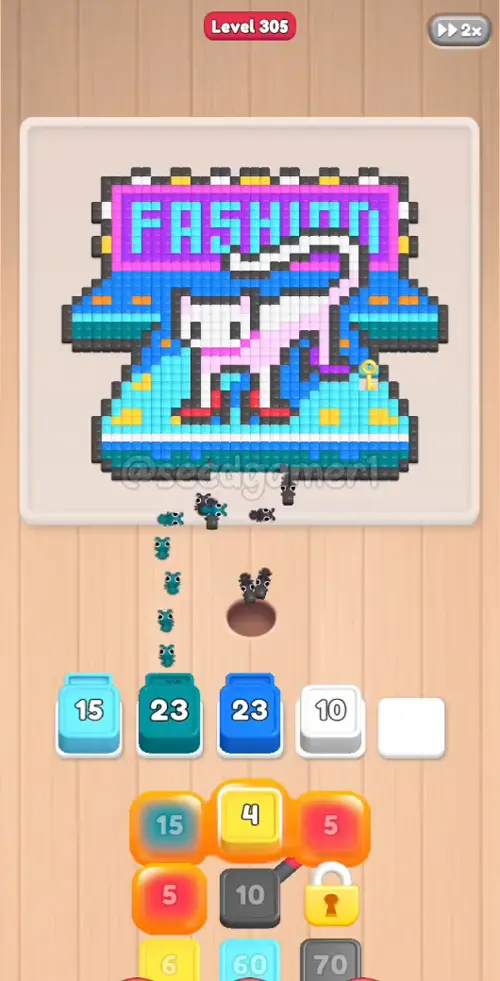
Phase 1 — Opening Six (0:02 – 0:08)
| # | Time | Color Block | Count | What It Clears |
|---|---|---|---|---|
| 1 | 0:02 | ⬛ Dark grey | ×10 | Top corner of the sign frame |
| 2 | 0:03 | 💠 Teal | ×30 | Runway edge under the cat |
| 3 | 0:04 | 🟦 Blue | ×23 | Dark backdrop left of the runway |
| 4 | 0:06 | 🩵 Sky blue | ×15 | Pale blue panel, upper left |
| 5 | 0:06 | ⬜ White | ×10 | The cat's head and chest |
| 6 | 0:08 | 🟨 Yellow | ×4 | Bulb dots above the sign |
Phase 2 — First Chain + Big Pale Blue (0:16 – 0:24)
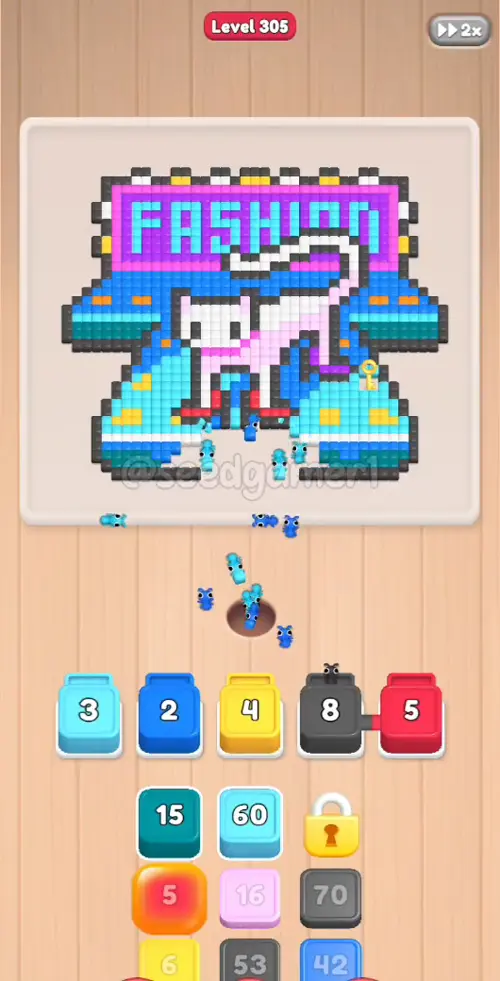
| # | Time | Color Block | Count | What It Clears |
|---|---|---|---|---|
| 7 | 0:16 | 🟦 Blue | ×2 | Leftover dark backdrop |
| 8 | 0:16 | 🟨 Yellow | ×4 | Bulb dots, lower strip |
| 9 | 0:16 | ⬛ Dark grey | ×8 | Sign frame segment — chained to #10 |
| 10 | 0:16 | 🟥 Red | ×5 | The red high heels — chained to #9 |
| 11 | 0:19 | 🩵 Sky blue | ×60 | Big pale blue panel, left side |
| 12 | 0:24 | 💠 Teal | ×6 | Runway leftover |
Phase 3 — The Sky ×64 Stall (0:28 – 0:58)
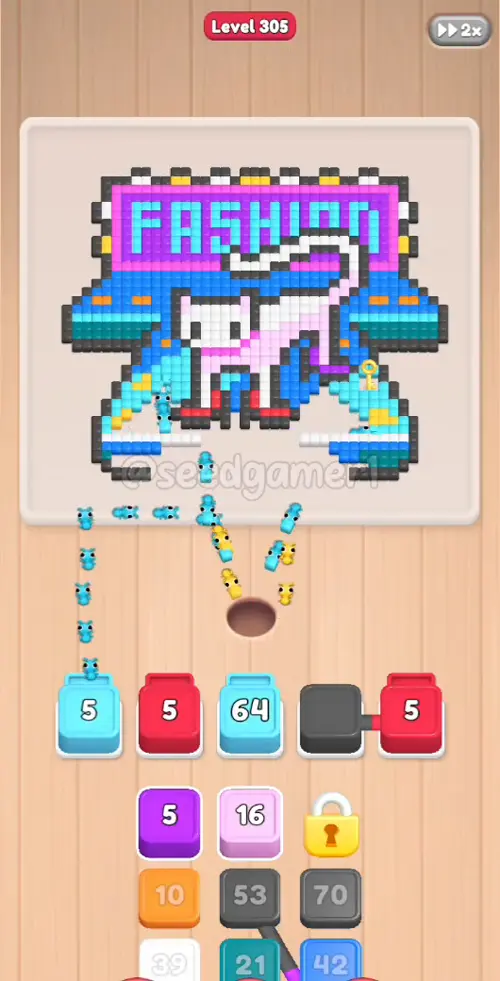
| # | Time | Color Block | Count | What It Clears |
|---|---|---|---|---|
| 13 | 0:28 | 🟥 Red | ×5 | High heels, second patch |
| 14 | 0:28 | 🟨 Yellow | ×6 | Bulb dots |
| 15 | 0:39 | 🩵 Sky blue | ×64 | Pale blue panels — frozen ~73 s, clears ~1:52 |
| 16 | 0:47 | ⬛ Dark grey | ×68 | Sign frame, long run |
| 17 | 0:58 | 🟦 Blue | ×40 | Dark backdrop, large patch |
Phase 4 — Second Chain: Dark Grey 51 + Purple 60 (1:01 – 1:13)
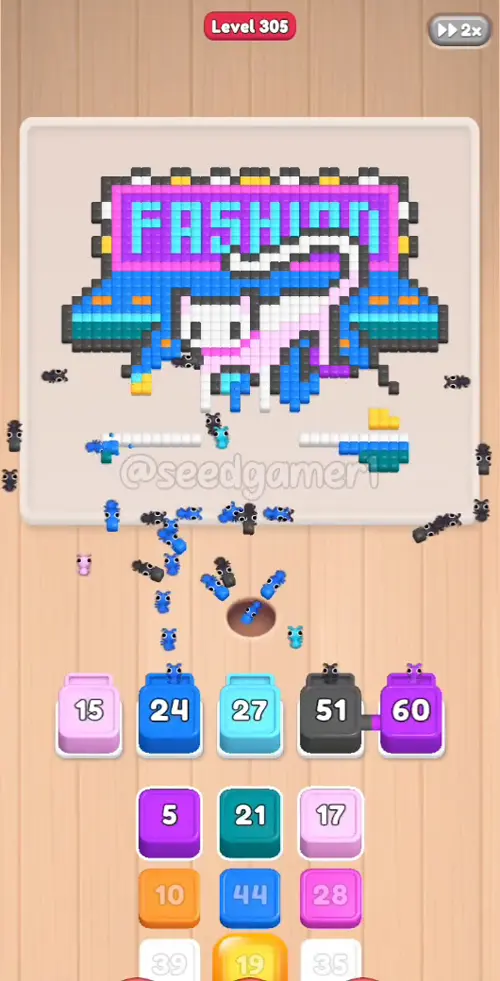
| # | Time | Color Block | Count | What It Clears |
|---|---|---|---|---|
| 18 | 1:01 | 🩷 Pale pink | ×15 | Light patch on the cat's back |
| 19 | 1:01 | ⬛ Dark grey | ×51 | Sign frame, center — chained to #20 |
| 20 | 1:01 | 🟣 Purple | ×60 | Purple sparkles, biggest run — chained to #19 |
| 21 | 1:08 | 💠 Teal | ×20 | Runway, second pass |
| 22 | 1:13 | 🩷 Pale pink | ×17 | Cat's light patches |
| 23 | 1:13 | 🟦 Blue | ×43 | Dark backdrop, wide strip |
Phase 5 — Yellow ×19, the Longest Stall (1:27 – 2:00)
| # | Time | Color Block | Count | What It Clears |
|---|---|---|---|---|
| 24 | 1:27 | 🟨 Yellow | ×19 | Bulb strips — frozen ~95 s, clears ~3:03 |
| 25 | 1:29 | 🟪 Magenta | ×26 | FASHION letters, first pass |
| 26 | 1:52 | 🟣 Purple | ×5 | Purple sparkles leftover |
| 27 | 1:52 | ⬜ White | ×34 | Cat's body, main pass |
| 28 | 2:00 | 🟧 Orange | ×10 | Orange lamp dots |
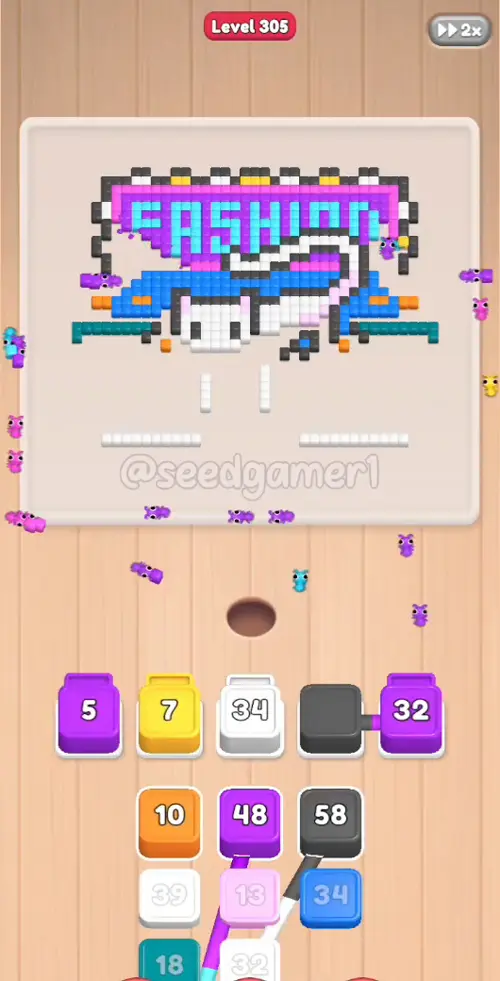
Phase 6 — White 37, Teal 16 + Third Chain (2:00 – 2:21)
| # | Time | Color Block | Count | What It Clears |
|---|---|---|---|---|
| 29 | 2:00 | ⬜ White | ×37 | Cat's fur and sign highlights |
| 30 | 2:16 | 💠 Teal | ×16 | Runway, third pass |
| 31 | 2:20 | 🟪 Magenta | ×26 | FASHION letters, second pass |
| 32 | 2:21 | 🩵 Sky blue | ×61 | Pale blue panel, right — chained to #33 |
| 33 | 2:21 | 🟣 Purple | ×47 | Purple sparkles, second run — chained to #32 |
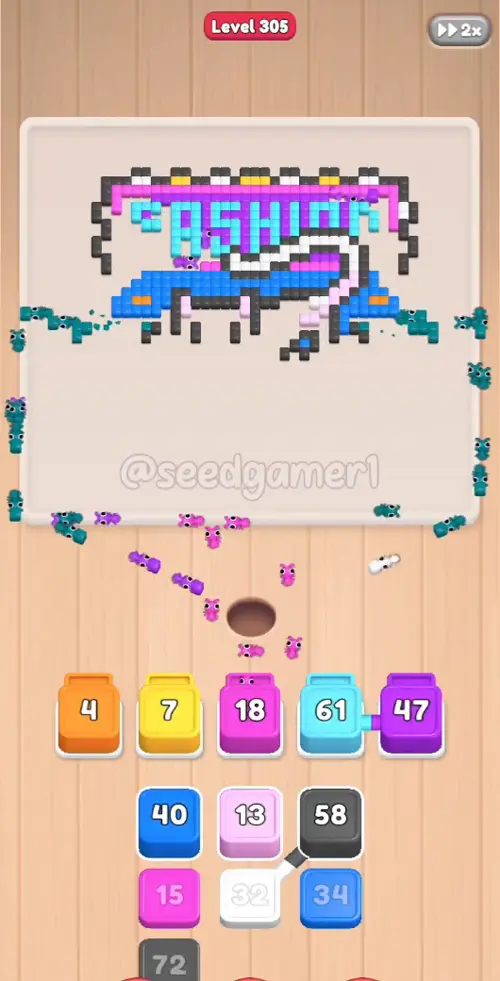
Phase 7 — Last Big Blocks (2:38 – 3:03)
| # | Time | Color Block | Count | What It Clears |
|---|---|---|---|---|
| 34 | 2:38 | 🟦 Blue | ×40 | Dark backdrop, final wide strip |
| 35 | 2:45 | 🩷 Pale pink | ×11 | Cat's light patches, buried leftover |
| 36 | 2:48 | 🟪 Magenta | ×14 | FASHION letters, last pass |
| 37 | 3:03 | ⬛ Dark grey | ×72 | Sign frame, the longest run |
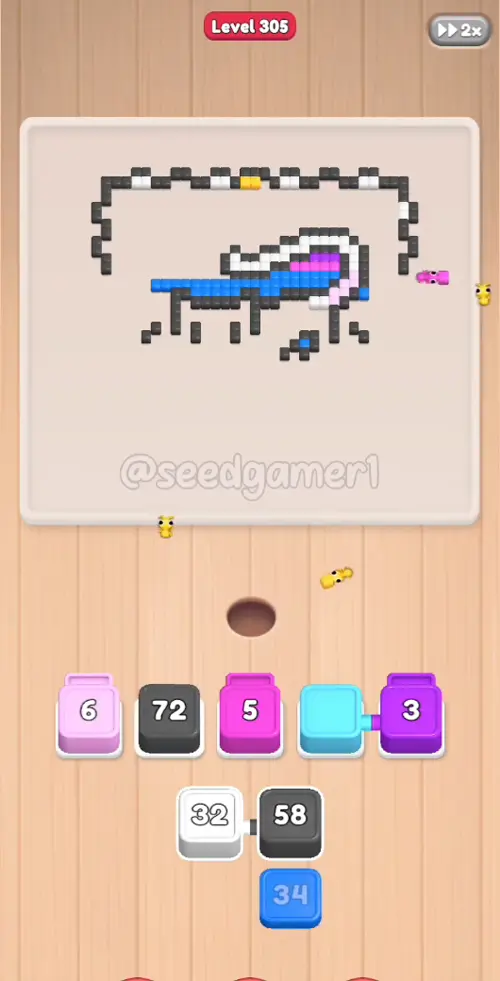
Phase 8 — Fourth Chain + Blue Finish (3:20 – 3:38)
| # | Time | Color Block | Count | What It Clears |
|---|---|---|---|---|
| 38 | 3:20 | ⬜ White | ×30 | Cat's fur, final pass — chained to #39 |
| 39 | 3:20 | ⬛ Dark grey | ×56 | Sign frame, buried leftover — chained to #38 |
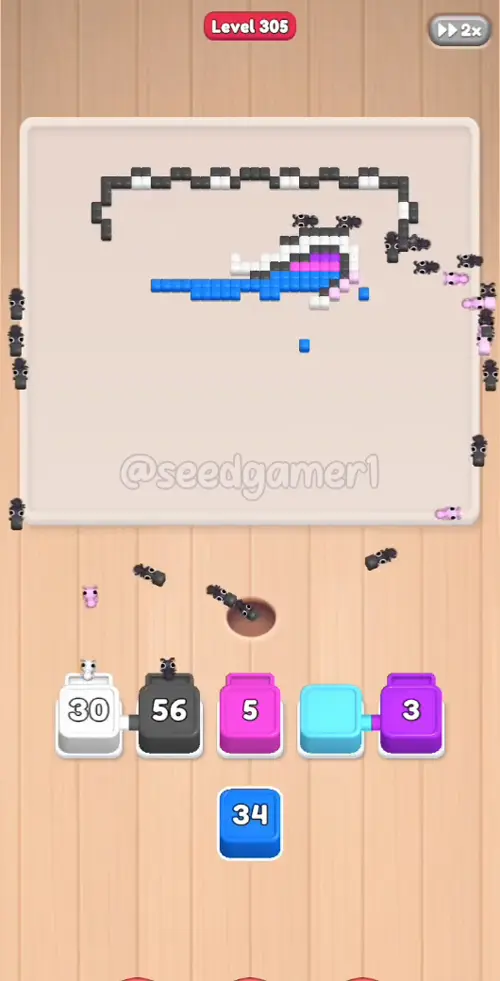
| 40 | 3:34 | 🟦 Blue | ×32 | Dark backdrop, the very last cells |
The very last pixel to fall is Blue (3:38).
Quick Reference — One-Line Order
Dark grey 10 → Teal 30 → Blue 23 → Sky blue 15 → White 10 → Yellow 4 → Blue 2 → Yellow 4 → Dark grey 8 → Red 5 → Sky blue 60 → Teal 6 → Red 5 → Yellow 6 → Sky blue 64 → Dark grey 68 → Blue 40 → Pale pink 15 → Dark grey 51 → Purple 60 → Teal 20 → Pale pink 17 → Blue 43 → Yellow 19 → Magenta 26 → Purple 5 → White 34 → Orange 10 → White 37 → Teal 16 → Magenta 26 → Sky blue 61 → Purple 47 → Blue 40 → Pale pink 11 → Magenta 14 → Dark grey 72 → White 30 → Dark grey 56 → Blue 32
Pro Tips
1. Keep all five slots full. Slots 4+5 are chained for most of the level (see below), so whenever a left slot opens, feed it at once — the whole run has only a handful of short idle gaps.
2. The four chains are the level. Pairs land together and both slots lock until both blocks finish: Dark grey 8 + Red 5 (0:16–0:57), Dark grey 51 + Purple 60 (1:01–2:20), Sky blue 61 + Purple 47 (2:21–3:34), White 30 + Dark grey 56 (3:20–3:33). While a chain is live, the faster block sits as a colorless shell — that is not a stuck block, do not tap at it.
3. Expected stalls (buried pixels, they resolve on their own): Yellow ×19 sits frozen at 7 for ~57 s and clears ~3:03; Purple ×60 grinds for the whole second chain, 79 s; Sky blue ×64 stalls ~73 s and frees slot 3 at ~1:52; Red ×5 (first one) takes ~40 s inside the first chain.
4. Big blocks first whenever a left slot frees. Sky blue ×60/×64, Dark grey ×68/×72 and Blue ×40/×43 sit on large connected areas and drain fast — they recycle their slot quickly and unlock the buried small blocks underneath.
5. The finale is one Blue block. From 3:34 only Blue ×32 remains; it eats the last dark backdrop cells and empties the board at 3:38.
6. No fail state — the order above is the fastest observed clear (~3:38 of footage at the game's 2x speed).
Compiled from frame-by-frame video analysis: 452 frames @ 2 fps, slot-row montage + per-seat zoom verification of all 40 landings, counts read off the settled blocks.
Food Hunt Level 305 — frequently asked questions
- What colours are on the Food Hunt Level 305 board?
- The board image breaks down into 9 main colours, each covering at least 2% of it: dark grey (#575256, 19.7% of the board), cyan (#59E0F0, 12.2% of the board), blue (#278BF3, 10.6% of the board), white (#F0E8F3, 8.9% of the board), dark cyan (#157D90, 6.8% of the board), purple (#B53FF6, 5.5% of the board), pink (#FA69EF, 4.5% of the board), yellow (#ECCB55, 2.6% of the board) and pale blue (#8D5EEA, 2.1% of the board). The cream around the picture reads as the board's empty background — it frames the artwork rather than forming part of it.
- Which colour should I clear first in Food Hunt Level 305?
- dark grey covers the most of the board at 19.7%, and cyan is next at 12.2%. The step-by-step walkthrough above is this board's actual tap order; the colour shares here are only what each colour costs to clear.
- What difficulty is Level 305 in Food Hunt: Pixel Puzzle?
- Level 305 is rated Advanced difficulty in Food Hunt: Pixel Puzzle.
- Is there a video walkthrough for this Food Hunt level?
- Yes — the walkthrough video on this page plays the full clear of this board, so you can follow the tap order block by block. The board image next to it shows what the finished picture is made of.
More advanced walkthroughs
View all →
Featured walkthroughs
The levels players search for most - each with a full video guide.