Food Hunt Level 228 Walkthrough
IntermediateHow do you beat level 228? Watch the video or follow the step-by-step picture and text guide to complete it!

Level board
Step-by-step walkthrough
Prefer screenshots to video? Every phase of the clear is below in order, with the block counts and the frames they were taken from — keep it open next to the game and follow along tap by tap.
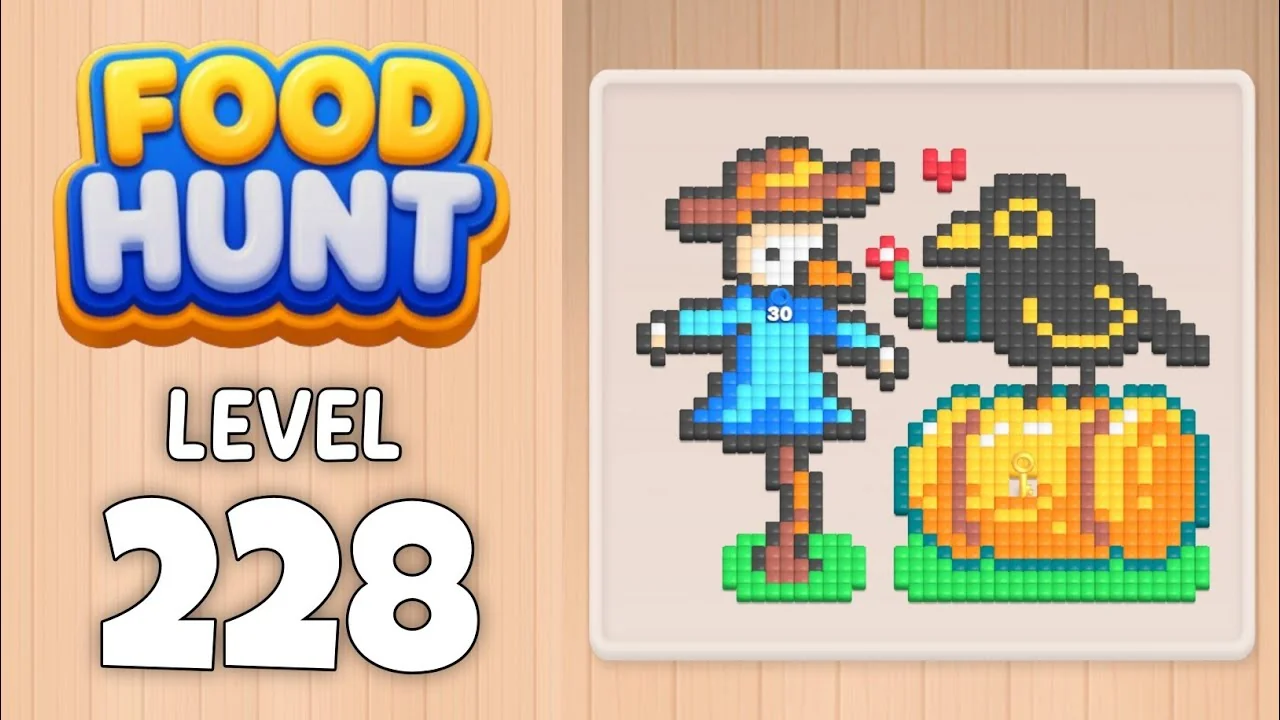
Level: 228 — a scarecrow in a blue dress and a straw hat standing beside a big orange-and-yellow pumpkin, with a dark crow perched on top of it; a red flower and a red heart float between them, and a green grass band runs along the bottom of the picture
Source: frame-by-frame analysis of the Level 228 recording (352 frames @ 2 fps ≈ 2:56; board empty at 2:48 — timestamps below are video time, recorded at the game's 2x eating speed)
Blocks fed: 34 | Total pixels: ~950 | Move limit: none — order only affects speed
How the Level Works
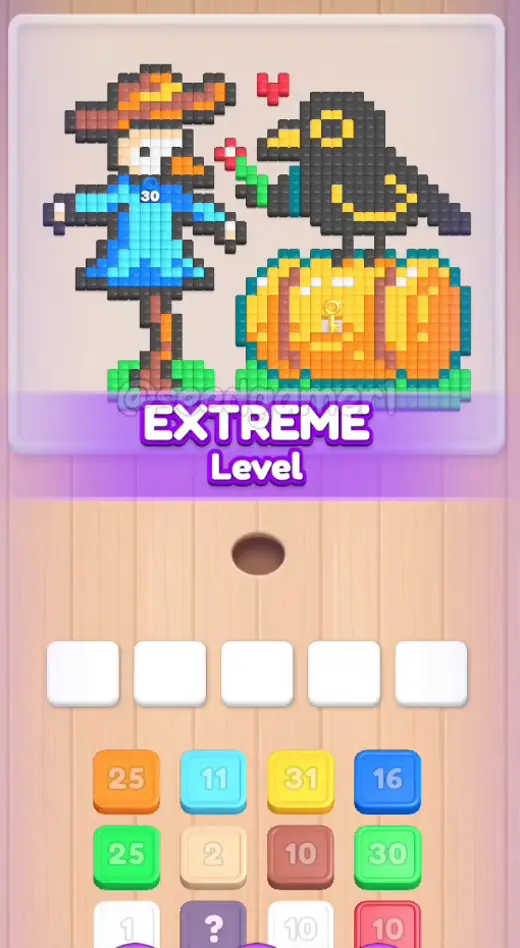
1. Tap a color block in the bottom queue to send it into one of the five slots above. All five slots are open from the start on this level — there is nothing chained shut. 2. Ants of that color pour out and eat every reachable pixel of the matching color on the picture; the number printed on the block counts down as pixels are eaten. At 0 the block vanishes and frees its slot. 3. The queue is four independent columns. Tapping pops the top block of one column, that column shifts up and a new block enters from below. One of them is a purple "?" mystery block — on this level it reveals itself as the opening dark grey ×49. 4. The outline dominates. Dark grey appears four times (49, 74, 73, 107) and those 303 pixels are the outline around every shape *plus* the crow's entire body — close to a third of the picture. The order of everything else is really just the order in which the outline opens up. 5. One tan block freezes for nearly two minutes. Tan ×2 drops to a single pixel within seconds and then sits in slot 2 from 0:14 to 2:08. That is normal — its last pixel is walled in, and it only comes free once a dark grey block lands. 6. Eat the entire picture to win. One clean run takes 2:48 of footage, and roughly a third of that is waiting on frozen blocks rather than tapping.
Colors in this level: Cyan (the pale-blue highlights on the scarecrow's dress and sleeves), Tan (two small pale-tan patches on the scarecrow), Dark grey (the outline drawn around every shape, and the crow's whole body), Blue (the scarecrow's dress), Green (the grass band along the bottom and the flower stem), Red (the heart above the crow and the flower in its beak), Yellow (the vertical stripes on the pumpkin and the crow's beak and eye-ring), Orange (the pumpkin's body and the scarecrow's straw hat), Rust (the scarecrow's hat brim, its stick arms and the brown shading), White (the scarecrow's face and the pumpkin's highlights), Teal (the dark-green leaves and shading around the pumpkin).
Complete Block Order (Which Color First, Then Which)
Timestamps are when the block lands in a slot. Count is the number printed on the block as it lands.
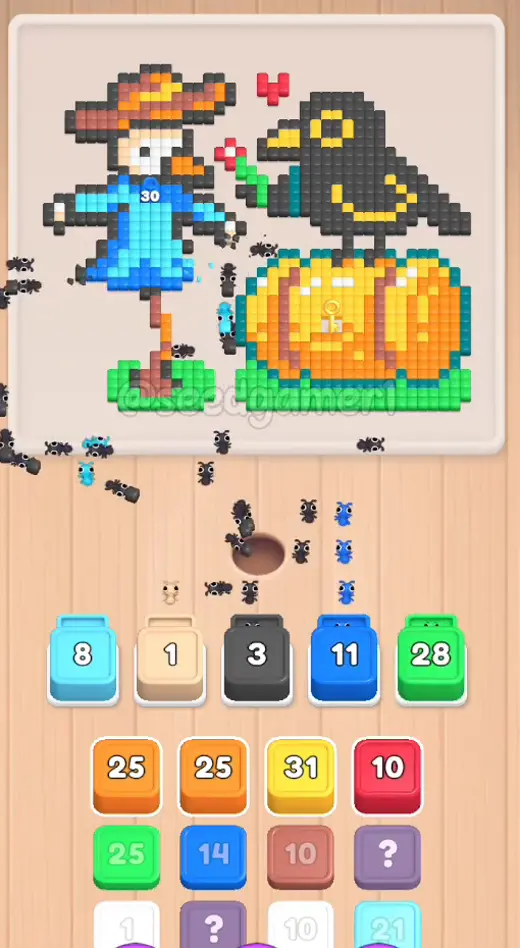
Phase 1 — Opening: Fill All Five Slots (0:03 – 0:16)
| # | Time | Color Block | Count |
|---|---|---|---|
| 1 | 0:03 | 🩵 Cyan | 11 |
| 2 | 0:03 | 🟤 Tan | 2 |
| 3 | 0:04 | ⬛ Dark grey | 49 |
| 4 | 0:12 | 🟦 Blue | 14 |
| 5 | 0:12 | 🟩 Green | 28 |
| 6 | 0:16 | 🟥 Red | 9 |
All five slots are busy before the level is thirteen seconds old, and there is nothing to hold back — none of these blocks stalls except the tiny tan one. Step 3 is the mystery "?" block from queue column 2; step 6 takes the slot the dark grey ×49 vacates at 0:13.
Phase 2 — The Board Drains and the Tan Block Freezes (0:28 – 0:37)
| # | Time | Color Block | Count |
|---|---|---|---|
| 7 | 0:28 | 🟧 Orange | 24 |
| 8 | 0:29 | 🟦 Blue | 12 |
| 9 | 0:30 | 🟨 Yellow | 30 |
| 10 | 0:37 | 🟩 Green | 29 |
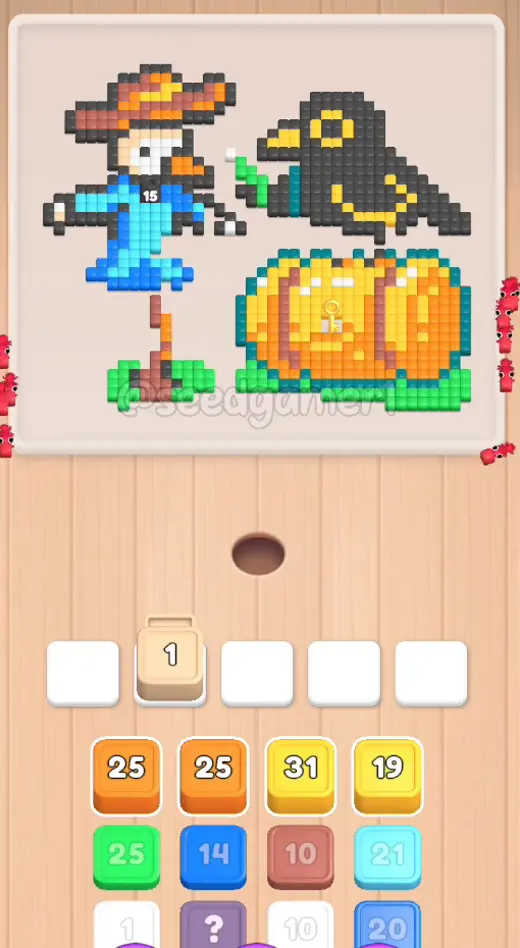
Between 0:18 and 0:28 every slot except the tan one empties and the board goes quiet: the only tan pixels left are buried, and the block that owns them is stuck on 1.
Phase 3 — Refilling the Right-Hand Slots (0:44 – 1:00)
| # | Time | Color Block | Count |
|---|---|---|---|
| 11 | 0:44 | 🟨 Yellow | 19 |
| 12 | 0:45 | 🩵 Cyan | 21 |
| 13 | 0:57 | 🟫 Rust | 9 |
| 14 | 0:59 | 🟦 Blue | 19 |
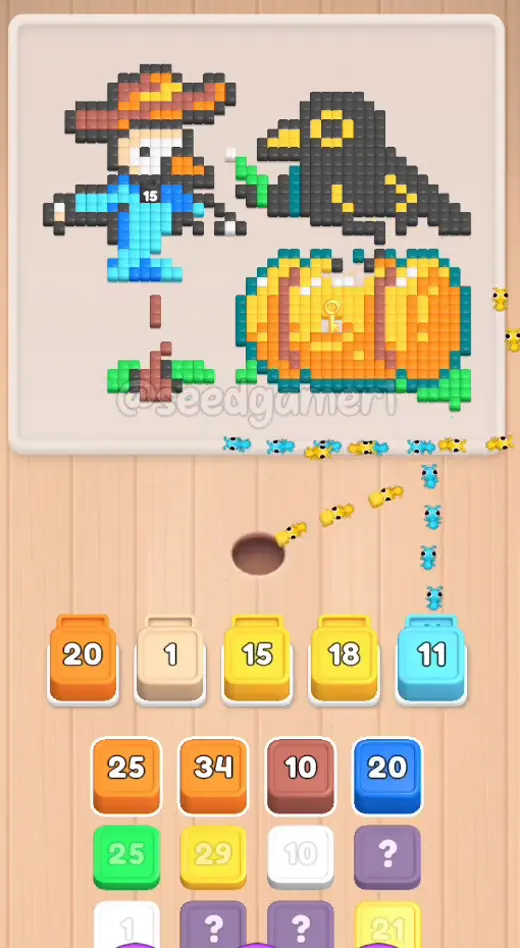
Rust ×9 lasts about two seconds — feed it only when a slot would otherwise sit idle, never while a big block still has room to run.
Phase 4 — The Second Minute: the Pumpkin Hollows Out (1:04 – 1:30)
| # | Time | Color Block | Count |
|---|---|---|---|
| 15 | 1:04 | 🟧 Orange | 25 |
| 16 | 1:08 | 🟫 Rust | 17 |
| 17 | 1:17 | 🟨 Yellow | 20 |
| 18 | 1:22 | 🟩 Green | 23 |
| 19 | 1:24 | ⬜ White | 9 |
| 20 | 1:27 | 💠 Teal | 17 |
| 21 | 1:30 | 🩵 Cyan | 18 |
Phase 5 — The Grind: the Crow's Dark Body (1:33 – 2:20)
| # | Time | Color Block | Count |
|---|---|---|---|
| 22 | 1:33 | 🟫 Rust | 18 |
| 23 | 1:52 | ⬛ Dark grey | 74 |
| 24 | 2:05 | 🟧 Orange | 34 |
| 25 | 2:07 | 🟨 Yellow | 28 |
| 26 | 2:09 | ⬛ Dark grey | 73 |
| 27 | 2:20 | ⬜ White | 11 |
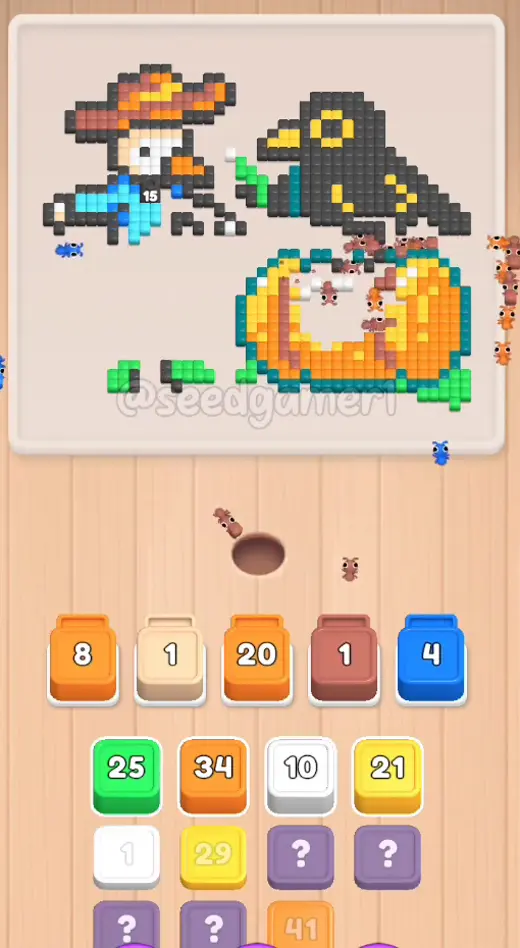
This is the long stretch of the level. Rust ×18 parks on ×7 from about 1:40 to 2:30 — over fifty seconds with almost no movement — because the brown pixels it wants sit behind the crow's outline. It only comes free once the dark greys have opened the way.
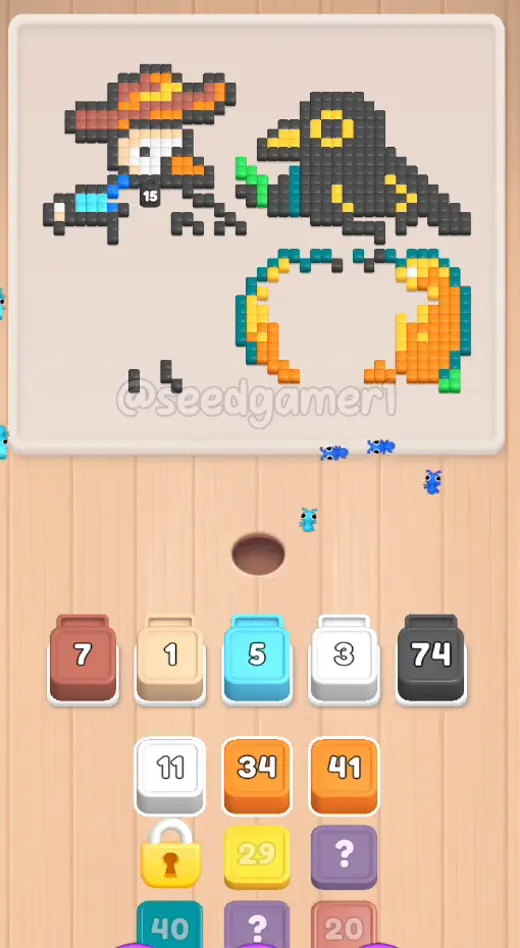
Phase 6 — Finale: The Last Four Blocks (2:23 – 2:48)
| # | Time | Color Block | Count |
|---|---|---|---|
| 28 | 2:23 | 💠 Teal | 38 |
| 29 | 2:23 | ⬛ Dark grey | 107 |
| 30 | 2:25 | 🟧 Orange | 39 |
| 31 | 2:31 | 🟤 Tan | 9 |
| 32 | 2:37 | 🟫 Rust | 20 |
| 33 | 2:37 | 🟩 Green | 10 |
| 34 | 2:39 | 🟨 Yellow | 20 |
Steps 28 and 29 land on the same frame, as do steps 32 and 33; the order inside each pair changes nothing. From 2:23 the board is almost entirely crow and hat, and the picture empties in under twenty-five seconds.
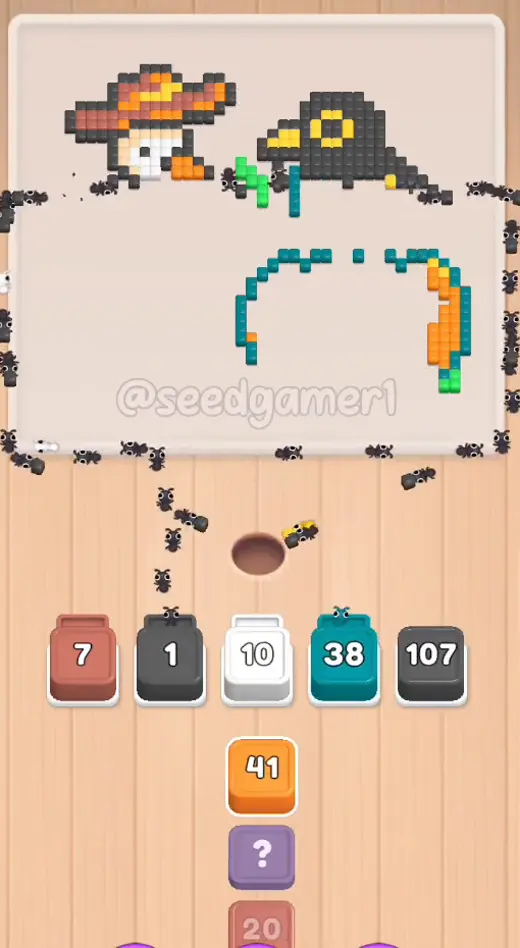
The very last pixel to fall is Yellow. The yellow block fed into slot 3 at 2:39 is the last one standing and takes the level's final pixel at 2:48; the level-complete screen appears at 2:53.
Quick Reference — One-Line Order
Cyan 11 → Tan 2 → Dark grey 49 → Blue 14 → Green 28 → Red 9 → Orange 24 → Blue 12 → Yellow 30 → Green 29 → Yellow 19 → Cyan 21 → Rust 9 → Blue 19 → Orange 25 → Rust 17 → Yellow 20 → Green 23 → White 9 → Teal 17 → Cyan 18 → Rust 18 → Dark grey 74 → Orange 34 → Yellow 28 → Dark grey 73 → White 11 → Teal 38 → Dark grey 107 → Orange 39 → Tan 9 → Rust 20 → Green 10 → Yellow 20
Pro Tips
1. Fill all five slots in the first fifteen seconds. Steps 1–6 land between 0:03 and 0:16 — every slot is open and none of the opening blocks stalls except the tiny tan one. There is nothing to gain by waiting.
2. The Tan ×2 is a trap, not a problem. It lands with 2, eats one pixel, and then sits frozen on 1 from 0:14 to 2:08 — one minute fifty-four seconds holding a slot. Its last pixel is walled in and only clears once the Dark grey ×73 (step 26) opens the way. Never hold a slot open for it; always feed something else.
3. Feed the dark greys the moment a slot frees. Dark grey ×74 (step 23), ×73 (step 26) and ×107 (step 29) are the outline and the crow's entire body. Together they are 254 of the level's ~950 pixels — more than a quarter of the picture, and each of them raises the block count every other color can reach. They are worth more than anything else on the board.
4. Expected stalls — do not fight them:
- Tan ×2 in slot 2, 0:03 → 2:08. Frozen on 1 for almost two minutes; releases when the dark grey ×73 lands.
- Rust ×18 in slot 1, 1:33 → 2:37. Parks on 7 from about 1:40 and barely moves until the crow's outline is eaten.
- Dark grey ×74 in slot 5, 1:52 → 2:08, then Dark grey ×73 in slot 2, 2:09 → 2:23. Both creep rather than stall: the crow's body is one huge connected shape.
- Teal ×38 in slot 4, 2:23 → 2:31 and Dark grey ×107 in slot 5, 2:23 → 2:44. The two biggest late blocks, running together.
All of them release on their own. Feeding a second block of the same color never speeds them up.
5. Short blocks are filler, not progress. Rust ×9 (step 13), White ×9 (step 19), Tan ×9 (step 31) and Green ×10 (step 33) each clear in a second or two. Feed them while a big block still has room to run, so they cost you nothing.
6. Save the biggest dark grey for the finale. Dark grey ×107 lands at 2:23 and is more than a tenth of the whole picture on its own. Keep a slot ready for it — the level ends faster if it goes in the moment the slot at 2:23 opens.
7. No fail state. Nothing can be lost here — one clean run takes 2:56 of footage at the game's ▶2x eating speed (about 1:24 of real time), and the order only affects how fast you get there.
Compiled from frame-by-frame video analysis: 352 frames (2 fps). Every one of the 34 blocks was located by tracking each slot's colour across all 352 frames, then re-reading the landing frame to confirm the colour and the printed count. Sanity check: the 34 counts sum to 886, which matches the picture's ~950 painted pixel-art cells to within about 7%.
Food Hunt Level 228 — frequently asked questions
- What colours are on the Food Hunt Level 228 board?
- The board image breaks down into 9 main colours, each covering at least 2% of it: dark grey (#4C4B49, 18.7% of the board), orange (#F9B439, 14.1% of the board), light orange (#C88063, 6.2% of the board), green (#3CE366, 6.1% of the board), deep cyan (#1A817B, 4.1% of the board), cyan (#5AEEFA, 3.4% of the board), cream (#E7E3CF, 2.8% of the board), deep orange (#7E6D58, 2.5% of the board) and blue (#228DF7, 2.4% of the board). The cream around the picture reads as the board's empty background — it frames the artwork rather than forming part of it.
- Which colour should I clear first in Food Hunt Level 228?
- dark grey covers the most of the board at 18.7%, and orange is next at 14.1%. The step-by-step walkthrough above is this board's actual tap order; the colour shares here are only what each colour costs to clear.
- What difficulty is Level 228 in Food Hunt: Pixel Puzzle?
- Level 228 is rated Intermediate difficulty in Food Hunt: Pixel Puzzle.
- Is there a video walkthrough for this Food Hunt level?
- Yes — the walkthrough video on this page plays the full clear of this board, so you can follow the tap order block by block. The board image next to it shows what the finished picture is made of.
More intermediate walkthroughs
View all →
Featured walkthroughs
The levels players search for most - each with a full video guide.