Food Hunt Level 1125 Walkthrough & Answers
ExpertLevel 1125 video solution · published September 18, 2026
Watch on YouTube →- Difficulty
- Expert
- Colours on the board
- 8
- Biggest colour
- green 21.9%
- Clear from the start
- 0 - all walled off
- This page has
- Video + step-by-step
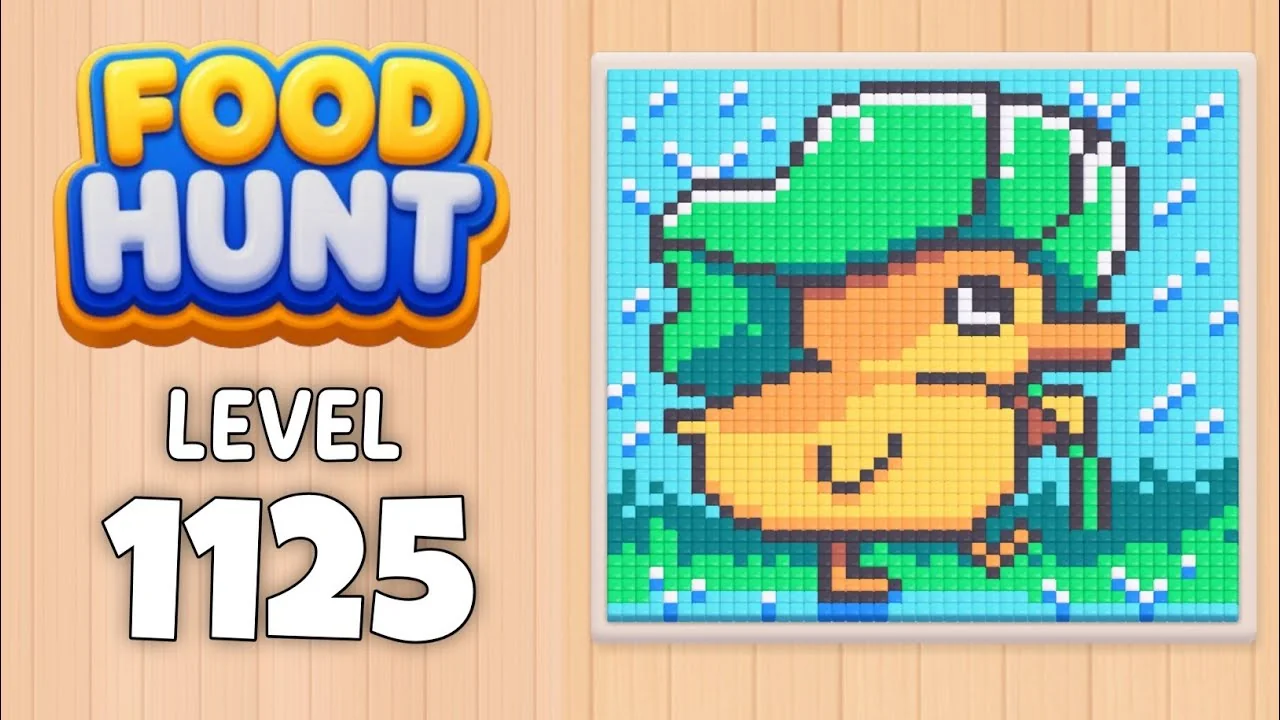
Yellow Duckling in a Green Bucket Hat
How do you beat level 1125? Watch the video or follow the step-by-step picture and text guide to complete it!

Level board
Step-by-step walkthrough
Prefer screenshots to video? Every phase of the clear is below in order, with the block counts and the frames they were taken from — keep it open next to the game and follow along tap by tap.
Level: 1125 — a yellow duckling in a green bucket hat, standing on dark-green grass between sky and water, with white sparkles scattered around. The level banner reads EXTREME Level.
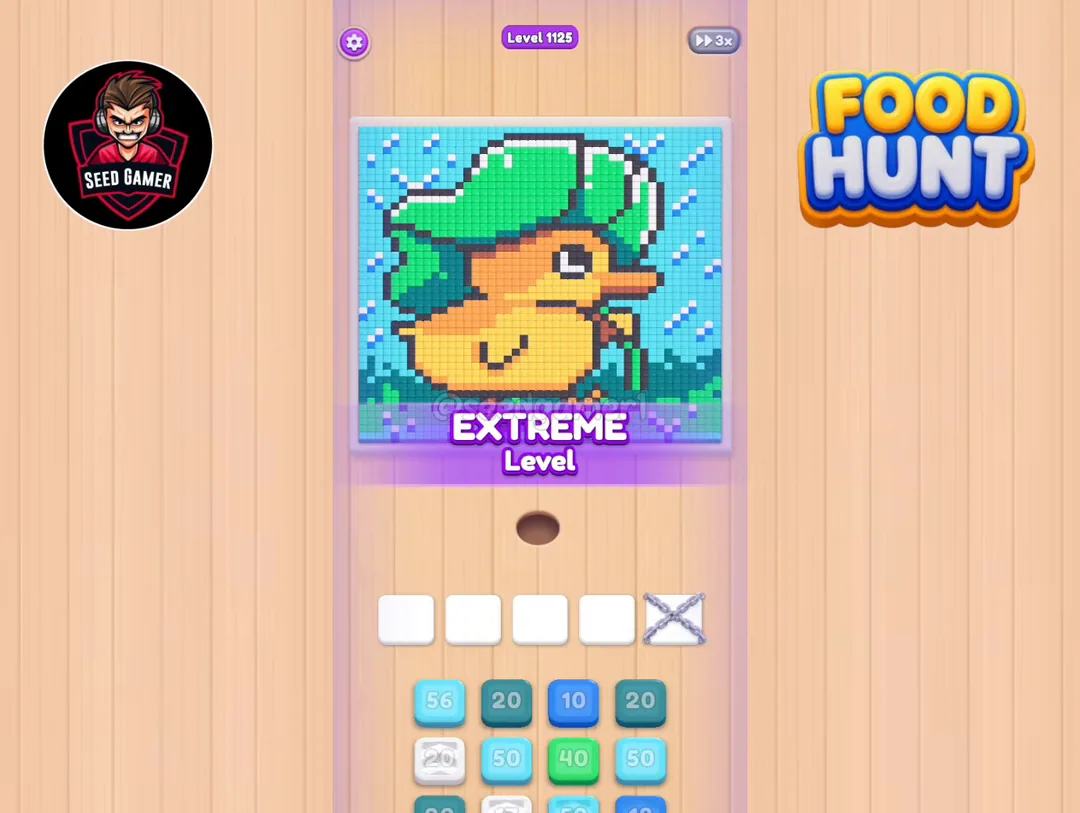
Colors in this level: ⬜ White · 🟫 Brown · 🟨 Yellow · 🟧 Orange · 🟦 Blue · 🩵 Cyan · 💠 Teal · 🟩 Green · ⬛ Dark grey
How the Level Works
1. Tap a color block in the bottom queue — it flies into the leftmost empty slot. You cannot pick the slot, and once all five slots are full you cannot feed another block.
2. The 5th slot starts locked (the white tile with the chain cross on the right). It unchains automatically at 1:09.5 and is used for the first time at 1:26.0.
3. Ants of that color eat every reachable pixel of the matching color. The number on the block is what is left; at 0 the block vanishes and frees its slot.
4. The number starts dropping while the block is still in flight. The count below is the value on the frame the block sits in its slot — half a second later it is usually 2–4 lower.
5. The queue loses columns as it drains. Four columns at the start, three at 2:18, two at 3:58. The remaining columns re-center; that is not a rendering bug.
6. Blocks can freeze for minutes. A stalled number means its pixels are covered by other colors — do not wait for it, feed the other slots instead.
7. Same-color swaps have no empty-slot frame. When a new block of the same color lands exactly as the old one hits 0, the only tell is the number jumping back up (see Yellow 20 at 1:59.0).
8. The queue contains purple `?` blocks. This run never taps one, so the order below does not include them.
Complete Block Order (Which Color First, Then Which)
Timestamps are video time (3x speed), to the nearest 0.5 s. Count is the number printed on the block when it settles.
Phase 1 — Opening Four-Tap (0:05.0–0:05.5)
Only four of the five slots are usable and the 5th is still chained. No need to wait for anything to clear — tap four times in a row (order below) and all four slots fill inside half a second.
| # | Time | Color Block | Count |
|---|---|---|---|
| 1 | 0:05.0 | 🟩 Green | 39 |
| 2 | 0:05.0 | 🟦 Blue | 7 |
| 3 | 0:05.0 | 🩵 Cyan | 50 |
| 4 | 0:05.5 | 🟦 Blue | 9 |
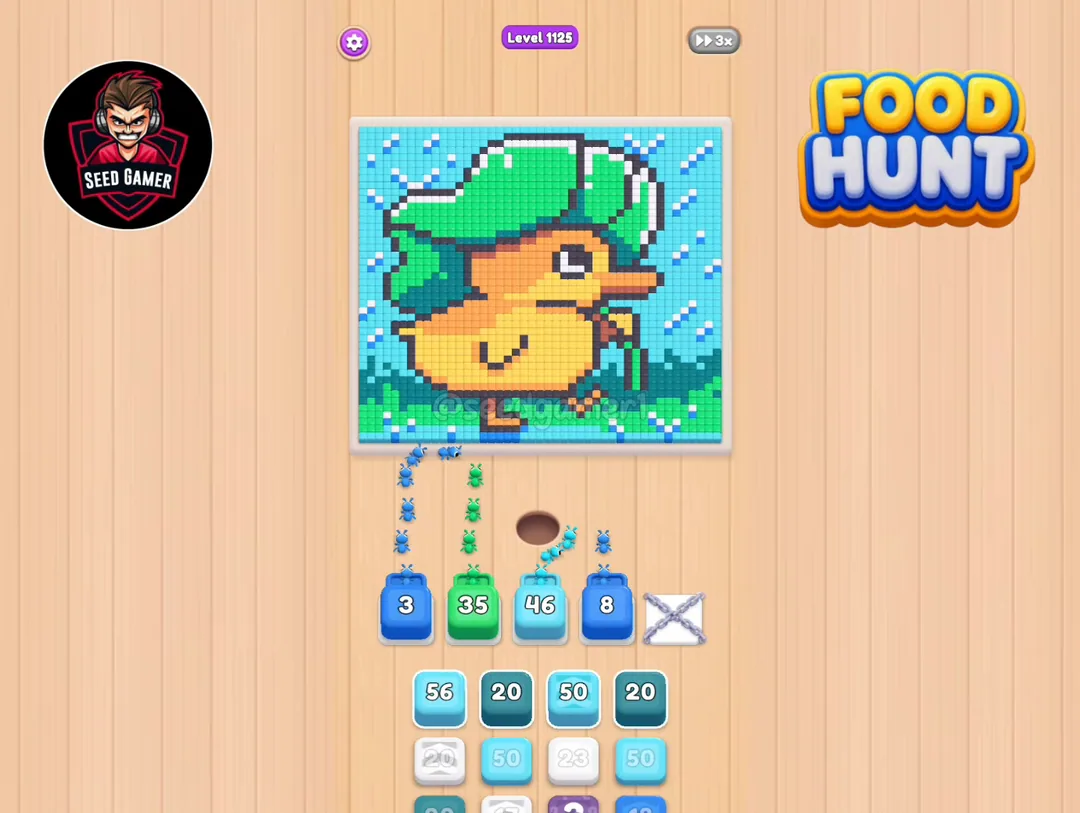
Phase 2 — Second Wave (0:13.0–0:20.5)
Blocks feed straight back in as the first batch empties. Cyan 49 is already counting down the moment it lands: the ants start working while the block is still in flight.
| # | Time | Color Block | Count |
|---|---|---|---|
| 5 | 0:13.0 | 🩵 Cyan | 49 |
| 6 | 0:15.0 | 💠 Teal | 20 |
| 7 | 0:18.5 | 🟦 Blue | 18 |
| 8 | 0:20.5 | 🩵 Cyan | 50 |
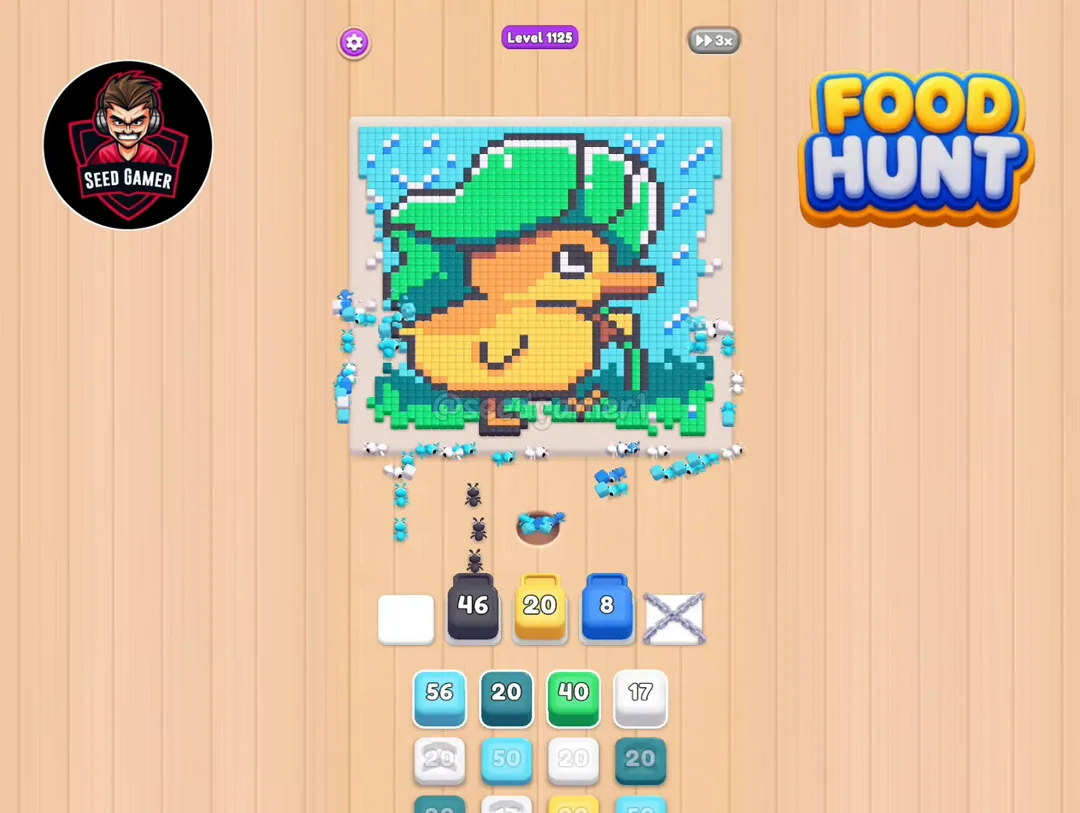
Phase 3 — White Blocks Land, First Long Freeze (0:25.0–0:34.5)
White 23 and Dark grey 47 are the first long-lived blocks. Yellow 20 then sits motionless in slot 3 for almost nine seconds — its yellow pixels are buried under other colors, so never wait on it.
| # | Time | Color Block | Count |
|---|---|---|---|
| 9 | 0:25.0 | ⬜ White | 23 |
| 10 | 0:25.5 | 🟨 Yellow | 20 |
| 11 | 0:30.0 | ⬛ Dark grey | 47 |
| 12 | 0:33.5 | 💠 Teal | 20 |
| 13 | 0:34.5 | 🟨 Yellow | 19 |
Phase 4 — Mid-Game Push (0:38.5–0:54.0)
White 16 enters slot 2 and stays there until 2:32; this stretch advances almost entirely through slots 1 and 3.
| # | Time | Color Block | Count |
|---|---|---|---|
| 14 | 0:38.5 | 🩵 Cyan | 49 |
| 15 | 0:41.0 | ⬜ White | 16 |
| 16 | 0:46.0 | 🩵 Cyan | 50 |
| 17 | 0:54.0 | 💠 Teal | 27 |
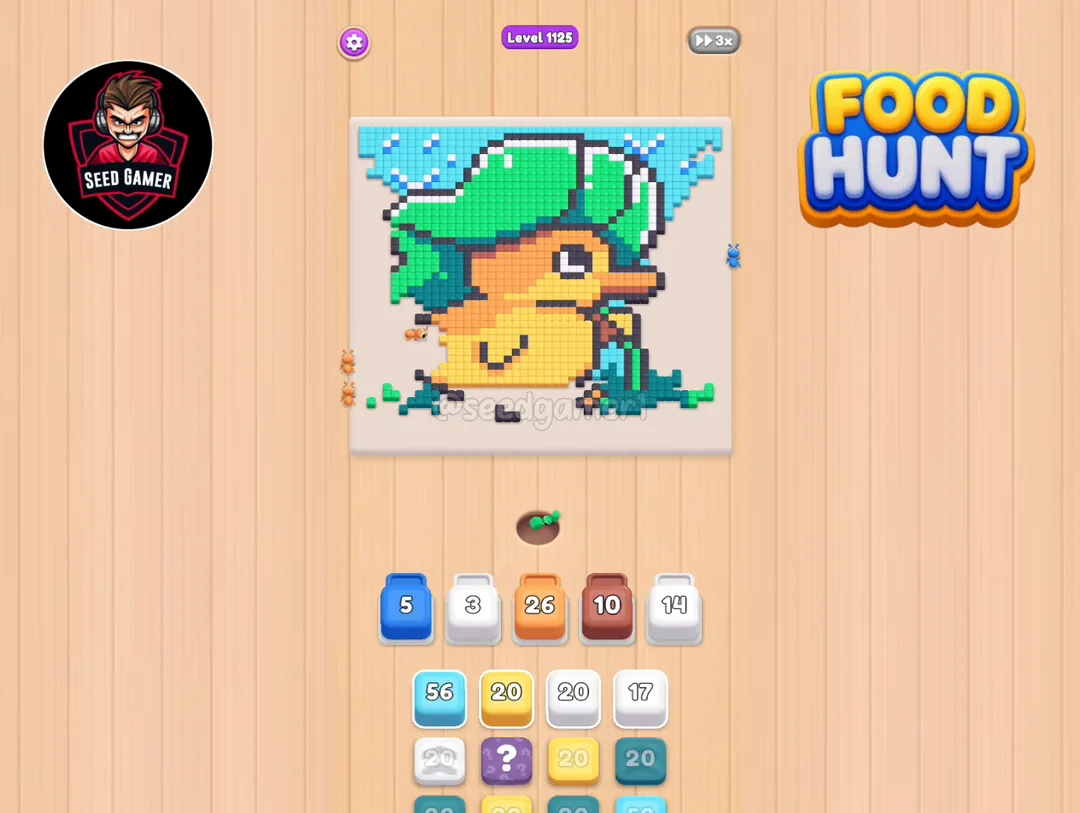
Phase 5 — All Four Slots Loaded (0:56.5–1:26.5)
The 5th slot unchains itself at 1:09.5 and is used for the first time at 1:26.0 (White 14). Almost every slot now holds a long-lived block, so slot 3 is the only real way forward.
| # | Time | Color Block | Count |
|---|---|---|---|
| 18 | 0:56.5 | 🩵 Cyan | 47 |
| 19 | 1:00.0 | 🟧 Orange | 29 |
| 20 | 1:04.0 | 💠 Teal | 19 |
| 21 | 1:08.0 | 🟦 Blue | 9 |
| 22 | 1:08.5 | 🟩 Green | 38 |
| 23 | 1:08.5 | 🟫 Brown | 12 |
| 24 | 1:19.0 | 🟩 Green | 38 |
| 25 | 1:26.0 | ⬜ White | 14 |
| 26 | 1:26.5 | 🟧 Orange | 30 |
Phase 6 — Mid-Level Swap Chain (1:59.0–2:12.0)
Yellow 20 → Dark grey 14 → Yellow 19 → Dark grey 33 arrive in quick succession: the first real burst of same-slot replacement in the level. The queue drops to three columns at 2:18.
| # | Time | Color Block | Count |
|---|---|---|---|
| 27 | 1:59.0 | 🟨 Yellow | 20 |
| 28 | 2:04.0 | ⬛ Dark grey | 14 |
| 29 | 2:07.0 | 🟨 Yellow | 19 |
| 30 | 2:12.0 | ⬛ Dark grey | 33 |
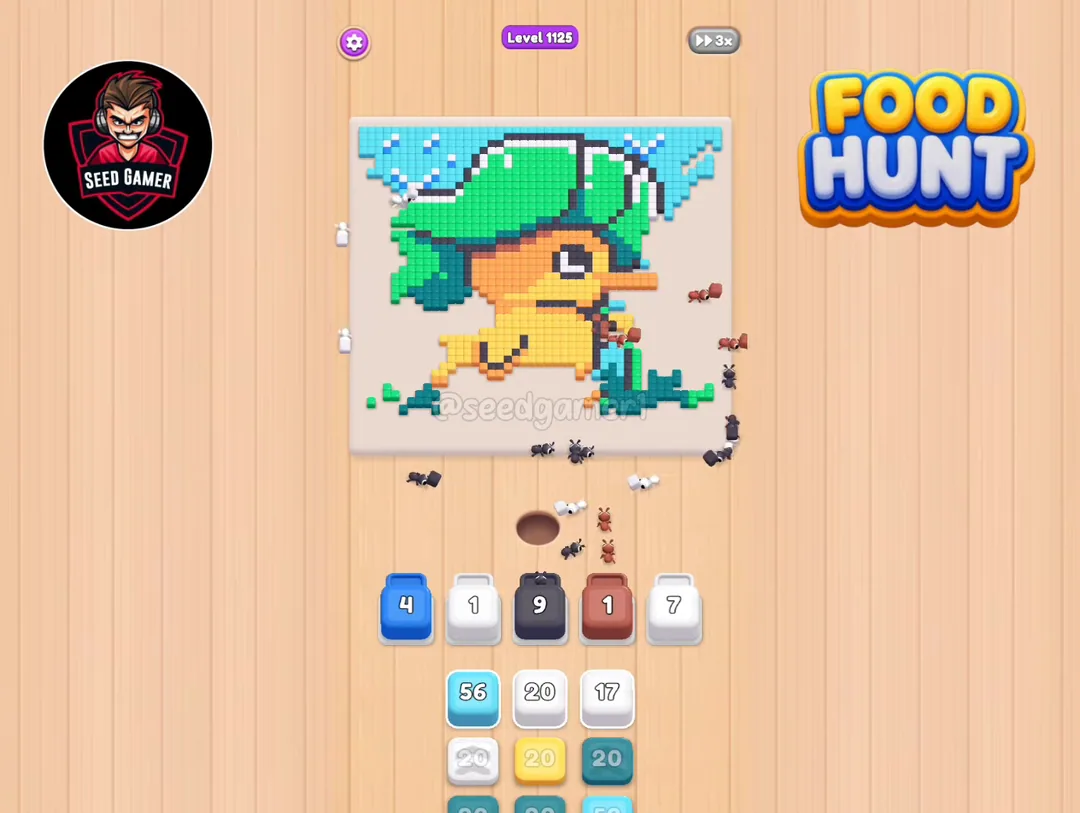
Phase 7 — Late-Mid Window (2:41.0–2:45.5)
Four slots refill almost together — White 17, Teal 18, Cyan 50, Green 39 — then Yellow 20 drops into slot 3. The queue is already three columns wide here.
| # | Time | Color Block | Count |
|---|---|---|---|
| 31 | 2:41.0 | ⬜ White | 17 |
| 32 | 2:41.5 | 💠 Teal | 18 |
| 33 | 2:42.0 | 🩵 Cyan | 50 |
| 34 | 2:43.0 | 🟩 Green | 39 |
| 35 | 2:45.5 | 🟨 Yellow | 20 |
Phase 8 — Five Slots in Play (2:58.5–3:14.5)
Cyan 54 lands in slot 1 and White 20 in slot 3. Together with White 17 from 2:41, two white blocks now occupy slots 2 and 3 until roughly 4:58–5:03, so the other three slots carry the level.
| # | Time | Color Block | Count |
|---|---|---|---|
| 36 | 2:58.5 | 🩵 Cyan | 54 |
| 37 | 2:58.5 | ⬜ White | 20 |
| 38 | 2:59.5 | 💠 Teal | 17 |
| 39 | 2:59.5 | 🟦 Blue | 10 |
| 40 | 3:03.5 | 🩵 Cyan | 50 |
| 41 | 3:09.0 | 🟩 Green | 39 |
| 42 | 3:14.5 | 🩵 Cyan | 50 |
Phase 9 — Dense Stretch (3:27.0–3:54.0)
Brown 4 looks like a throwaway block but pins slot 1 all the way to 4:01; the queue drops to two columns at 3:58.
| # | Time | Color Block | Count |
|---|---|---|---|
| 43 | 3:27.0 | 🟫 Brown | 4 |
| 44 | 3:27.0 | 🟧 Orange | 29 |
| 45 | 3:27.5 | ⬛ Dark grey | 20 |
| 46 | 3:31.5 | 🟨 Yellow | 19 |
| 47 | 3:36.5 | 🟩 Green | 37 |
| 48 | 3:50.5 | ⬛ Dark grey | 18 |
| 49 | 3:54.0 | 🟩 Green | 48 |
Phase 10 — Two Columns Only (4:02.5–4:07.0)
With just two queue columns the pace visibly slows; Teal 19 and Green 40 feed in one at a time.
| # | Time | Color Block | Count |
|---|---|---|---|
| 50 | 4:02.5 | 💠 Teal | 19 |
| 51 | 4:07.0 | 🟩 Green | 40 |
Phase 11 — The 4:38 Pair (4:38.0–4:38.0)
Yellow 19 goes into slot 1 and Green 39 into slot 4. From here the board is down to scattered pixels and the endgame begins.
| # | Time | Color Block | Count |
|---|---|---|---|
| 52 | 4:38.0 | 🟨 Yellow | 19 |
| 53 | 4:38.0 | 🟩 Green | 39 |
Phase 12 — Final Thirteen (5:00.0–5:27.0)
The last thirteen blocks land back to back. Orange 30 at 5:27.0 is the final block fed.
| # | Time | Color Block | Count |
|---|---|---|---|
| 54 | 5:00.0 | 🟨 Yellow | 20 |
| 55 | 5:00.5 | 🟫 Brown | 4 |
| 56 | 5:01.0 | ⬛ Dark grey | 28 |
| 57 | 5:07.5 | 💠 Teal | 17 |
| 58 | 5:08.5 | 🟨 Yellow | 25 |
| 59 | 5:09.5 | ⬜ White | 20 |
| 60 | 5:12.5 | 🟨 Yellow | 20 |
| 61 | 5:14.0 | 💠 Teal | 20 |
| 62 | 5:18.0 | ⬛ Dark grey | 28 |
| 63 | 5:18.5 | 🟩 Green | 39 |
| 64 | 5:24.5 | ⬛ Dark grey | 33 |
| 65 | 5:25.0 | 💠 Teal | 19 |
| 66 | 5:27.0 | 🟧 Orange | 30 |
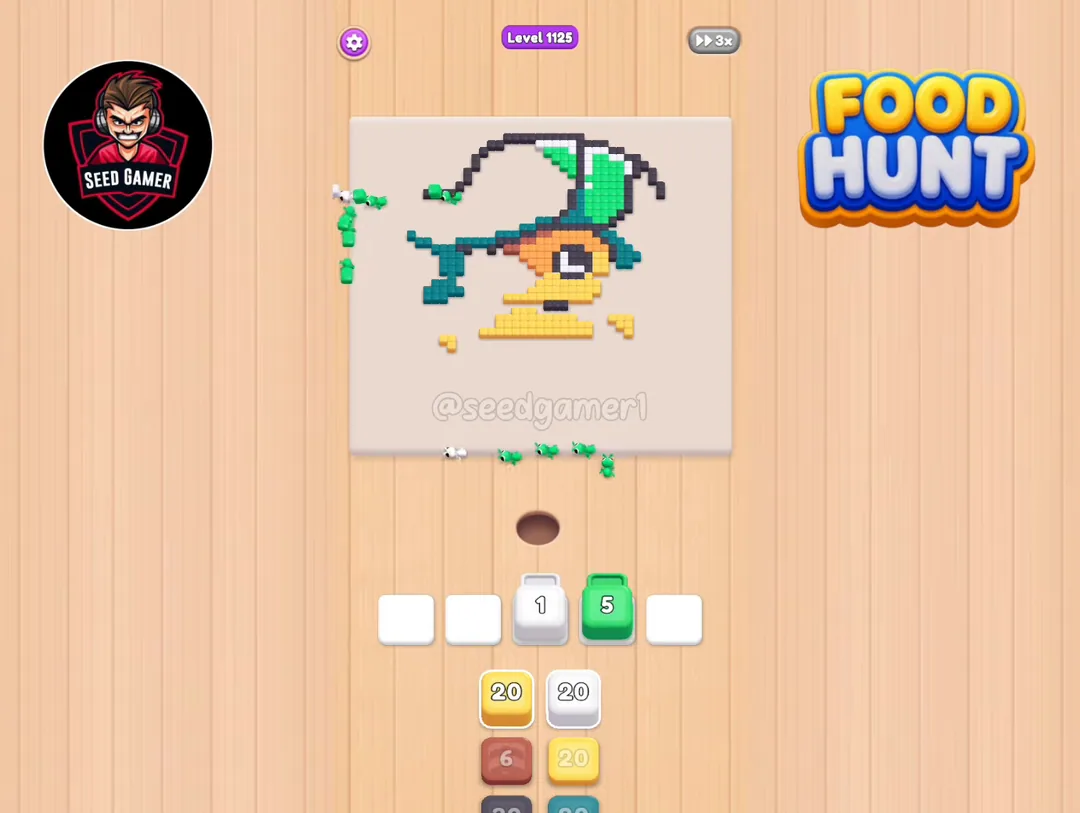
Endgame and Clear
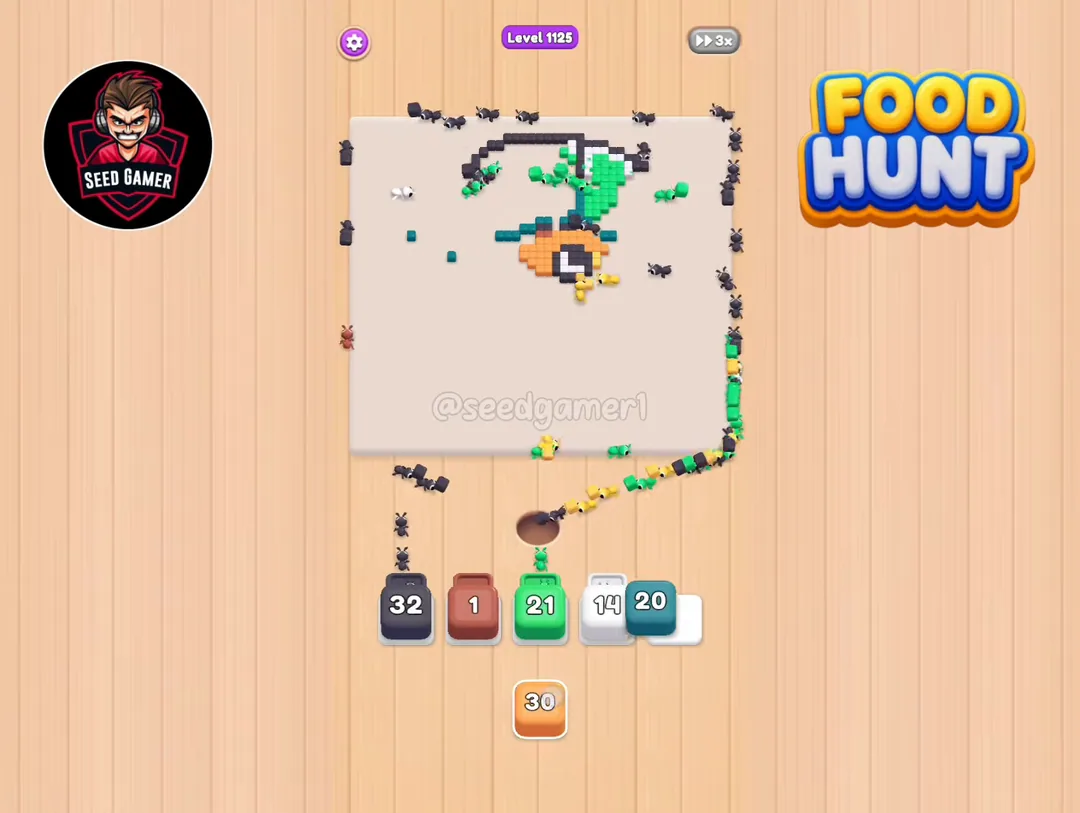
Orange 30 in slot 2 at 5:27.0 is the last block fed. After that only single-digit scraps are left: at 5:31 three slots still show Dark grey 3, Orange 1 and Green 1, everything is eaten by about 5:32, and Level Complete appears at 5:36.5.
Quick Reference — One-Line Order
Green 39 → Blue 7 → Cyan 50 → Blue 9 → Cyan 49 → Teal 20 → Blue 18 → Cyan 50 → White 23 → Yellow 20 → Dark grey 47 → Teal 20 → Yellow 19 → Cyan 49 → White 16 → Cyan 50 → Teal 27 → Cyan 47 → Orange 29 → Teal 19 → Blue 9 → Green 38 → Brown 12 → Green 38 → White 14 → Orange 30 → Yellow 20 → Dark grey 14 → Yellow 19 → Dark grey 33 → White 17 → Teal 18 → Cyan 50 → Green 39 → Yellow 20 → Cyan 54 → White 20 → Teal 17 → Blue 10 → Cyan 50 → Green 39 → Cyan 50 → Brown 4 → Orange 29 → Dark grey 20 → Yellow 19 → Green 37 → Dark grey 18 → Green 48 → Teal 19 → Green 40 → Yellow 19 → Green 39 → Yellow 20 → Brown 4 → Dark grey 28 → Teal 17 → Yellow 25 → White 20 → Yellow 20 → Teal 20 → Dark grey 28 → Green 39 → Dark grey 33 → Teal 19 → Orange 30
Pro Tips
1. 1:09.5 is the first real checkpoint. Until the 5th slot unchains you only have four slots; slot it with White 14 the moment it opens at 1:26.0.
2. Do not hesitate on the opening four-tap. Green 39, Blue 7, Cyan 50 and Blue 9 all go in at 0:05.0 — the earlier the first batch is running, the looser the rest of the level feels.
3. White 16 (0:41.0) is one of the longest freezes. It holds slot 2 until 2:32; never plan around it freeing up.
4. Brown 4 (3:27.0) looks useless but pins slot 1 to 4:01. Its brown pixels are buried under other colors, so it can only finish once those clear.
5. Column drops are not bugs. 4 → 3 columns at 2:18, 3 → 2 at 3:58; keep tapping left to right after a re-center.
6. When the same color appears twice, read the number. If the color does not change but the number jumps from single digits back to 20–30, that is a fresh block, not the old one recovering.
Food Hunt Level 1125 — frequently asked questions
- What colours are on the Food Hunt Level 1125 board?
- The board image breaks down into 8 main colours, each covering at least 2% of it: green (#1EE07E, 21.9% of the board), cyan (#60DDEF, 18.5% of the board), dark grey (#4A4C55, 15.3% of the board), orange (#EEA25B, 13.3% of the board), dark cyan (#1E8A8E, 12.8% of the board), yellow (#F9D562, 11.5% of the board), white (#DCEEF2, 4.8% of the board) and blue (#349DEA, 2.0% of the board).
- Which colour should I clear first in Food Hunt Level 1125?
- green covers the most of the board at 21.9%, and cyan is next at 18.5%. The step-by-step walkthrough above is this board's actual tap order; the colour shares here are only what each colour costs to clear.
- What difficulty is Level 1125 in Food Hunt: Pixel Puzzle?
- Level 1125 is rated Expert difficulty in Food Hunt: Pixel Puzzle.
- Is there a video walkthrough for this Food Hunt level?
- Yes — the walkthrough video on this page plays the full clear of this board, so you can follow the tap order block by block. The board image next to it shows what the finished picture is made of.
More expert walkthroughs
View all →
Featured walkthroughs
The levels players search for most - each with a full video guide.