Food Hunt Level 1035 Walkthrough
ExpertPixel-Art Frog Princess with a Golden Egg
How do you beat level 1035? Watch the video or follow the step-by-step picture and text guide to complete it!

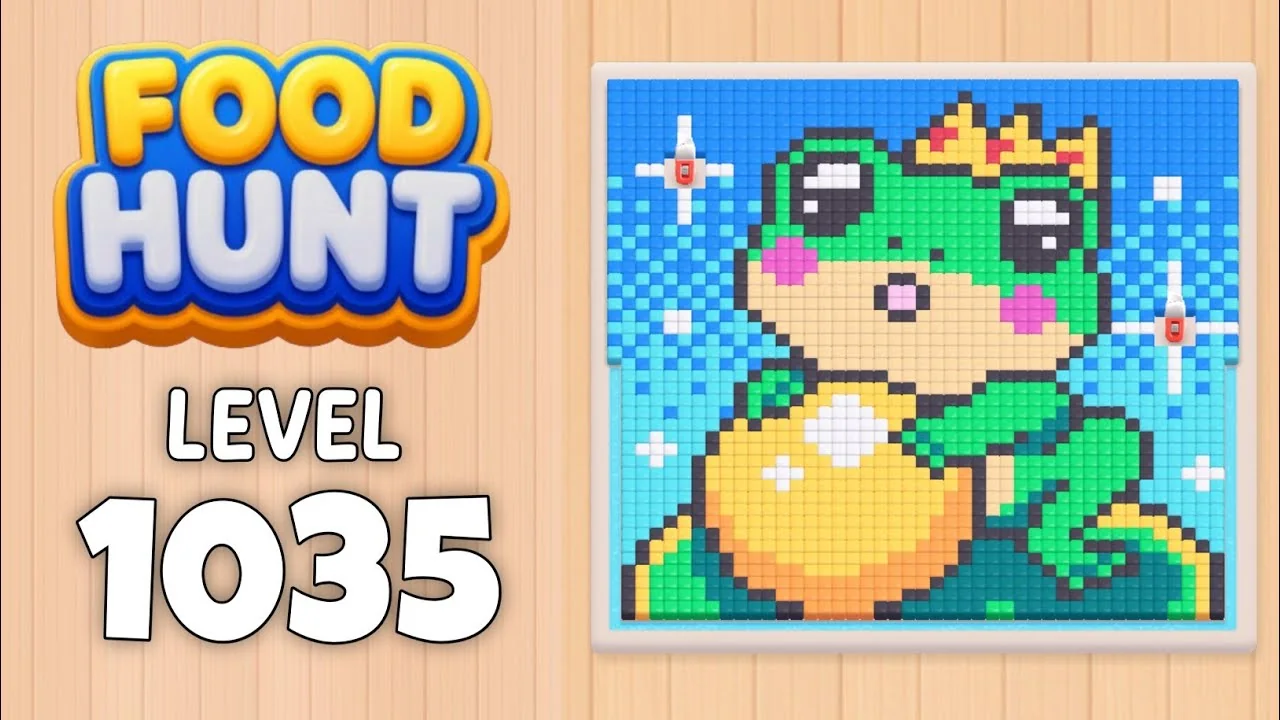
Level board
Step-by-step walkthrough
Prefer screenshots to video? Every phase of the clear is below in order, with the block counts and the frames they were taken from — keep it open next to the game and follow along tap by tap.
Level: 1035 — a pixel-art frog princess wearing a gold crown and holding a golden egg, painted on a bright blue pixel sky
How the Level Works
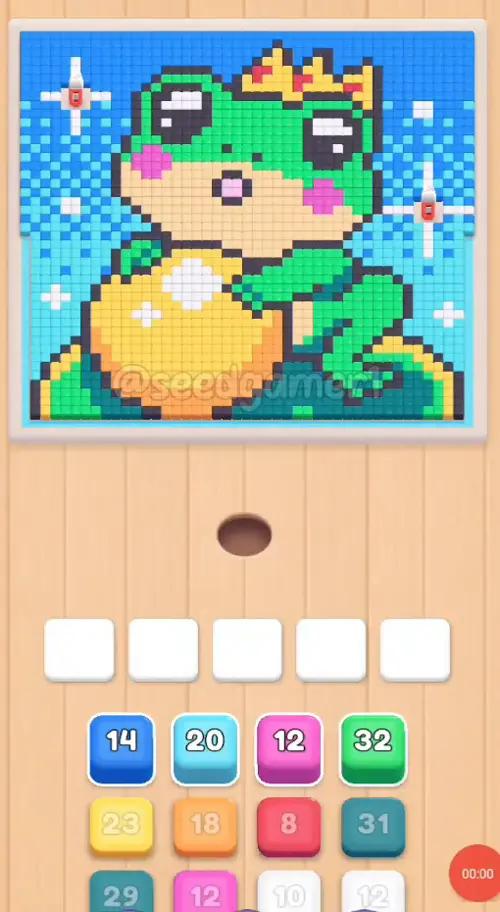
1. Tap a color block in the bottom queue to send it into one of the five slots above. The queue runs in four independent columns; a column scrolls up when its own front block is taken.
2. Ants of that color pour out of the hole and eat every reachable pixel of the matching color on the frog; the number printed on the block counts down as pixels are eaten. At 0 the block vanishes and frees its slot.
3. Some blocks arrive wrapped in cloth. They land as a blank, cloth-wrapped cube with no number and a knife cuts them open a moment later to reveal the real color and value — steps 11 and 23 below.
4. Two colors are nearly invisible against the background. The Sand blocks (steps 12, 42 and 47) are almost exactly the color of the wooden panel behind the queue, so they are easy to scroll straight past.
5. Pixels can be walled in. A block can sit almost motionless for minutes while its remaining pixels are buried under other colors. Orange ×18 (step 6) parks in slot 1 for 3 minutes 41 seconds — that is the level's signature stall, not a bug.
6. Eat the entire picture to win. One clean run takes 5:47, and the order below clears it without a single wasted tap.
Colors in this level: Charcoal (every dark outline: the frog's contour, its eyes and the crown's ring), White (the four sparkle crosses in the sky, the eye highlights and the egg's shine), Yellow (the crown and the golden egg), Sand (the frog's muzzle and belly), Orange (the shading on the egg and the crown), Red (the crown's jewels and the dots in the sky sparkles), Pale pink (a few cells beside the mouth), Magenta (the two round cheek blushes and the mouth), Blue (the pixel sky behind the frog), Cyan (the paler blue sparkle cells scattered through the sky), Teal (the darker green shading on the frog's legs and the water along the bottom), Green (the frog's head, body, arms and legs).
Complete Block Order (Which Color First, Then Which)
Timestamps are when the block lands in a slot. Count is the number printed on the block once it settles.
Phase 1 — The Opening Five (0:03 – 0:06)
| # | Time | Color Block | Count |
|---|---|---|---|
| 1 | 0:03 | 🟦 Blue | 12 |
| 2 | 0:03 | 🩵 Cyan | 20 |
| 3 | 0:05 | 🟩 Green | 32 |
| 4 | 0:05 | ⬜ White | 11 |
| 5 | 0:05 | 💠 Teal | 31 |
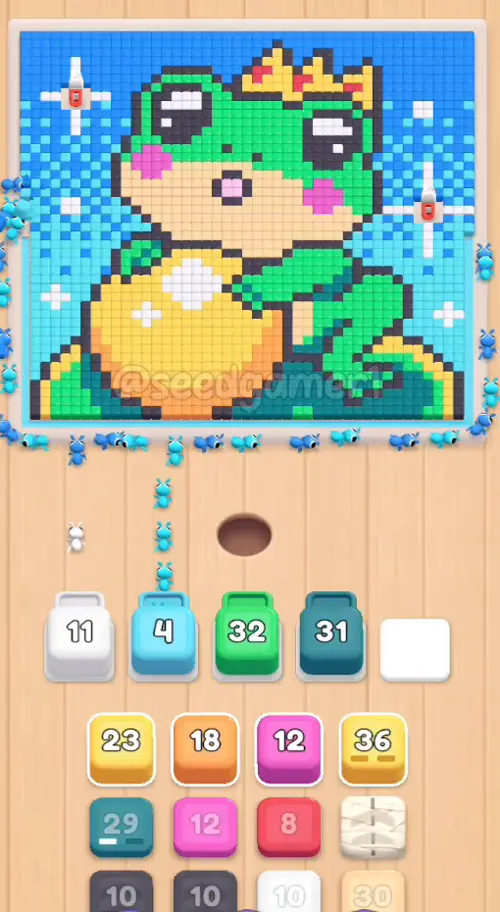
Phase 2 — The Stall Sets In (0:27 – 0:28)
| # | Time | Color Block | Count |
|---|---|---|---|
| 6 | 0:27 | 🟧 Orange | 18 |
| 7 | 0:28 | 🟪 Magenta | 12 |
| 8 | 0:28 | ⬛ Charcoal | 10 |
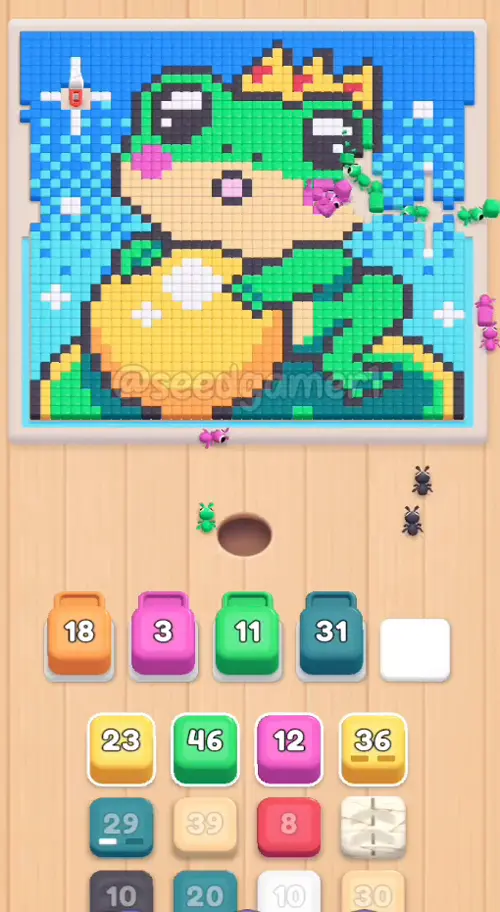
Phase 3 — Sky Cleanup (1:21 – 1:41)
| # | Time | Color Block | Count |
|---|---|---|---|
| 9 | 1:21 | 🟩 Green | 45 |
| 10 | 1:39 | 🟨 Yellow | 36 |
| 11 | 1:40 | 🟦 Blue | 70 |
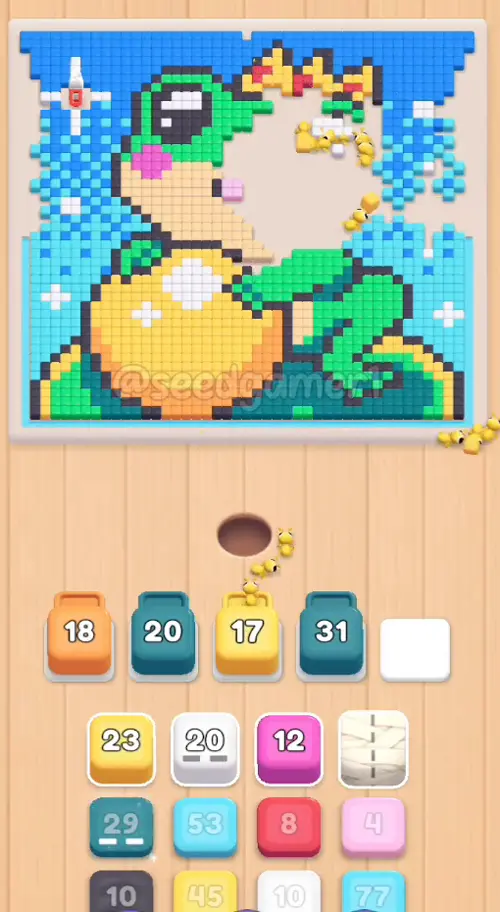
Phase 4 — Sand and a Second Wave (1:54 – 2:10)
| # | Time | Color Block | Count |
|---|---|---|---|
| 12 | 1:54 | 🟨 Sand | 29 |
| 13 | 2:09 | 💠 Teal | 20 |
| 14 | 2:09 | ⬛ Charcoal | 57 |
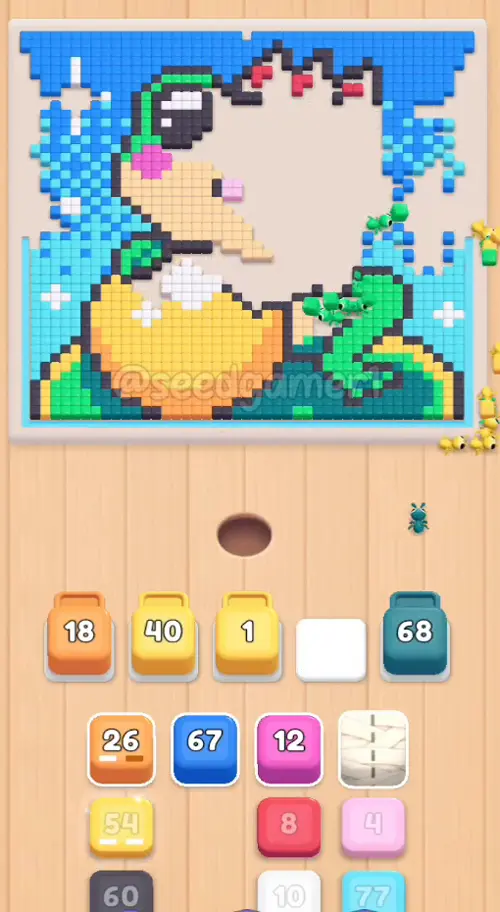
Phase 5 — Cyan and Yellow Waves (2:31 – 2:52)
| # | Time | Color Block | Count |
|---|---|---|---|
| 15 | 2:31 | ⬜ White | 17 |
| 16 | 2:39 | 🩵 Cyan | 50 |
| 17 | 2:51 | 🟨 Yellow | 21 |
| 18 | 2:51 | ⬛ Charcoal | 10 |
| 19 | 2:51 | 💠 Teal | 48 |
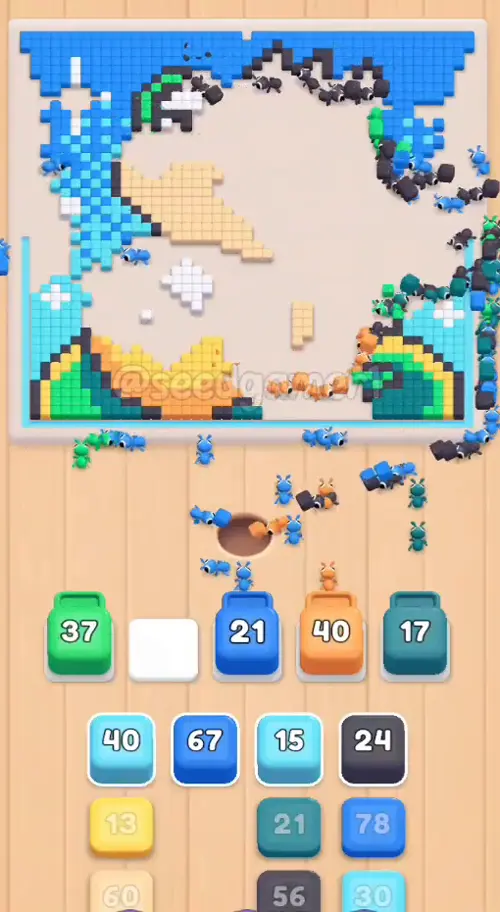
Phase 6 — Green Push (3:00 – 3:20)
| # | Time | Color Block | Count |
|---|---|---|---|
| 20 | 3:00 | 🟩 Green | 57 |
| 21 | 3:19 | 🟨 Yellow | 45 |
| 22 | 3:20 | 🟩 Green | 37 |
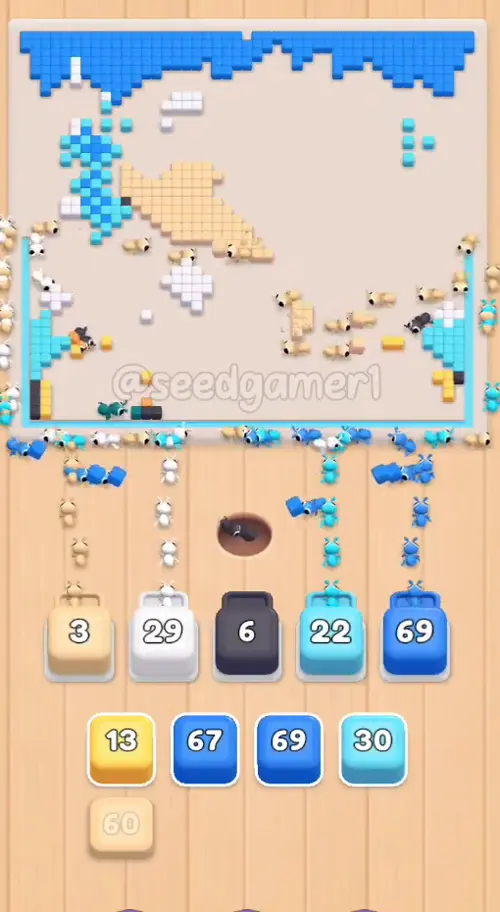
Phase 7 — Pink and Red Detour (3:47 – 4:00)
| # | Time | Color Block | Count |
|---|---|---|---|
| 23 | 3:47 | ⬛ Charcoal | 59 |
| 24 | 3:49 | 🩷 Pale pink | 3 |
| 25 | 3:51 | 🟪 Magenta | 10 |
| 26 | 4:00 | 🟥 Red | 7 |
Phase 8 — Mid-Board Churn (4:06 – 4:13)
| # | Time | Color Block | Count |
|---|---|---|---|
| 27 | 4:06 | ⬜ White | 8 |
| 28 | 4:08 | 🟧 Orange | 58 |
| 29 | 4:10 | 🩵 Cyan | 75 |
| 30 | 4:11 | 🟩 Green | 44 |
| 31 | 4:13 | 🟨 Yellow | 52 |
Phase 9 — The Long Grind (4:25 – 5:00)
| # | Time | Color Block | Count |
|---|---|---|---|
| 32 | 4:25 | ⬛ Charcoal | 59 |
| 33 | 4:30 | 🟩 Green | 60 |
| 34 | 4:31 | 🟦 Blue | 66 |
| 35 | 4:40 | 🩵 Cyan | 38 |
| 36 | 4:44 | ⬛ Charcoal | 23 |
| 37 | 4:48 | 🩵 Cyan | 15 |
| 38 | 4:52 | 💠 Teal | 21 |
| 39 | 4:53 | ⬛ Charcoal | 53 |
| 40 | 5:00 | 🟨 Yellow | 51 |
Phase 10 — The Last Sweep (5:14 – 5:47)
| # | Time | Color Block | Count |
|---|---|---|---|
| 41 | 5:14 | 🟦 Blue | 47 |
| 42 | 5:24 | 🟨 Sand | 29 |
| 43 | 5:27 | ⬜ White | 42 |
| 44 | 5:27 | 🩵 Cyan | 33 |
| 45 | 5:28 | 🟦 Blue | 77 |
| 46 | 5:33 | 🟨 Yellow | 12 |
| 47 | 5:36 | 🟨 Sand | 60 |
| 48 | 5:37 | 🟦 Blue | 65 |
| 49 | 5:38 | 🟦 Blue | 68 |
| 50 | 5:43 | 🩵 Cyan | 28 |
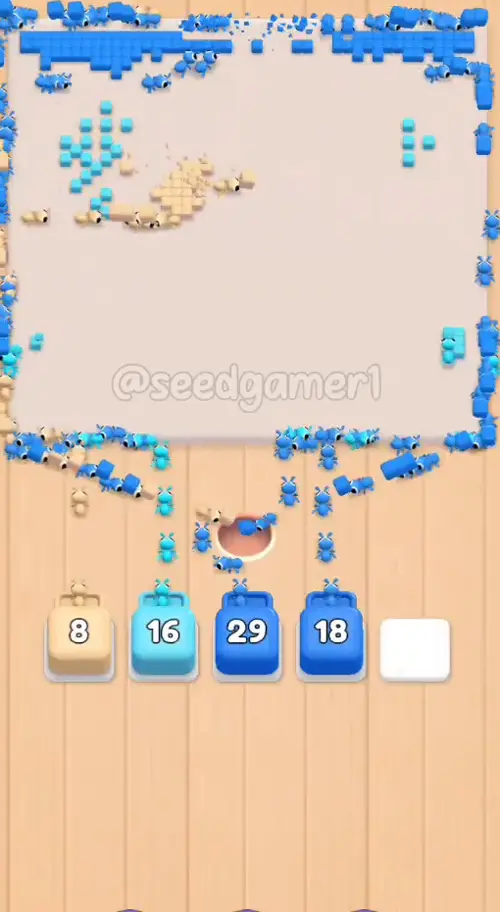
The very last pixel to fall is Blue — the block fed at 5:43 drains to 1 at 5:47 and the board is empty half a second later, with the level-complete screen at 5:50.
Quick Reference — One-Line Order
Blue 12 → Cyan 20 → Green 32 → White 11 → Teal 31 → Orange 18 → Magenta 12 → Charcoal 10 → Green 45 → Yellow 36 → Blue 70 → Sand 29 → Teal 20 → Charcoal 57 → White 17 → Cyan 50 → Yellow 21 → Charcoal 10 → Teal 48 → Green 57 → Yellow 45 → Green 37 → Charcoal 59 → Pale pink 3 → Magenta 10 → Red 7 → White 8 → Orange 58 → Cyan 75 → Green 44 → Yellow 52 → Charcoal 59 → Green 60 → Blue 66 → Cyan 38 → Charcoal 23 → Cyan 15 → Teal 21 → Charcoal 53 → Yellow 51 → Blue 47 → Sand 29 → White 42 → Cyan 33 → Blue 77 → Yellow 12 → Sand 60 → Blue 65 → Blue 68 → Cyan 28
Pro Tips
1. Do not wait for the stuck blocks. Orange ×18 (step 6) parks in slot 1 from 0:27 all the way to 4:08 — 3 minutes 41 seconds — and Teal ×31 (step 5) holds slot 4 from 0:05 to 2:51. Feed the other colors around them instead of waiting.
2. Big blocks first. Blue ×70, Cyan ×75 and Blue ×77 sit on the huge connected sky areas, drain fast and recycle a slot within seconds. They are what actually opens the picture up.
3. Expect five more long waits. Green ×32 (step 3) waits 75 s, Yellow ×36 (step 10) 59 s, Yellow ×21 (step 17) 57 s, Green ×60 (step 33) 53 s and Orange ×58 (step 28) 1 min 17 s. Their slots look busy but idle — that is normal.
4. Feed the two cloth-wrapped blocks early. Steps 11 (Blue ×70) and 23 (Charcoal ×59) land as a blank cloth cube and only open a moment later, so landing them while other blocks are still draining hides that delay completely.
5. Do not miss the Sand blocks. Sand ×29 (1:54), Sand ×29 (5:24) and Sand ×60 (5:36) are the color of the wooden panel behind the queue; skipping them leaves the frog's muzzle and belly behind and stalls the finale.
6. The endgame belongs to Blue. Blue ×65, Blue ×68 and Cyan ×28 are fed between 5:37 and 5:43, and the very last pixel to fall is Blue at 5:47.
Food Hunt Level 1035 — frequently asked questions
- What colours are on the Food Hunt Level 1035 board?
- The board image breaks down into 9 main colours, each covering at least 2% of it: orange (#F7D48F, 30.8% of the board), blue (#2C8FEE, 16.1% of the board), cyan (#65DBEF, 13.9% of the board), dark grey (#494E54, 13.0% of the board), green (#1FE27F, 11.0% of the board), dark cyan (#16858A, 4.9% of the board), pale red (#C77A8A, 3.8% of the board), light green (#1DC373, 3.7% of the board) and deep green (#348360, 2.7% of the board).
- Which colour should I clear first in Food Hunt Level 1035?
- orange covers the most of the board at 30.8%, and blue is next at 16.1%. The step-by-step walkthrough above is this board's actual tap order; the colour shares here are only what each colour costs to clear.
- What difficulty is Level 1035 in Food Hunt: Pixel Puzzle?
- Level 1035 is rated Expert difficulty in Food Hunt: Pixel Puzzle.
- Is there a video walkthrough for this Food Hunt level?
- Yes — the walkthrough video on this page plays the full clear of this board, so you can follow the tap order block by block. The board image next to it shows what the finished picture is made of.
More expert walkthroughs
View all →
Featured walkthroughs
The levels players search for most - each with a full video guide.