Food Hunt Level 1007 Walkthrough
ExpertPixel-Art Capybara in a Nightcap
How do you beat level 1007? Watch the video or follow the step-by-step picture and text guide to complete it!
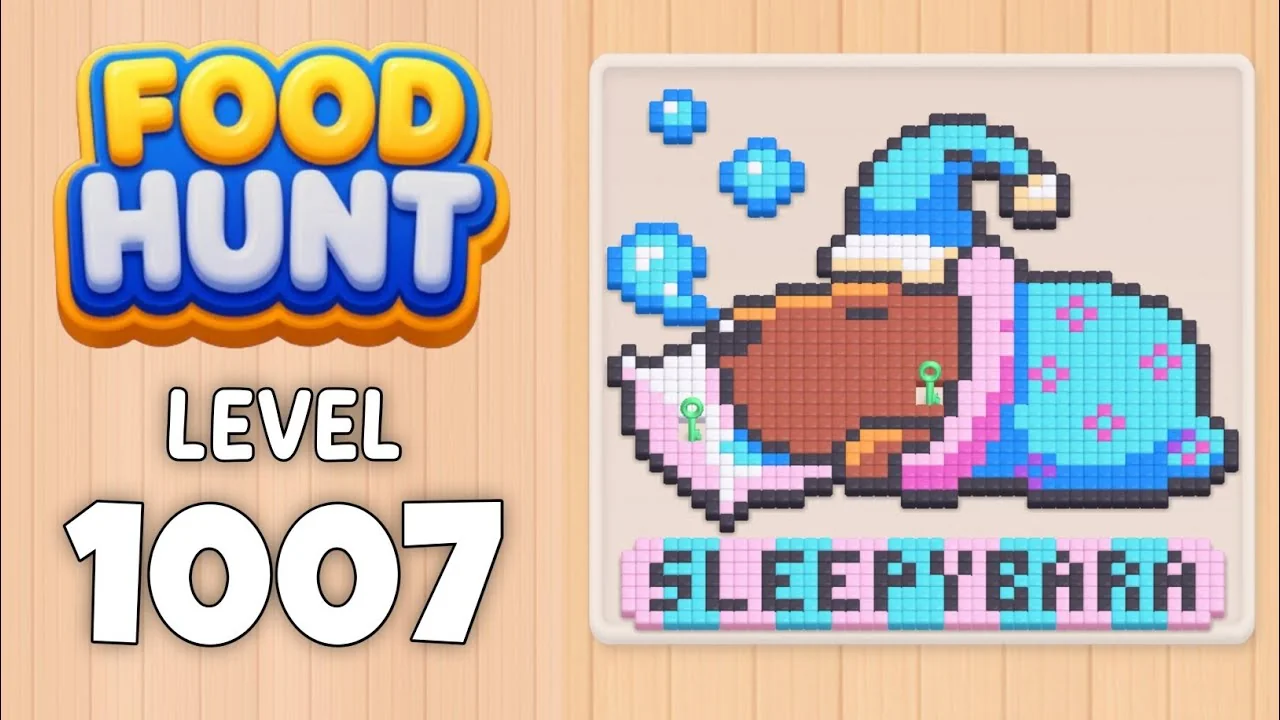
Level board
Step-by-step walkthrough
Prefer screenshots to video? Every phase of the clear is below in order, with the block counts and the frames they were taken from — keep it open next to the game and follow along tap by tap.
Level: 1007 — the pink capybara "SLEEPYBARA" asleep on a brown log in a cyan nightcap
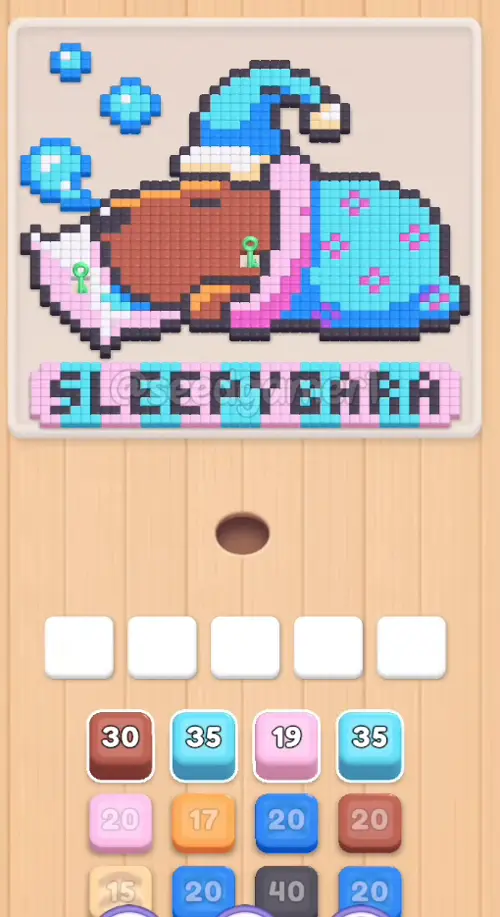
How the Level Works
1. Tap a color block in the bottom queue to send it up into one of the five slots. Each queue column scrolls up on its own when its front block is taken, and the blocks inside a column are chained together, so taking one pulls its neighbour forward.
2. Ants of that color pour out of the hole and eat every reachable pixel of the matching color on the picture; the number printed on the block counts down while they work. At 0 the block vanishes and frees its slot.
3. The queue gets narrower as the level goes on. It starts four columns wide, drops to three at 2:28, to two at 3:02, to one at 3:31 and runs dry at 3:36.
4. A blank grey block with no number parks on the shelf from about 0:25 and never leaves. Nothing on the board drains while it sits there, and it slides sideways when the shelf re-packs. It is furniture, not a step: count only the blocks that show a number.
5. Pixels can be walled in. A block can sit for a minute or more with almost no progress while its remaining pixels are buried under other colors. The Brown and Cyan blocks in the middle of this run do exactly that, and they hold their slot the whole time.
6. Eat the entire picture to win. One clean run takes 3:41.
Complete Block Order (Which Color First, Then Which)
Timestamps are video time, when the block lands in a slot. Count is the number printed on the block when it settles.
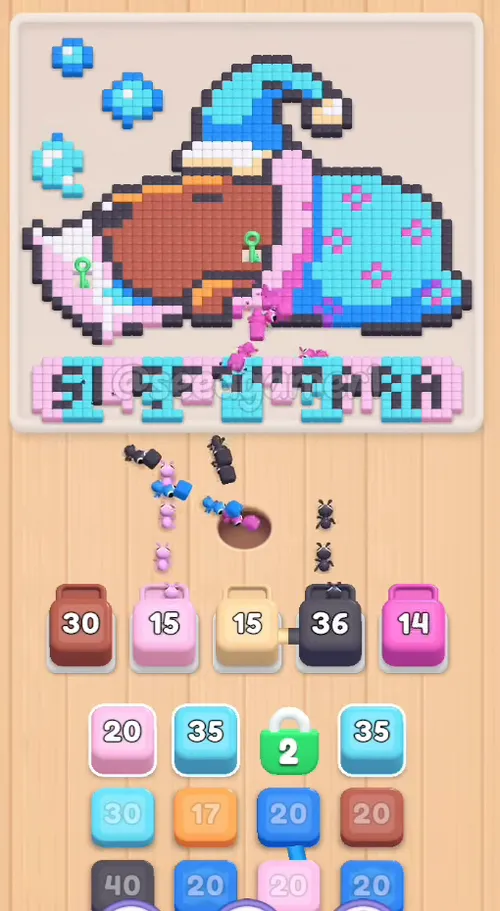
Phase 1 — The Opening Five (0:04 – 0:08)
| # | Time | Color Block | Count |
|---|---|---|---|
| 1 | 0:04 | 🟫 Brown | 30 |
| 2 | 0:07 | 🩷 Pale pink | 19 |
| 3 | 0:08 | 🟦 Blue | 18 |
| 4 | 0:08 | ⬛ Dark grey | 39 |
| 5 | 0:08 | 🟪 Magenta | 23 |
Phase 2 — The First Refills (0:17 – 0:43)
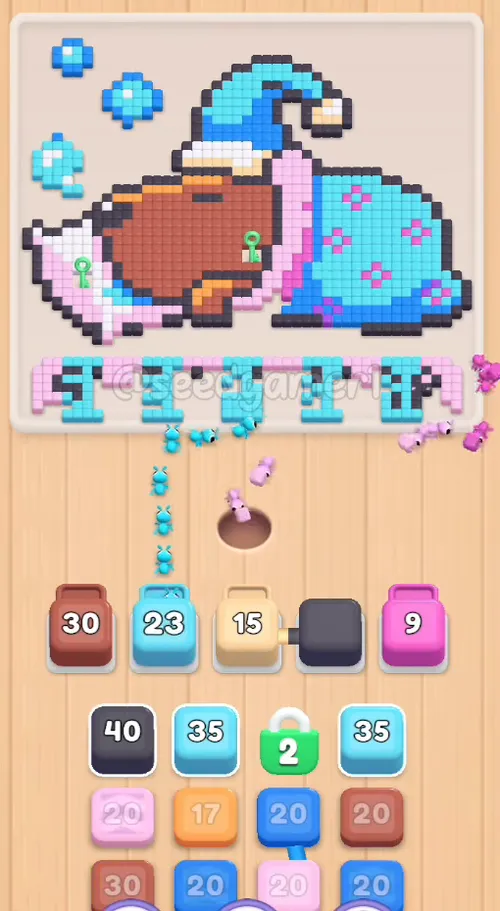
| # | Time | Color Block | Count |
|---|---|---|---|
| 6 | 0:17 | 🩷 Pale pink | 18 |
| 7 | 0:17 | 🟨 Sand | 15 |
| 8 | 0:26 | 🩵 Cyan | 30 |
| 9 | 0:32 | ⬛ Dark grey | 40 |
| 10 | 0:40 | 🩷 Pale pink | 17 |
| 11 | 0:43 | 🩵 Cyan | 35 |
Phase 3 — Orange, Blue and a Long Dark Grey (0:50 – 1:11)
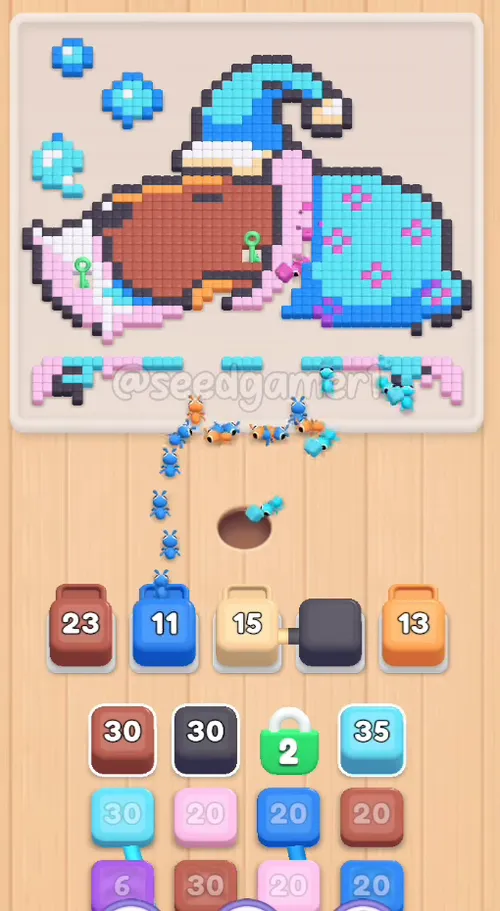
| # | Time | Color Block | Count |
|---|---|---|---|
| 12 | 0:50 | 🟧 Orange | 17 |
| 13 | 0:50 | 🟦 Blue | 19 |
| 14 | 0:55 | ⬛ Dark grey | 28 |
| 15 | 1:04 | 🩷 Pale pink | 20 |
| 16 | 1:05 | 🟫 Brown | 28 |
| 17 | 1:11 | 🟫 Brown | 29 |
| 18 | 1:11 | 🩵 Cyan | 35 |
Phase 4 — Two Slots Rotating (1:21 – 1:37)
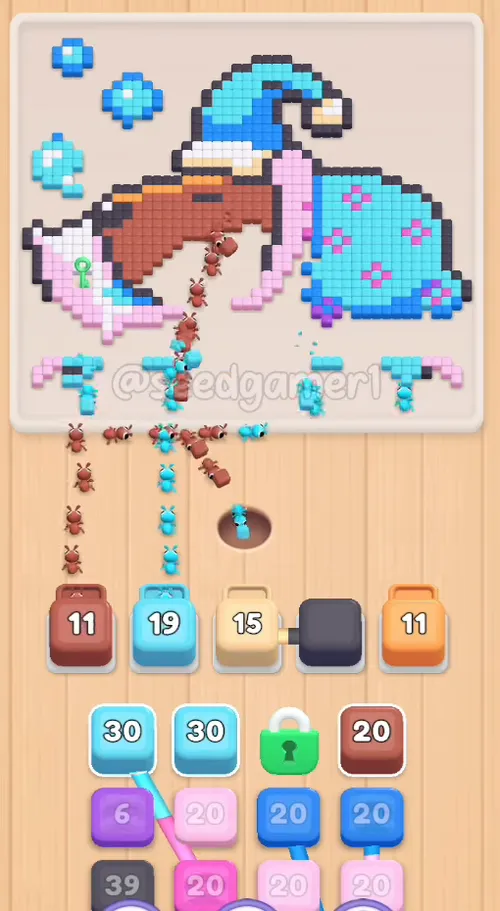
| # | Time | Color Block | Count |
|---|---|---|---|
| 19 | 1:21 | 🟦 Blue | 17 |
| 20 | 1:21 | 🩷 Pale pink | 18 |
| 21 | 1:29 | ⬛ Dark grey | 38 |
| 22 | 1:29 | ⬜ White | 18 |
| 23 | 1:37 | 🩵 Cyan | 30 |
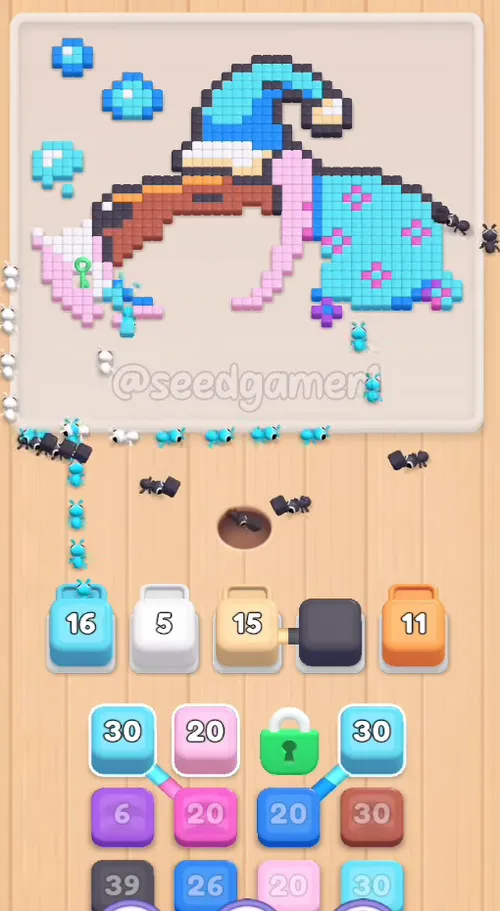
Phase 5 — The Cyan Wave (1:47 – 2:11)
| # | Time | Color Block | Count |
|---|---|---|---|
| 24 | 1:47 | 🟦 Blue | 18 |
| 25 | 1:47 | 🩵 Cyan | 29 |
| 26 | 1:53 | 🟫 Brown | 27 |
| 27 | 1:54 | 🩷 Pale pink | 18 |
| 28 | 1:59 | ⬛ Dark grey | 28 |
| 29 | 1:59 | 🩵 Cyan | 23 |
| 30 | 2:11 | 🩵 Cyan | 29 |
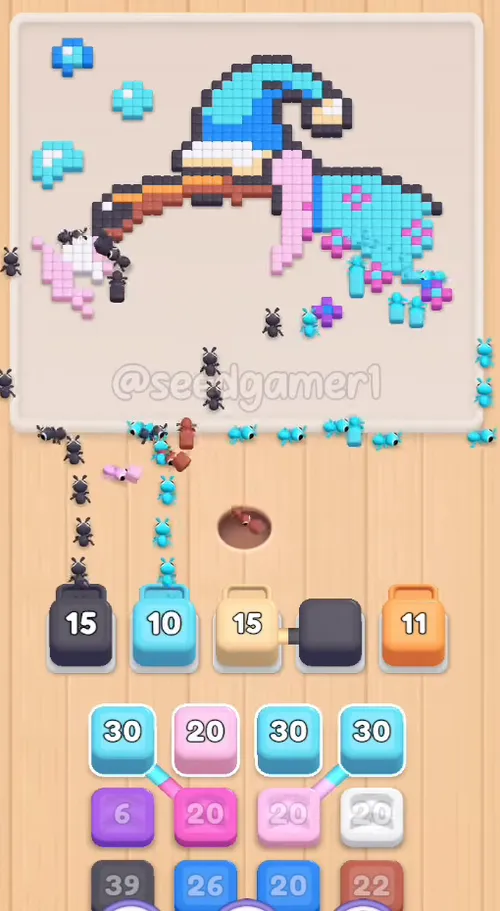
Phase 6 — The Queue Narrowing (2:17 – 2:42)
| # | Time | Color Block | Count |
|---|---|---|---|
| 31 | 2:17 | 🩵 Cyan | 30 |
| 32 | 2:17 | 🩷 Pale pink | 17 |
| 33 | 2:21 | ⬜ White | 18 |
| 34 | 2:26 | 🟫 Brown | 21 |
| 35 | 2:28 | 🩷 Pale pink | 17 |
| 36 | 2:42 | 🩷 Pale pink | 19 |
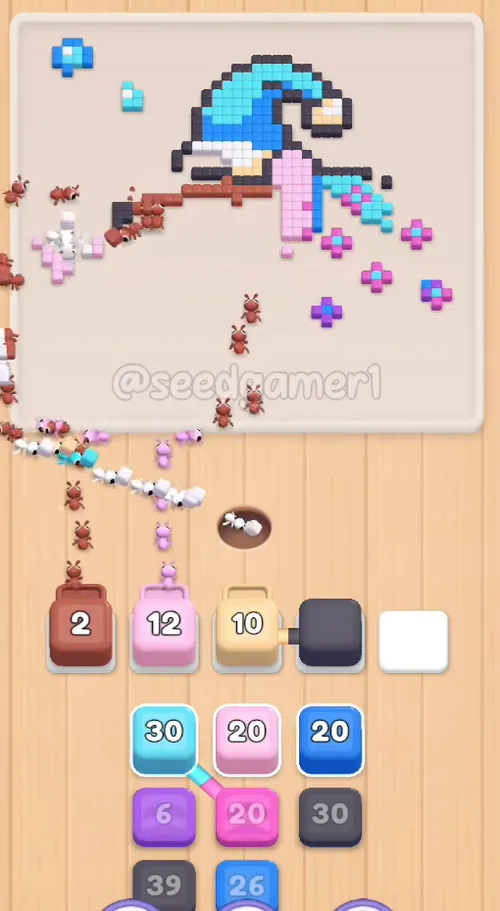
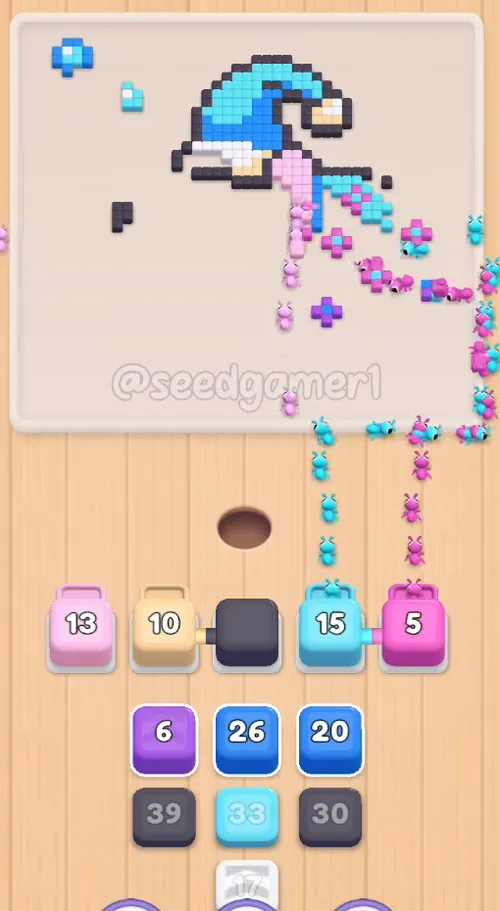
Phase 7 — Endgame (2:43 – 3:22)
| # | Time | Color Block | Count |
|---|---|---|---|
| 37 | 2:43 | 🩵 Cyan | 28 |
| 38 | 2:43 | 🟪 Magenta | 18 |
| 39 | 3:01 | ⬛ Dark grey | 37 |
| 40 | 3:12 | 🟦 Blue | 24 |
| 41 | 3:22 | 🟦 Blue | 18 |
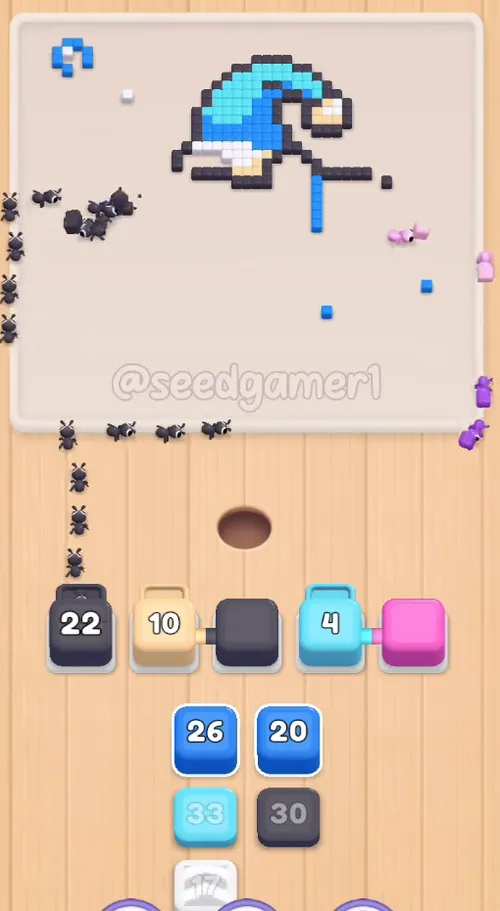
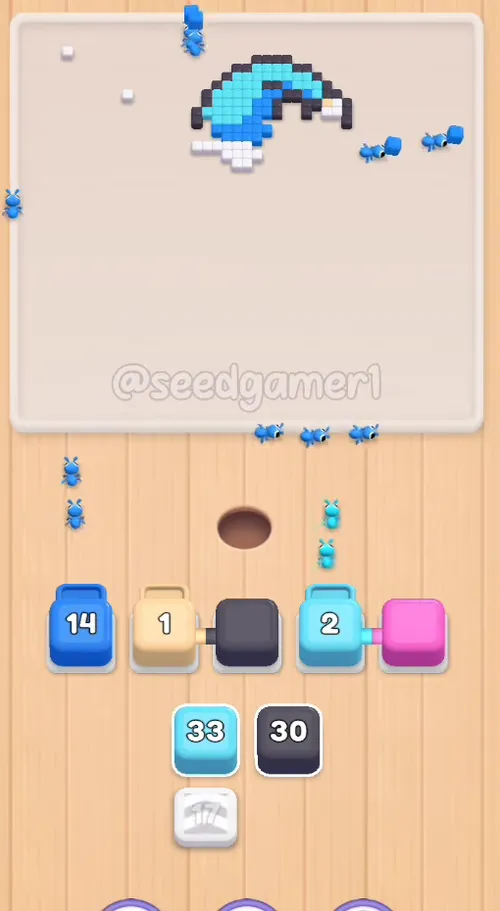
Phase 8 — The Last Sweep (3:31 – 3:36)
| # | Time | Color Block | Count |
|---|---|---|---|
| 42 | 3:31 | ⬛ Dark grey | 30 |
| 43 | 3:32 | 🩵 Cyan | 33 |
| 44 | 3:36 | ⬜ White | 17 |
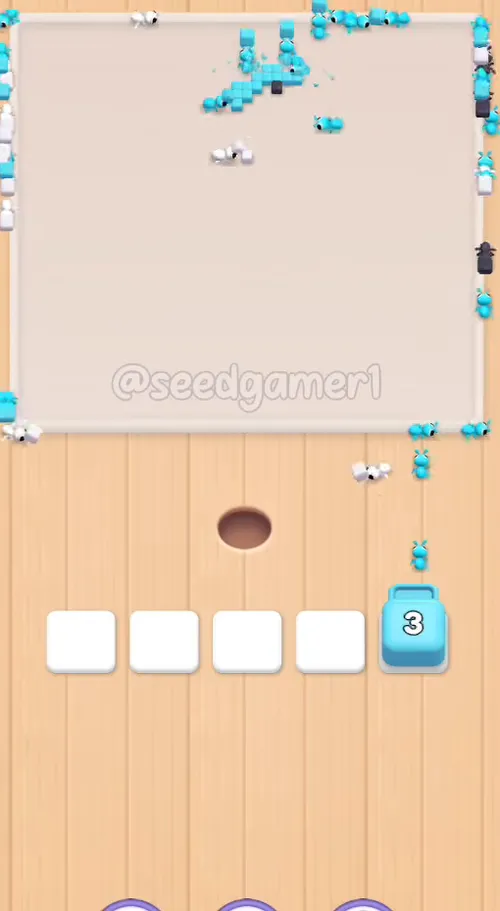
The very last block you place is White 17 at 3:36, but the finishing work belongs to the Cyan 33 fed at 3:32: it holds slot 5 alone for the last nine seconds.
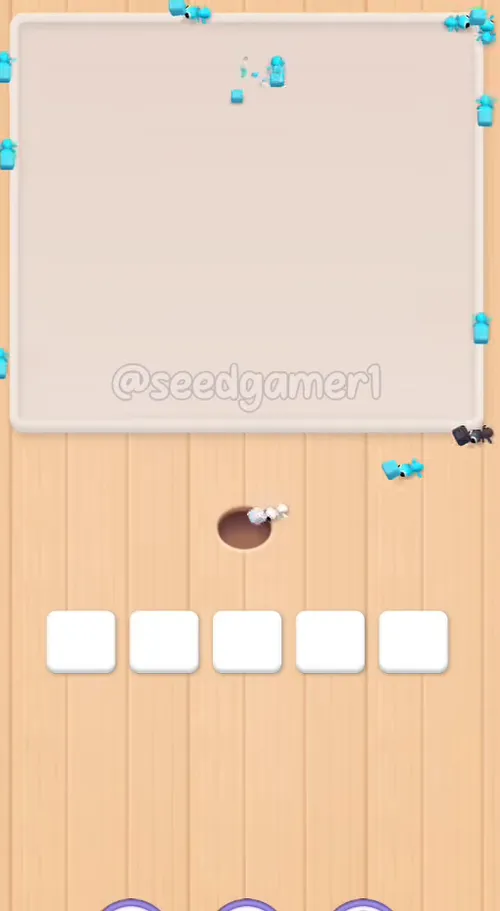
The very last pixel to fall is Cyan, and the board is empty at 3:41.
Quick Reference — One-Line Order
Brown 30 -> Pale pink 19 -> Blue 18 -> Dark grey 39 -> Magenta 23 -> Pale pink 18 -> Sand 15 -> Cyan 30 -> Dark grey 40 -> Pale pink 17 -> Cyan 35 -> Orange 17 -> Blue 19 -> Dark grey 28 -> Pale pink 20 -> Brown 28 -> Brown 29 -> Cyan 35 -> Blue 17 -> Pale pink 18 -> Dark grey 38 -> White 18 -> Cyan 30 -> Blue 18 -> Cyan 29 -> Brown 27 -> Pale pink 18 -> Dark grey 28 -> Cyan 23 -> Cyan 29 -> Cyan 30 -> Pale pink 17 -> White 18 -> Brown 21 -> Pale pink 17 -> Pale pink 19 -> Cyan 28 -> Magenta 18 -> Dark grey 37 -> Blue 24 -> Blue 18 -> Dark grey 30 -> Cyan 33 -> White 17
Pro Tips
1. Fill all five slots in the first eight seconds. Steps 1 to 5 land between 0:04 and 0:08, and every one of them is a different color, so the picture loses five fronts at once.
2. Cyan does the heavy lifting. Ten Cyan blocks, 302 units in total - more than any other color. Expect Cyan to be in a slot for most of the run.
3. Count the empty shelf, not the middle of the slot. A slot holding White looks exactly like an empty slot in the middle of the block, because a White block's face is pure white. The difference is the band above it: an empty slot shows the wooden shelf, a White block shows white there too.
4. The blank grey block is not a step. From about 0:25 the shelf carries a grey block with no number. It eats nothing, it never leaves, and it slides along when the shelf re-packs - ignore it and keep feeding the numbered blocks.
5. Plan for a narrowing queue. Four columns until 2:28, three from 2:28, two from 3:02, one from 3:31. The shorter the queue, the longer you wait between useful blocks, so spend the four-column phase getting the big Cyan and Dark grey blocks down.
6. Slots 1 and 2 carry the middle of the run. From 1:21 to 2:42 the Blue and Pale pink blocks rotate through them while Dark grey and the shelf-blocker sit elsewhere.
7. Watch the two stuck blocks. "Stuck" is normal: a block whose remaining pixels are buried keeps its slot. The Dark grey 40 fed at 0:32 and the Cyan 35 fed at 0:43 both sit for a long time before they finish.
8. No fail state. There is no move limit and no timer that ends the run - the order above is about speed, not survival. One clean run clears the board at 3:41.
Colors in this level
Colors in this level: ⬛ Dark grey (the ink outline around every shape and the lettering) · ⬜ White (the nightcap's brim, the pom-pom and the lettering highlights) · 🟨 Sand (the picture frame and the banner behind the lettering) · 🟧 Orange (the warm stripe across the middle of the picture) · 🟫 Brown (the capybara's back and the log it lies on) · 🟪 Magenta (the flowers printed on the blanket) · 🩵 Cyan (the nightcap, the fish and bubbles and the blanket) · 🩷 Pale pink (the background card, the face and the paws) · 🟦 Blue (the darker blue of the nightcap, the fish and the blanket)
Food Hunt Level 1007 — frequently asked questions
- What colours are on the Food Hunt Level 1007 board?
- The board image breaks down into 7 main colours, each covering at least 2% of it: dark grey (#544C5A, 17.4% of the board), cyan (#63E0F0, 16.6% of the board), pale pink (#F6D2ED, 12.3% of the board), red (#C36C59, 10.7% of the board), blue (#318CE6, 8.3% of the board), grey (#AEB1C7, 2.3% of the board) and pink (#DF6CD1, 2.2% of the board). The cream around the picture reads as the board's empty background — it frames the artwork rather than forming part of it.
- Which colour should I clear first in Food Hunt Level 1007?
- dark grey covers the most of the board at 17.4%, and cyan is next at 16.6%. The step-by-step walkthrough above is this board's actual tap order; the colour shares here are only what each colour costs to clear.
- What difficulty is Level 1007 in Food Hunt: Pixel Puzzle?
- Level 1007 is rated Expert difficulty in Food Hunt: Pixel Puzzle.
- Is there a video walkthrough for this Food Hunt level?
- Yes — the walkthrough video on this page plays the full clear of this board, so you can follow the tap order block by block. The board image next to it shows what the finished picture is made of.
More expert walkthroughs
View all →
Featured walkthroughs
The levels players search for most - each with a full video guide.