
Founder & Editorial Team
2026-09-03
Food Hunt Level 1331 Walkthrough - Step by Step
Stuck on Food Hunt level 1331? Follow the full 21-step clear: build the sky and background, finish the purple bucket, power through the giant red overalls batch, then clean up the outlines.
Before the steps, here is the matching order at a glance: the background phases come first (dark blue and light cyan), then the props (purple bucket and dark grey outlines), a resupply stretch, the big red overalls batch, the brown body and orange details, and finally the black outlines and top-sky cleanup. The tray in this level runs five slots, and resupply batches keep sliding in as older colors drain — so always read the tray left to right before committing a tap.
Step 1 — dark blue background. The tray reads Dark Blue · Light Cyan · Beige · Dark Blue · Orange. Match the Dark Blue block: it eats the dark-blue background pixels around the picture edges while blue ants stream up and down the wooden floor.
Step 2 — light cyan sky. The tray now reads Red · Light Cyan · Beige · Dark Blue · Orange. Match Light Cyan, the single biggest early batch, to swallow the large light-blue sky area. Red and Dark Blue slide into standby positions for later.
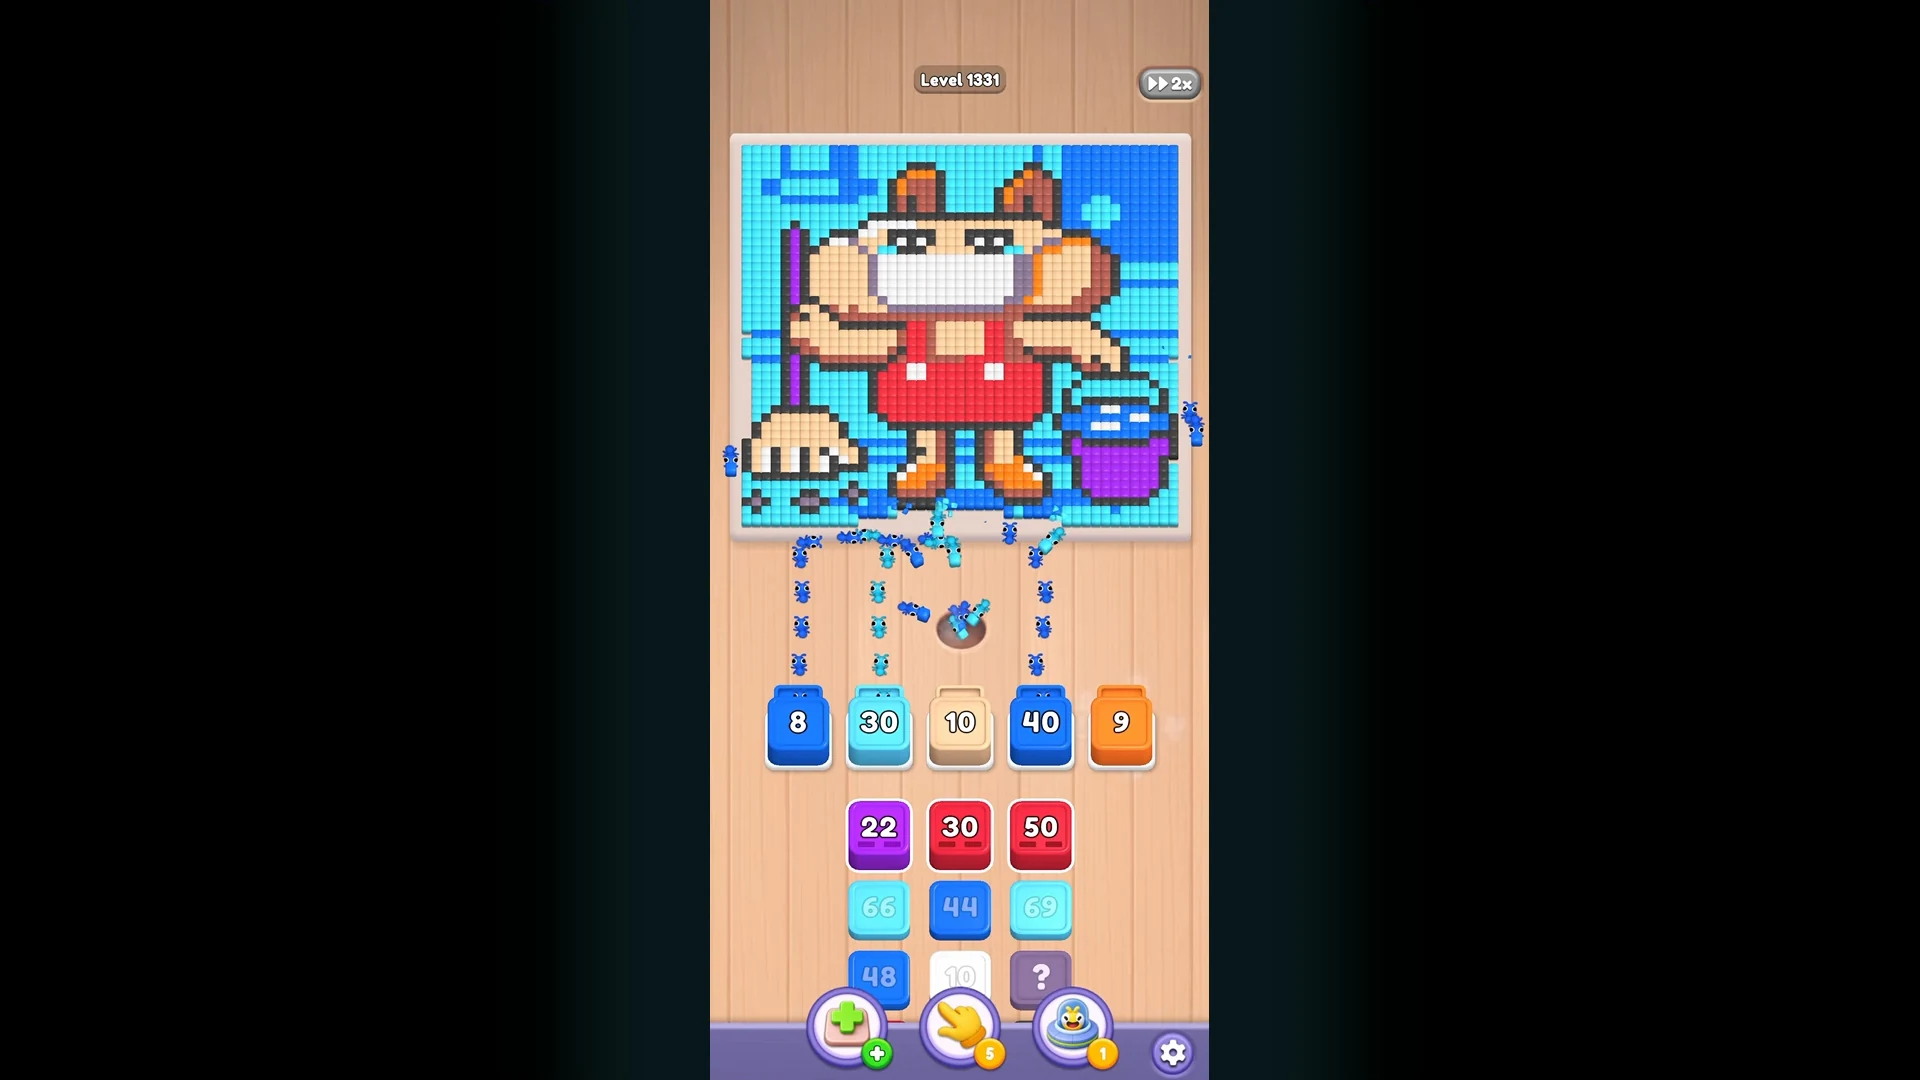
Step 3 — purple bucket. With Red · Light Cyan · Beige · Purple · Orange on the tray, match Purple to the bucket the hamster holds on the right side of the picture.
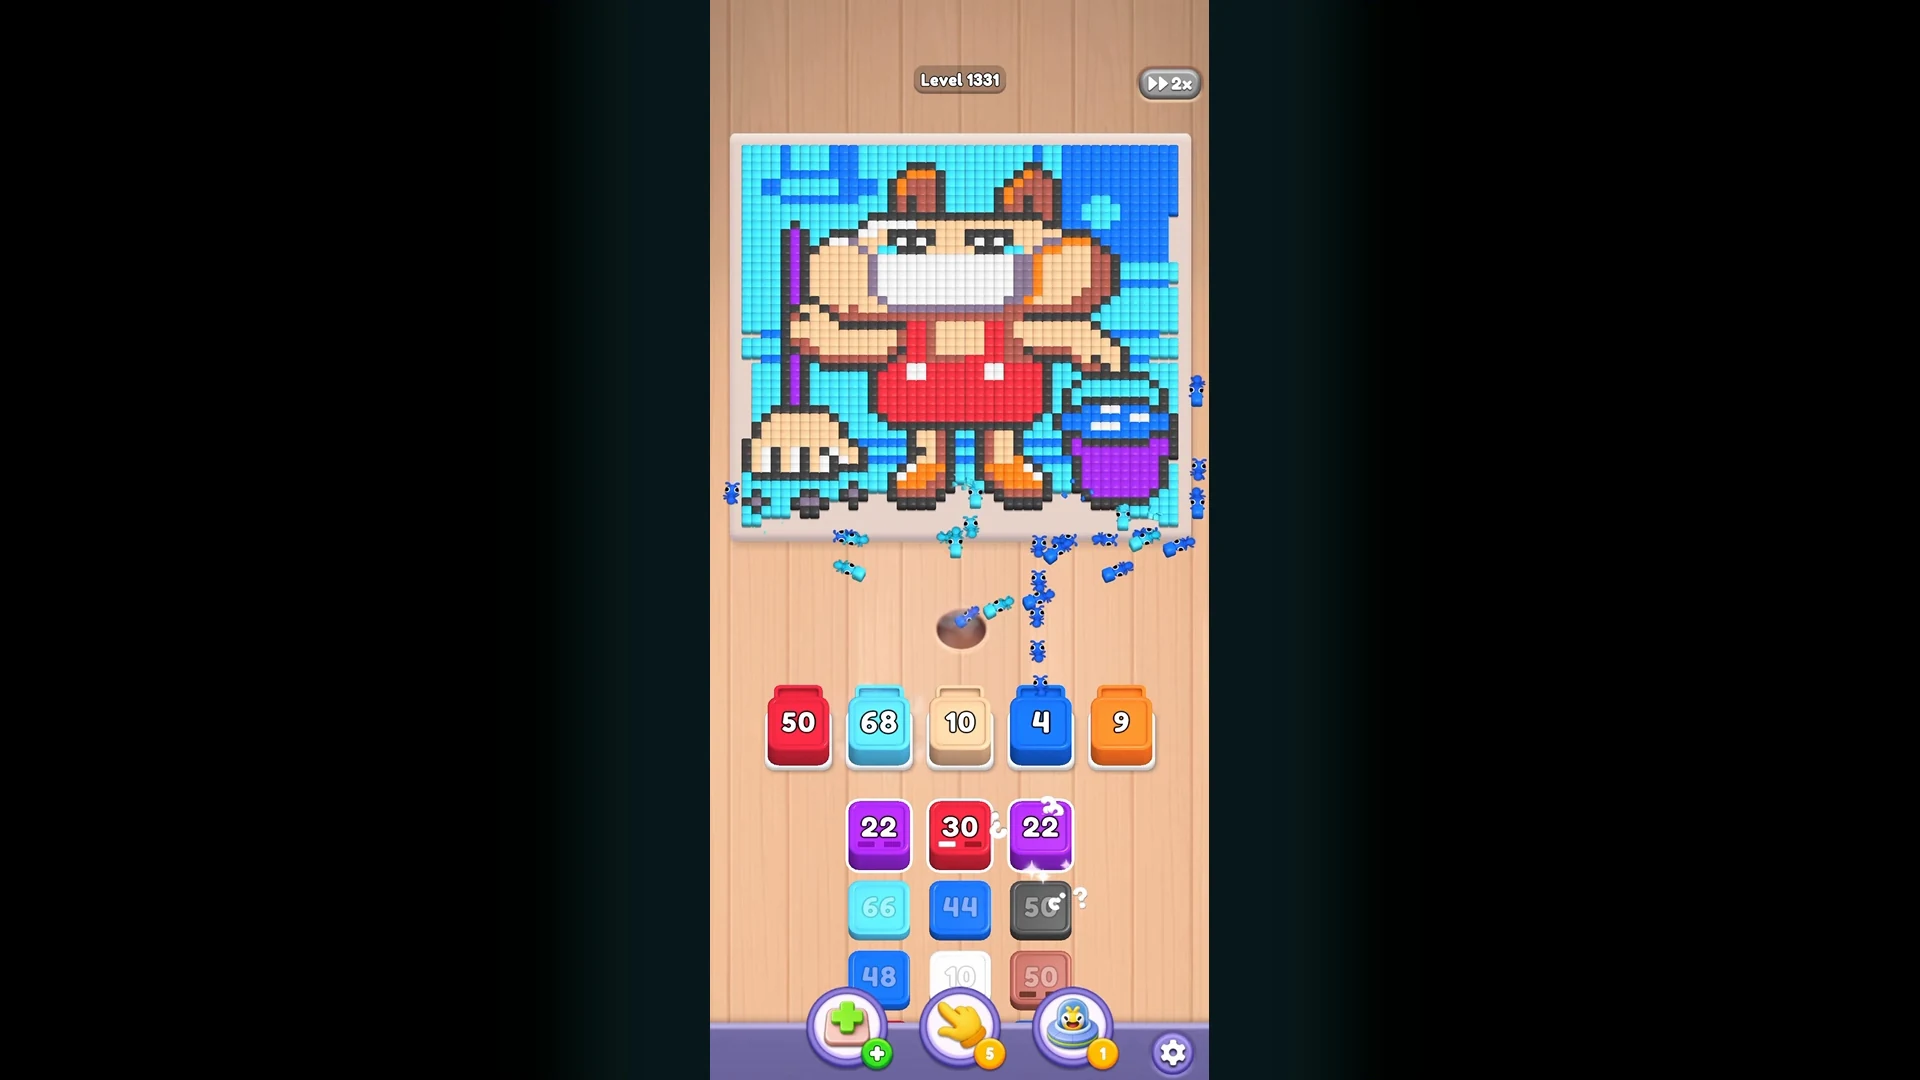
Step 4 — bucket finish and resupply. The tray shows Red · Purple · Beige · Light Cyan · Dark Blue. Match Purple to finish the bucket highlights and edges. Notice Light Cyan and Dark Blue arriving as a fresh resupply batch — big sky and background numbers are coming back around.
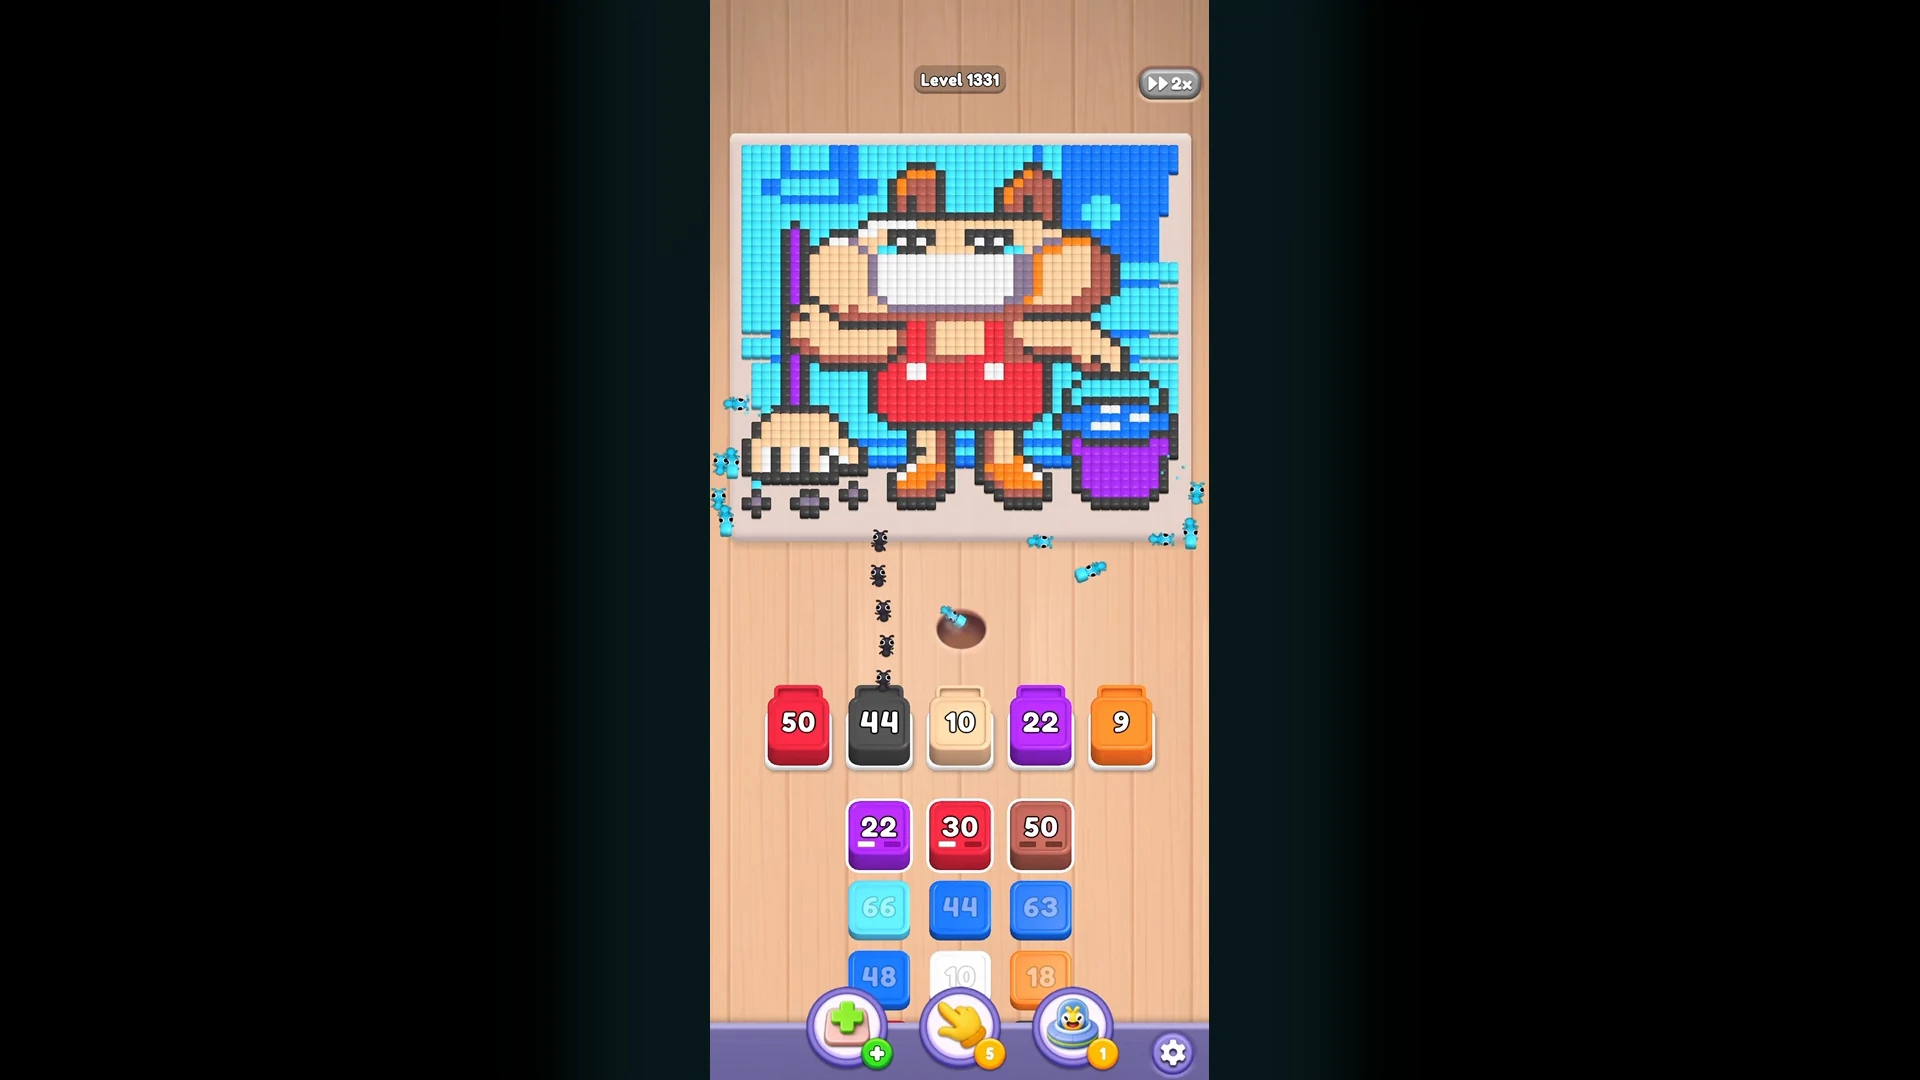
Step 5 — dark grey outlines. Tray: Red · Dark grey · Beige · Purple · Orange. Match Dark grey to the dark outline pixels — paw shadows, the broom base, and similar detail lines.
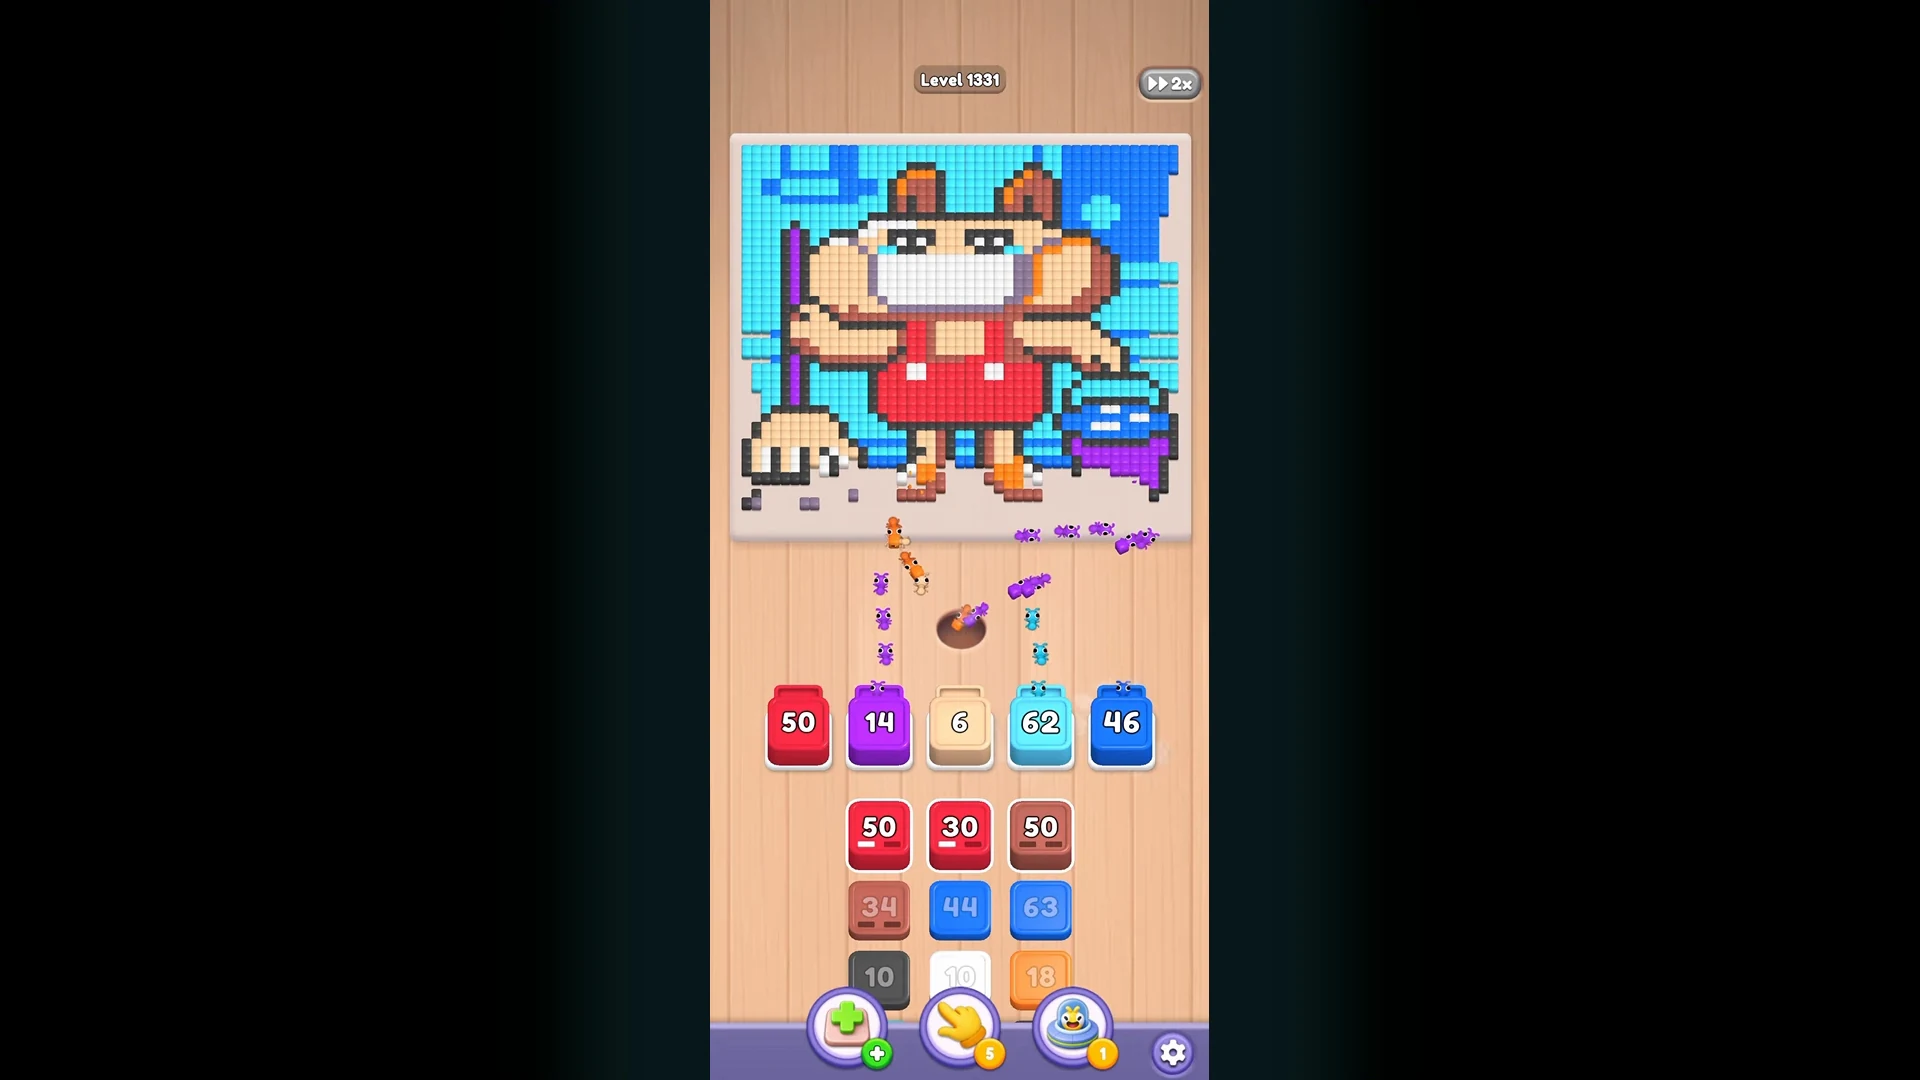
Step 6 — edge blue, red incoming. Tray: Dark Blue · White · Red · Dark grey and an empty slot. Match Dark Blue to the deep-blue background band along the edges. The important moment here is Red entering the tray — the giant batch that will feed the overalls later. Do not rush it; it stays queued while smaller jobs clear.
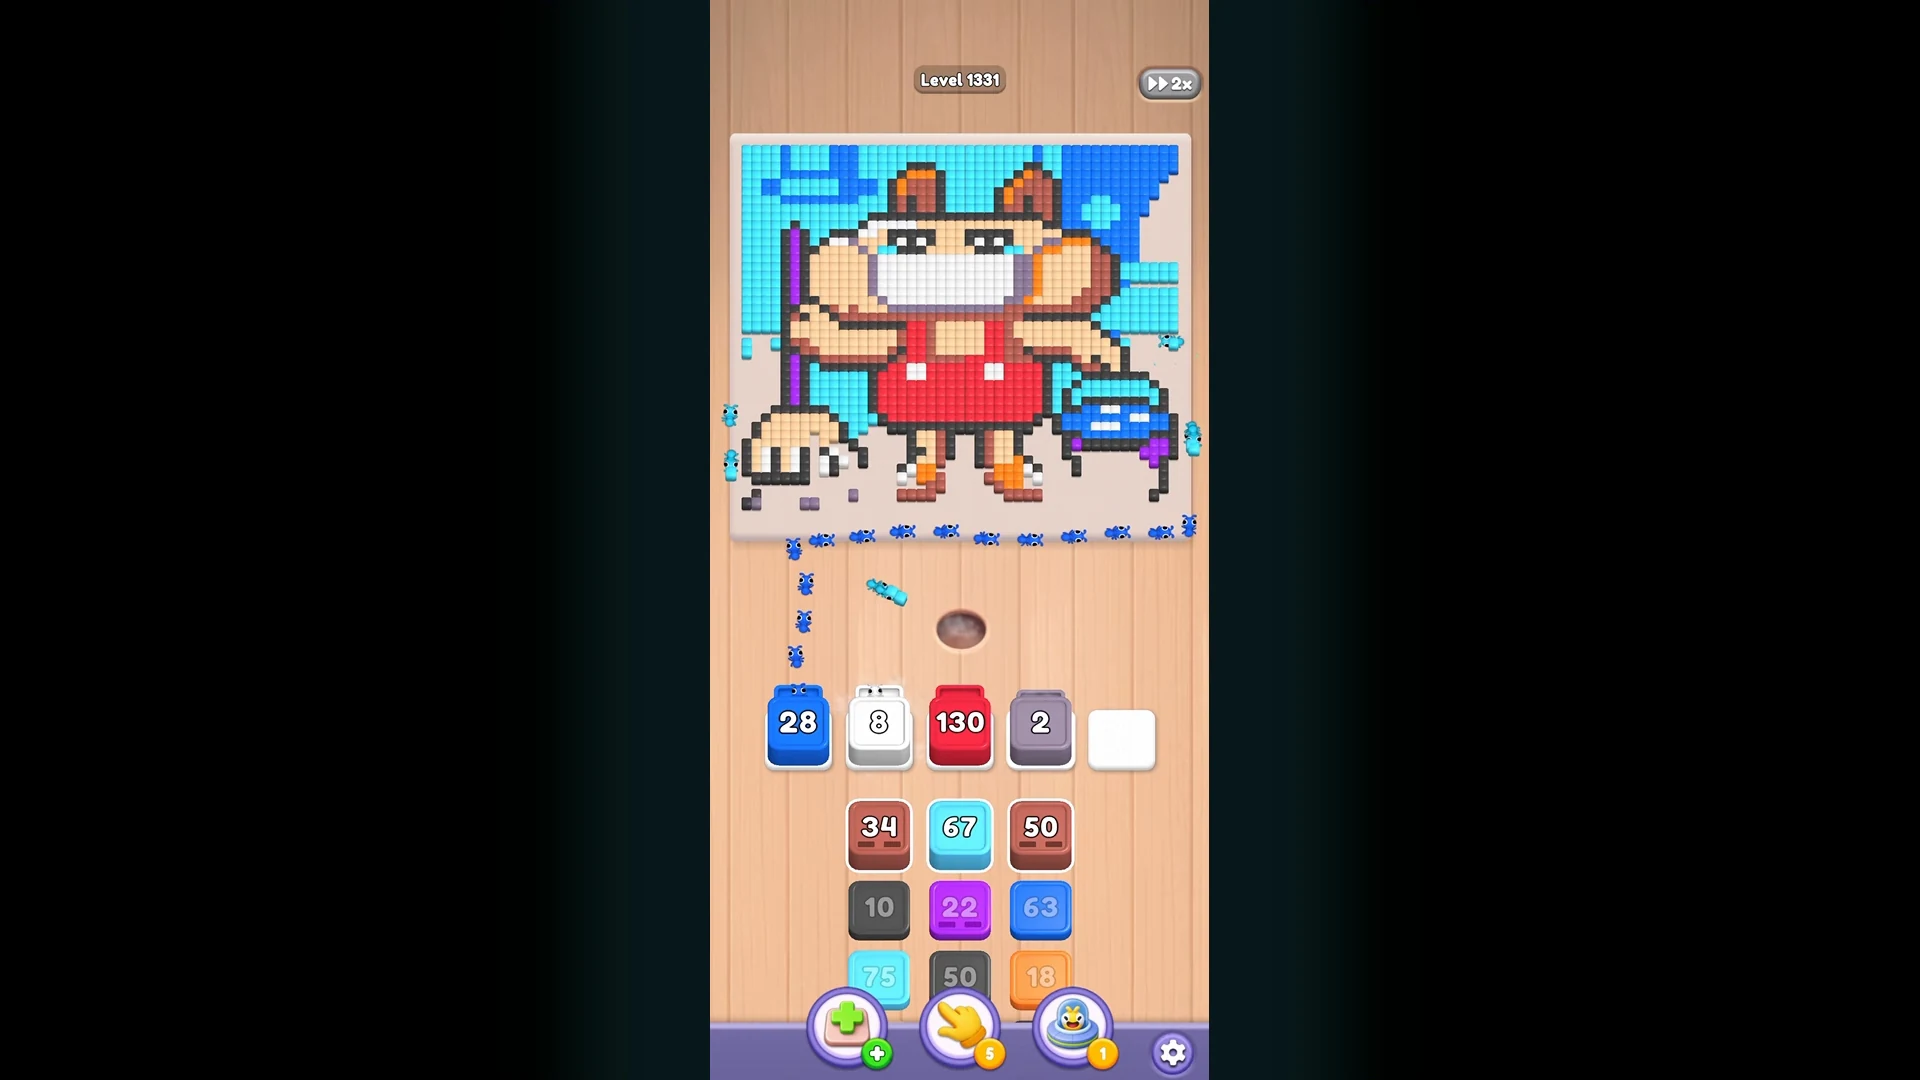
Step 7 — light cyan top. Tray: Dark Blue · White · Red · Light Cyan. Match Light Cyan to the light cyan blocks at the top of the sky. Only a sliver of dark blue remains on the board at this point.
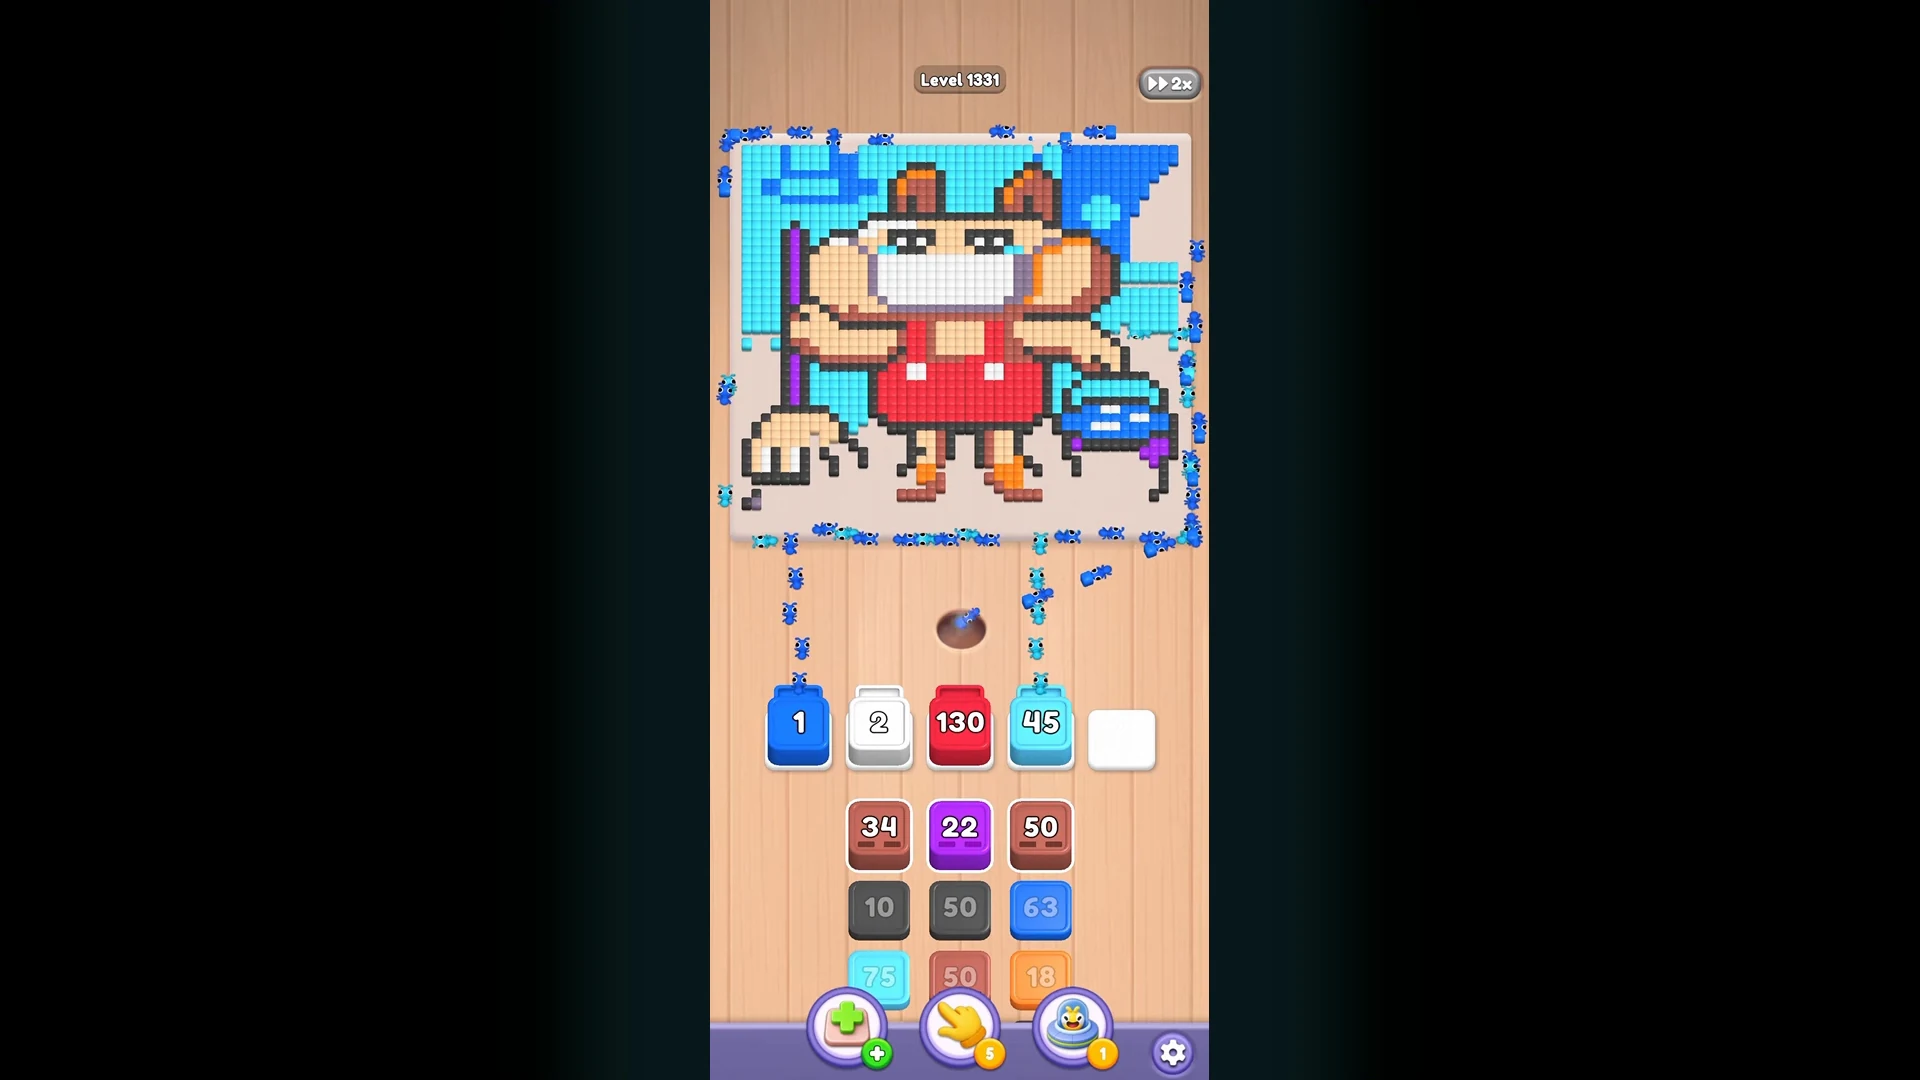
Step 8 — brown broom and paws. Tray: Brown · White · Red · Light Cyan. Match Brown to the broom bristles on the left and the hamster's paws.
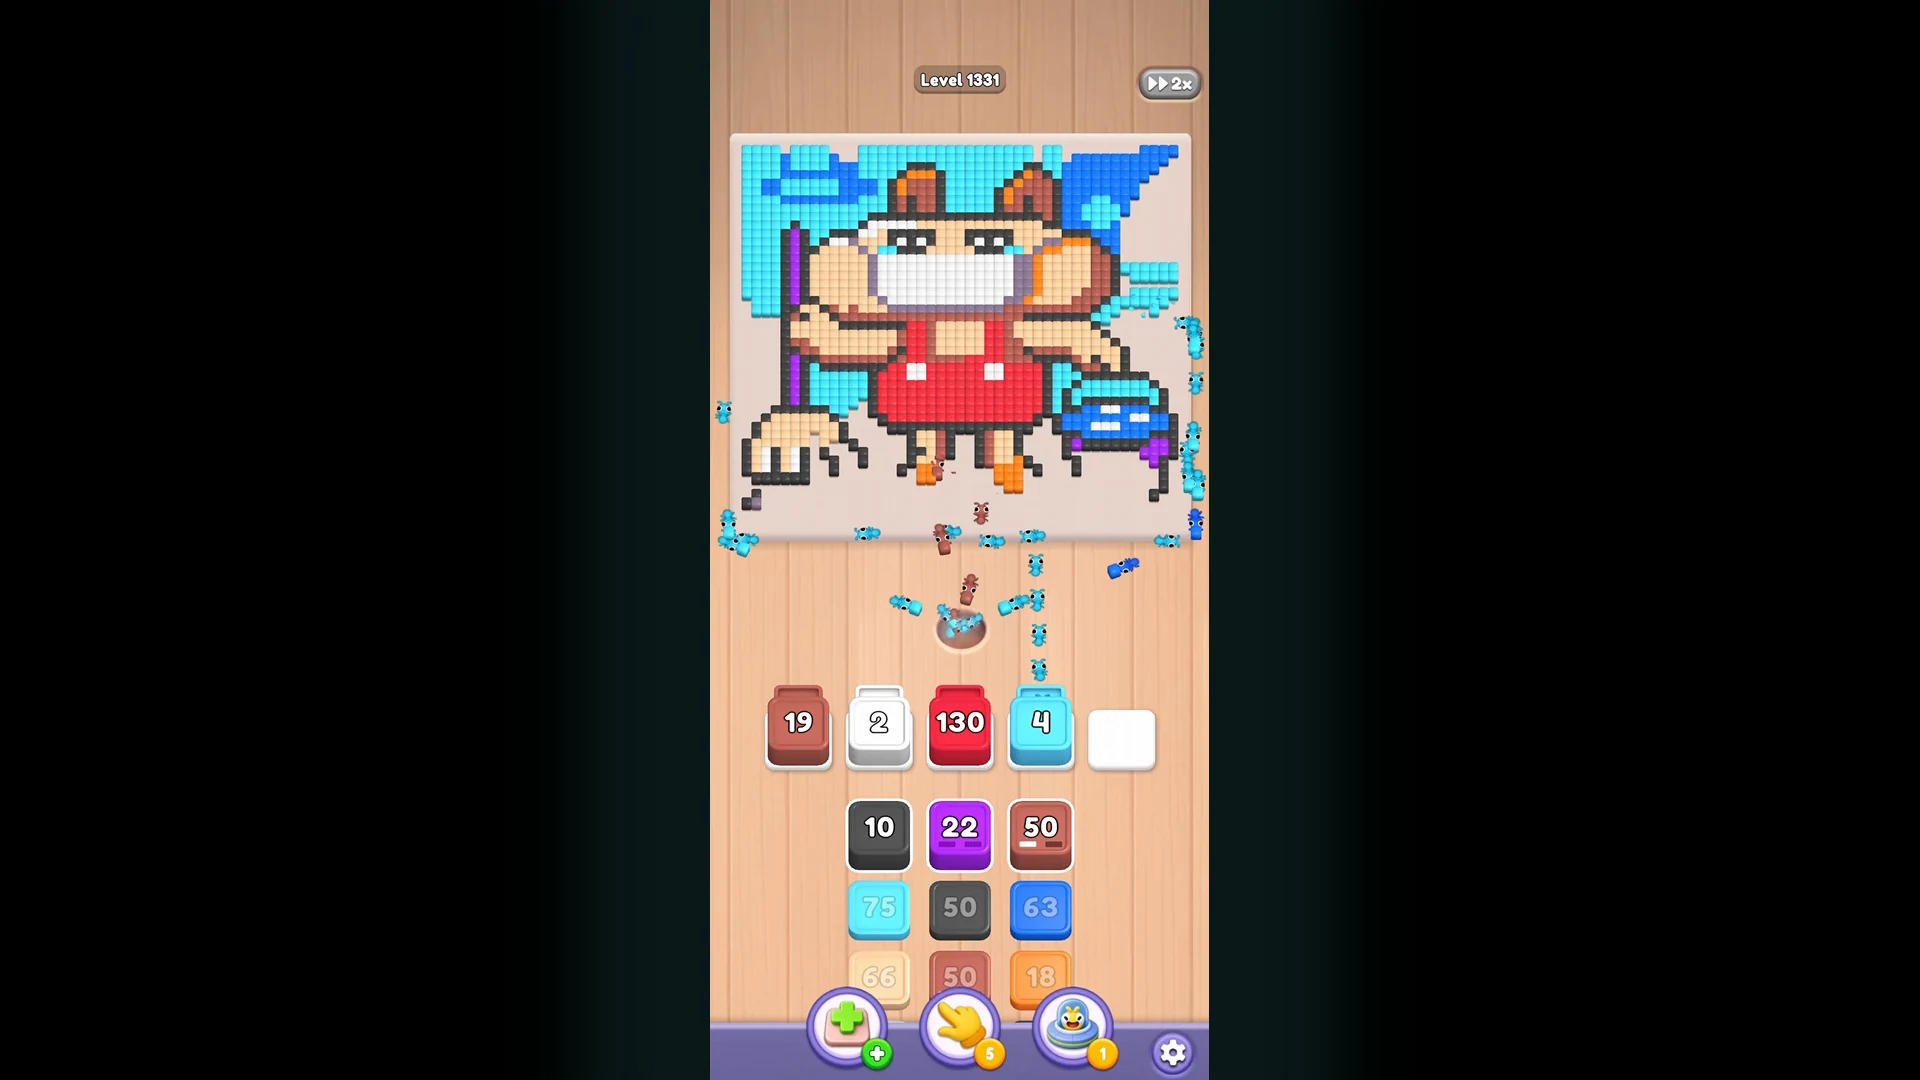
Step 9 — purple broom handle. Tray: Brown · White · Red · Purple · Black. Match Purple to the vertical broom handle. Black is now waiting in the last slot for the detail phase.
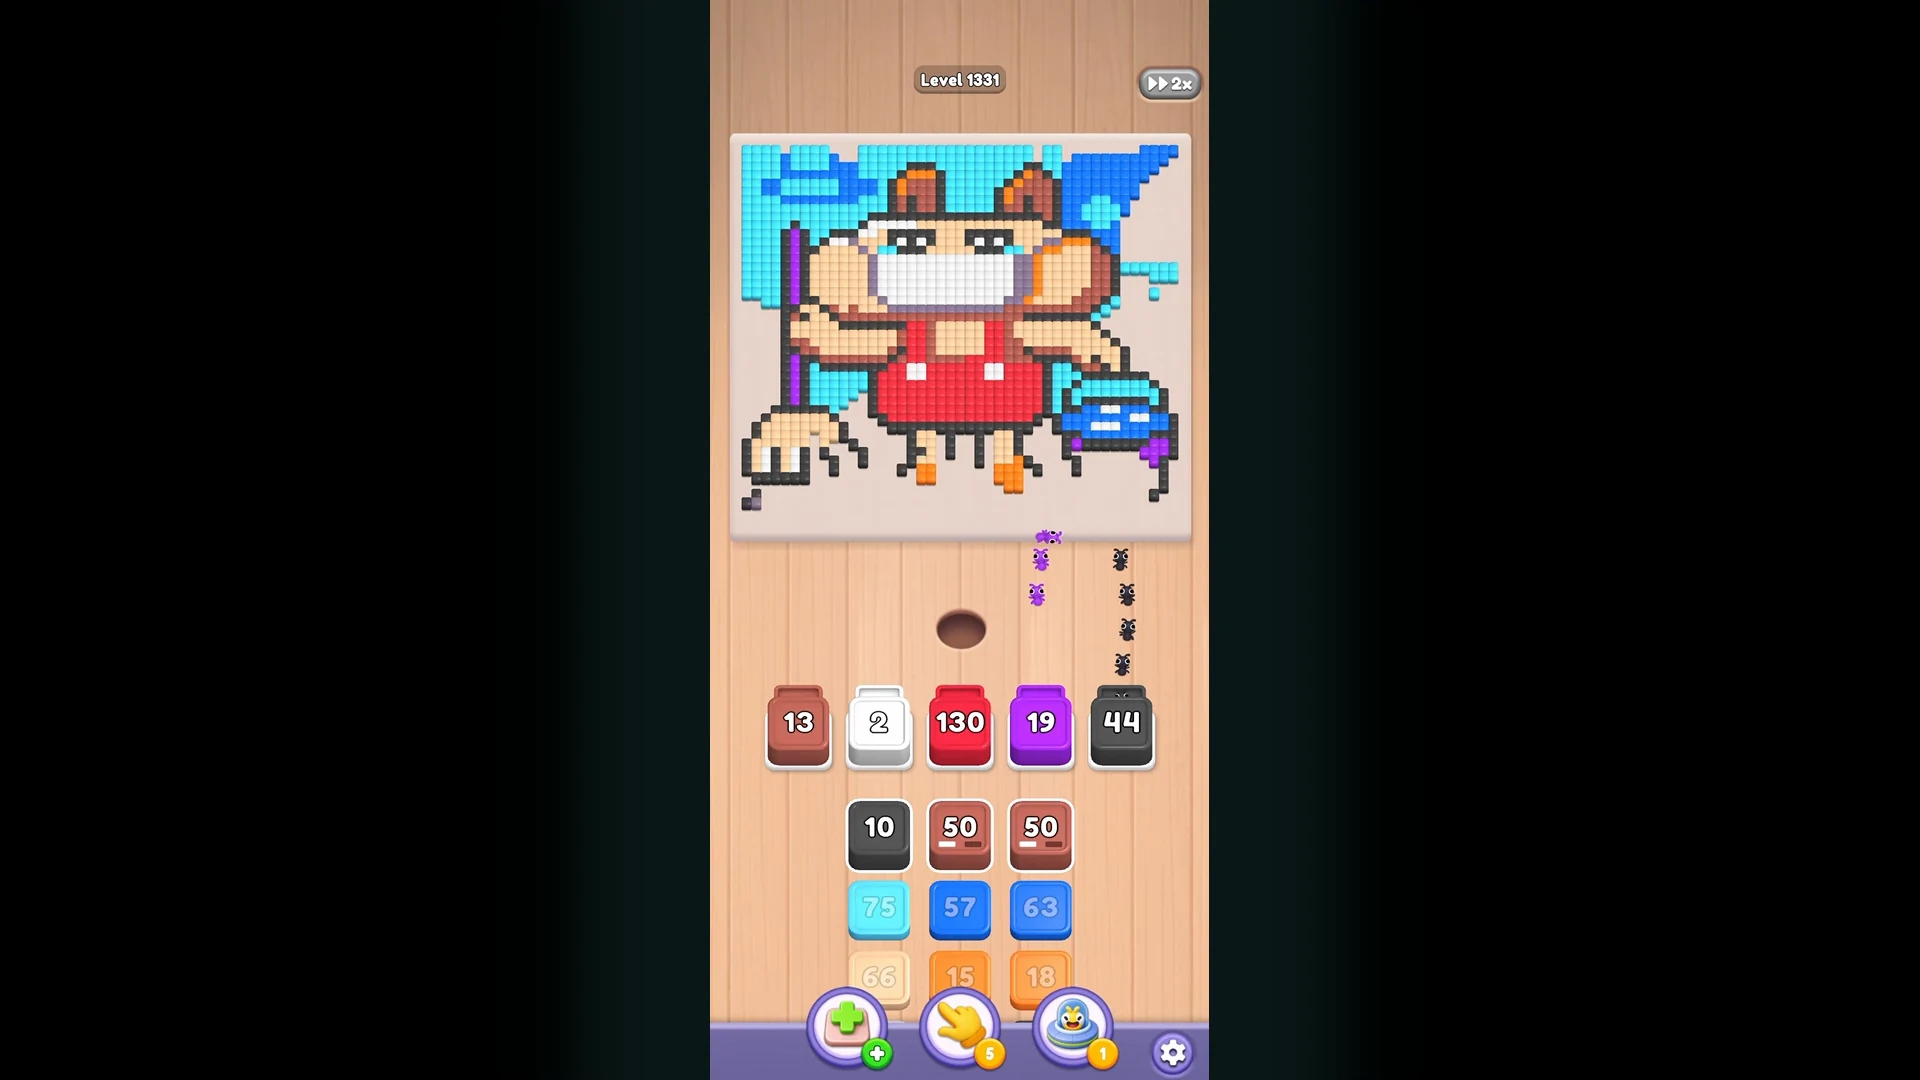
Step 10 — black details. Tray: Brown · Black · Red · Purple · Black. Match both black slots back to back to finish the black facial details and outlines — draining two slots in one stretch is a nice tray reset.
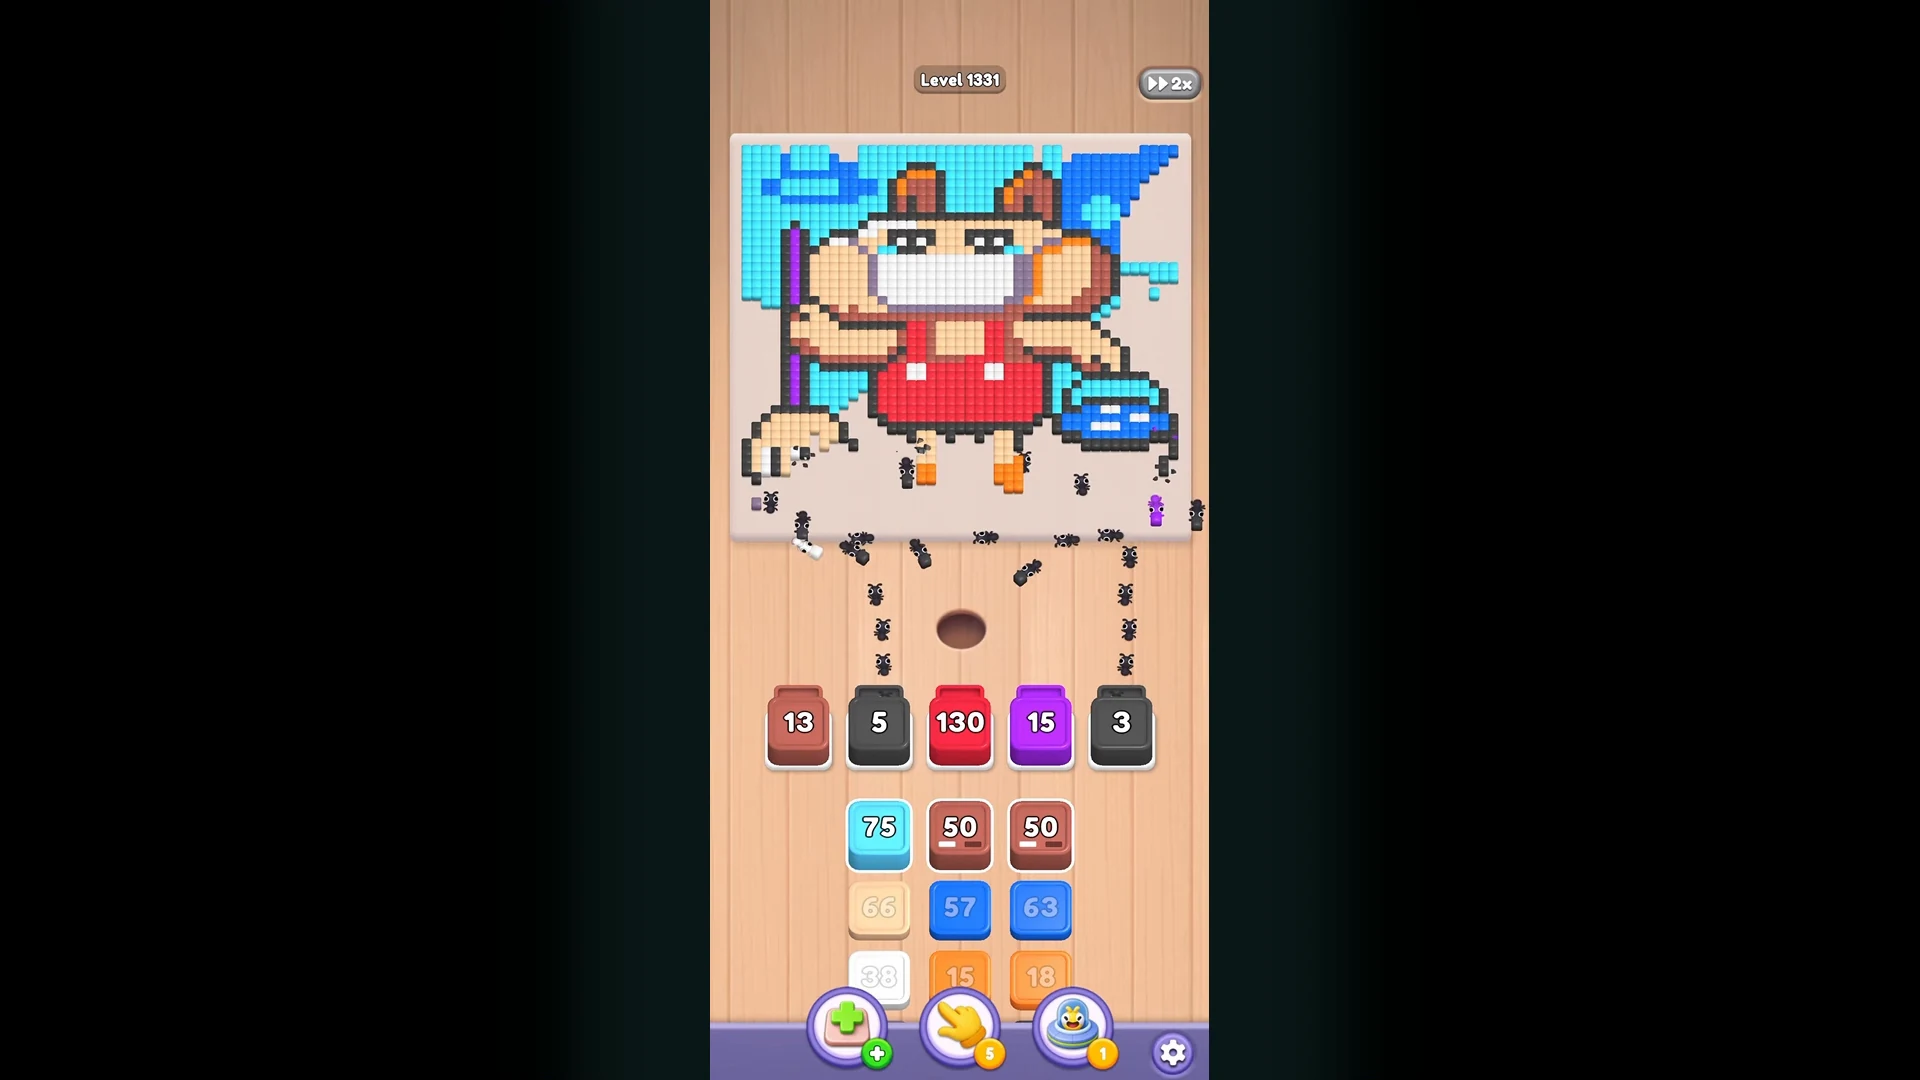
Step 11 — red overalls begin. Tray: Brown · Light Cyan · Red · Purple. Match Red to the red overalls on the hamster's body while red ants swarm the area — this is the giant batch half consumed and sliding through.
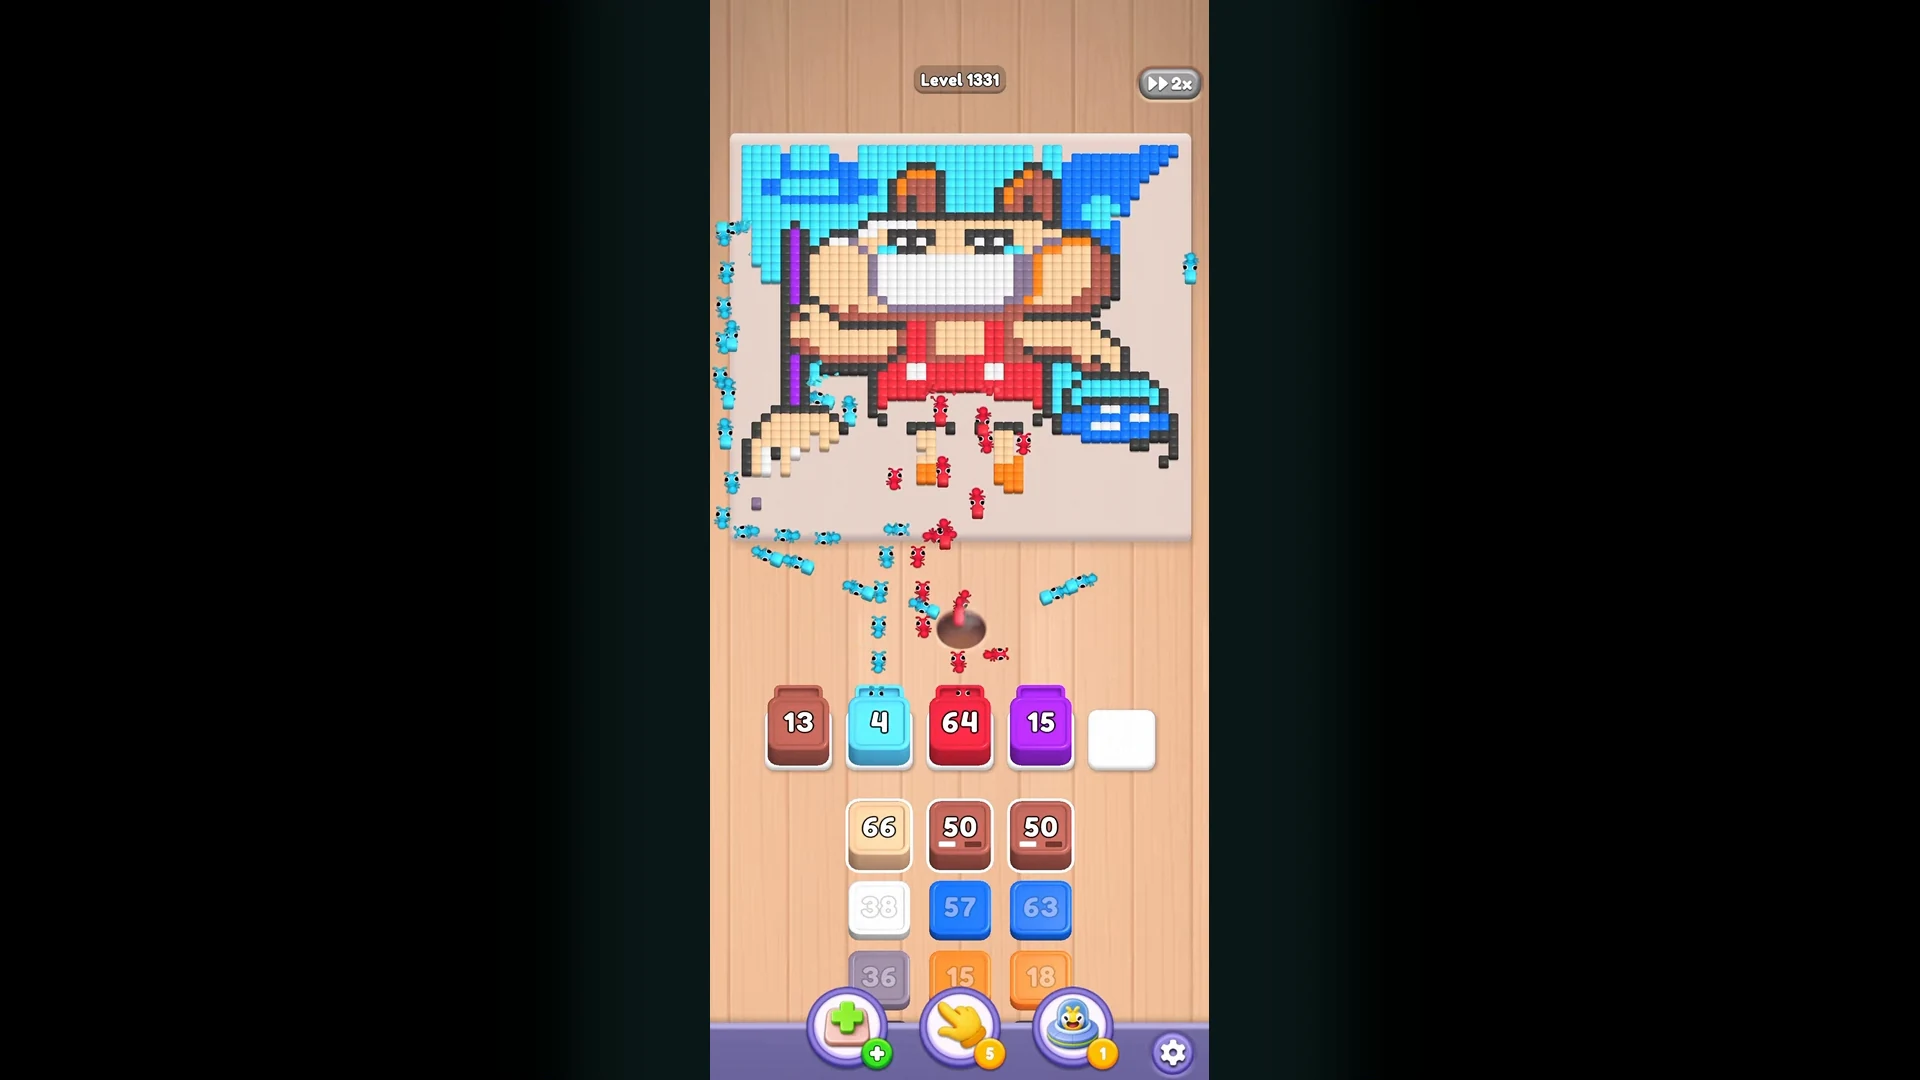
Step 12 — red area continues. Tray: Brown · Brown · Red · Purple · Brown. Match Red to keep the red area filling. Three brown slots queue up here, which is your signal that the body phase is next.
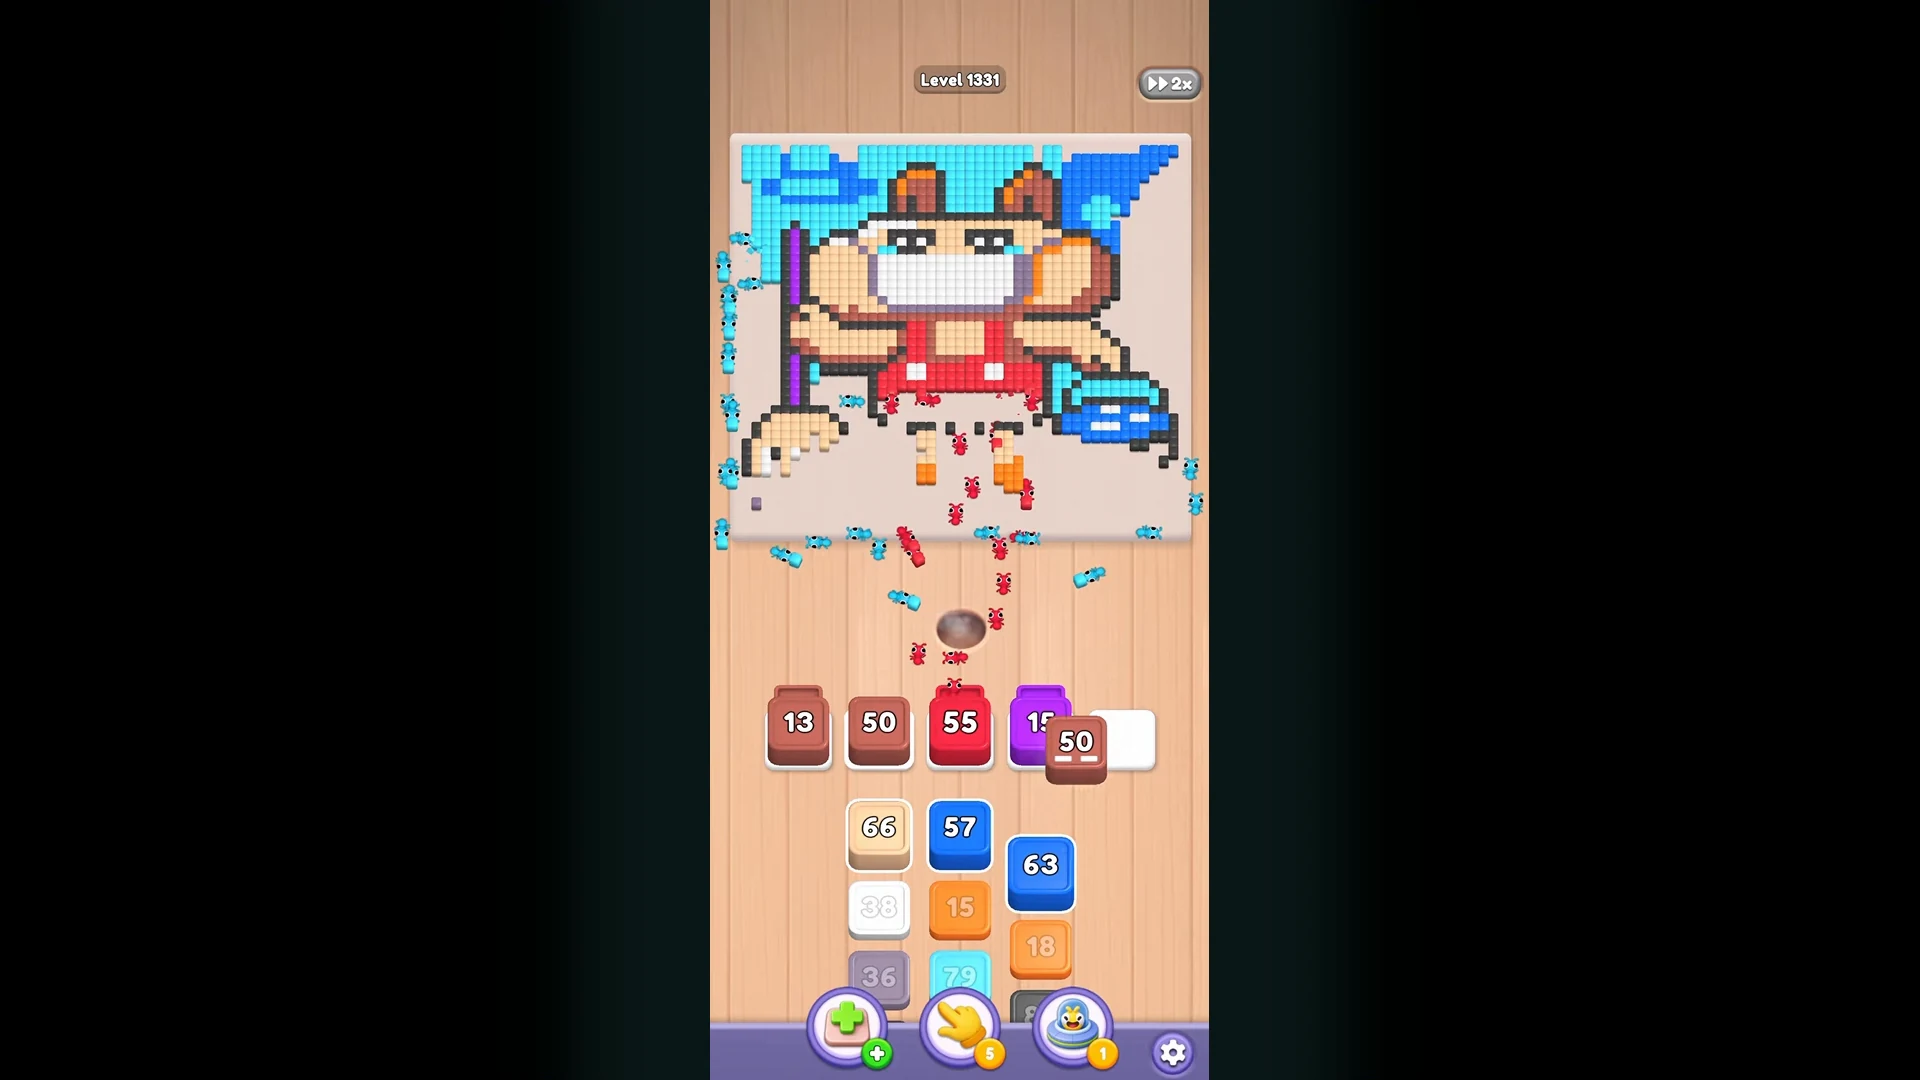
Step 13 — red finish. Tray: Red · Purple · Brown and two empty slots. Match Red to the last stretch of red. Brown is about to take over the picture's main body, so let the empties refill before touching anything else.
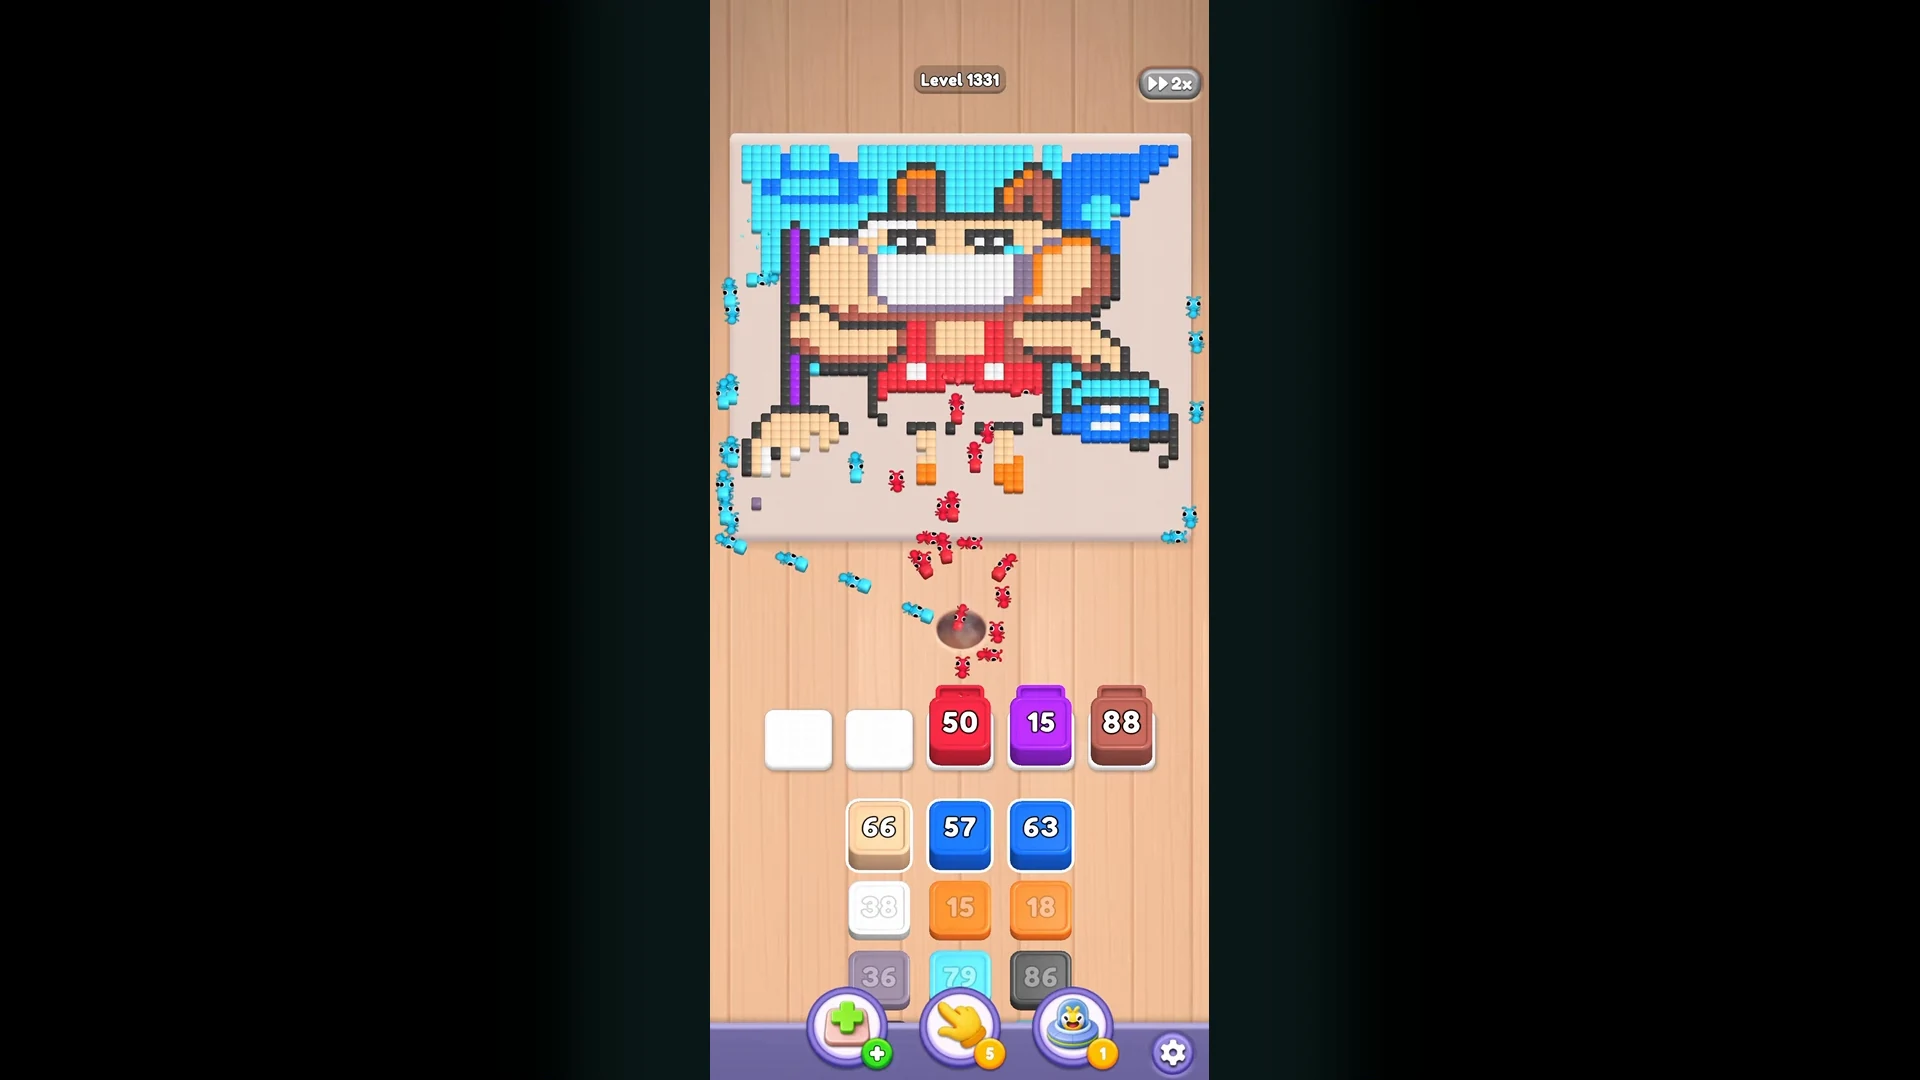
Step 14 — brown main body. Tray: Dark Blue · Beige · Red · Purple · Brown. Match Brown — the biggest single batch of the entire level — to the beige-brown ground and body/skin areas. Sit back and let the ants work; this is the longest single run of the clear.
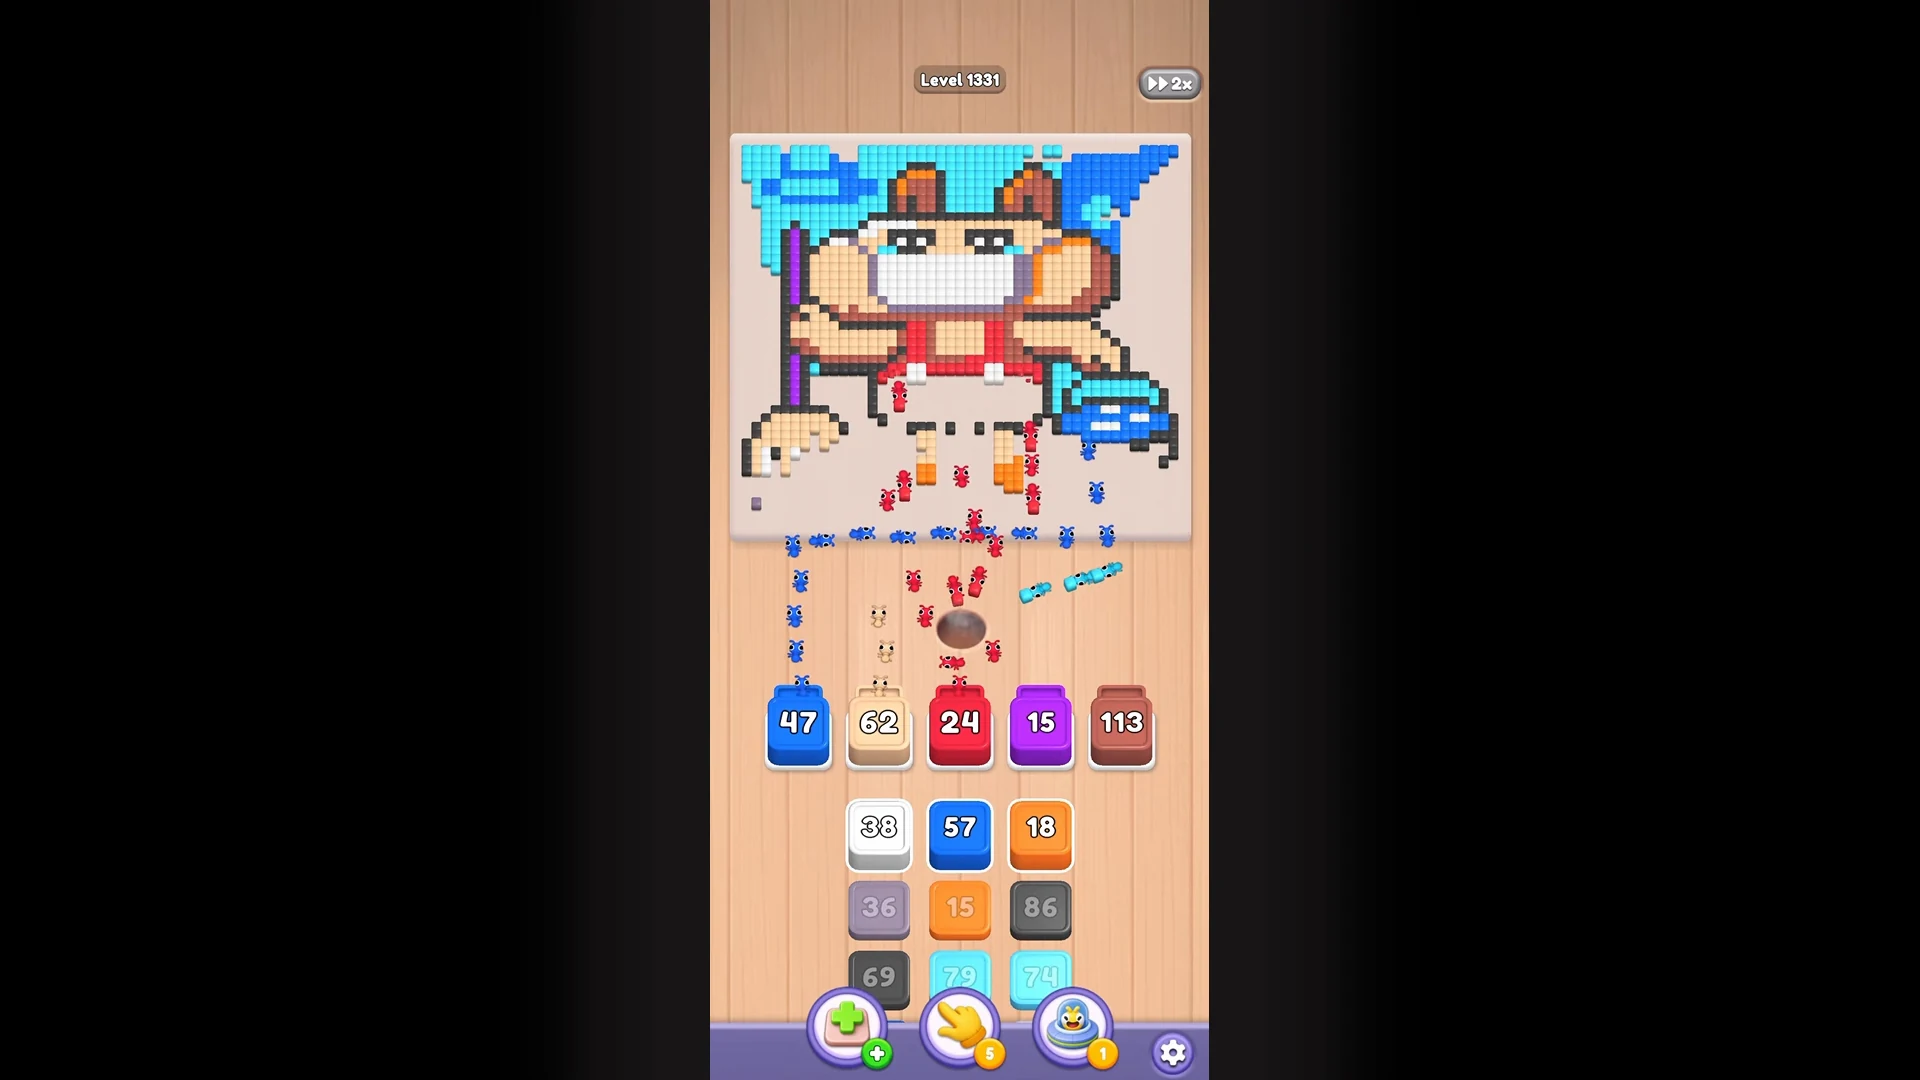
Step 15 — orange feet and ears. Tray: Orange · Black · Light Cyan · Purple · Brown. Match Orange to the hamster's feet and inner ears. Black follows right behind for the outline endgame.
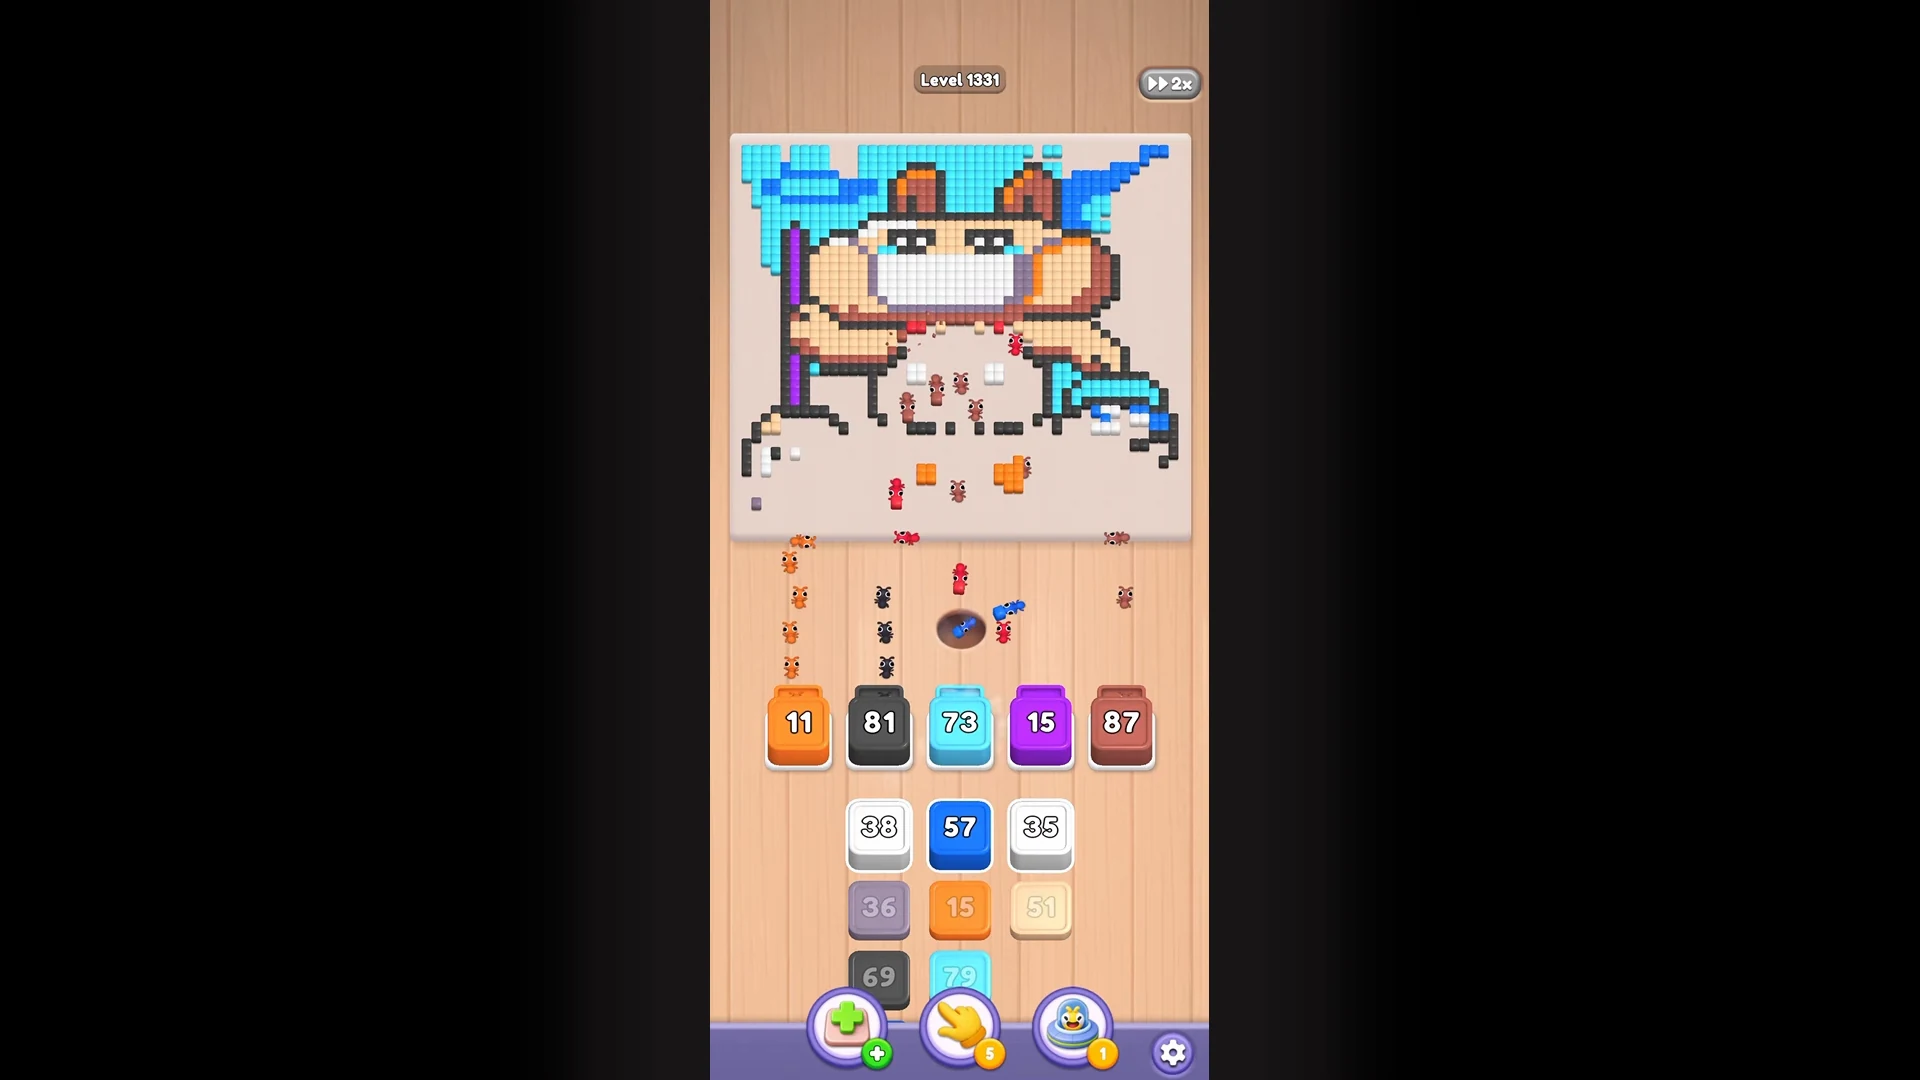
Step 16 — orange finish, white prep. Tray: Orange · a draining black slot · White · Purple · Brown. Match Orange to wrap up the feet and ears while White prepares for the large white face area.
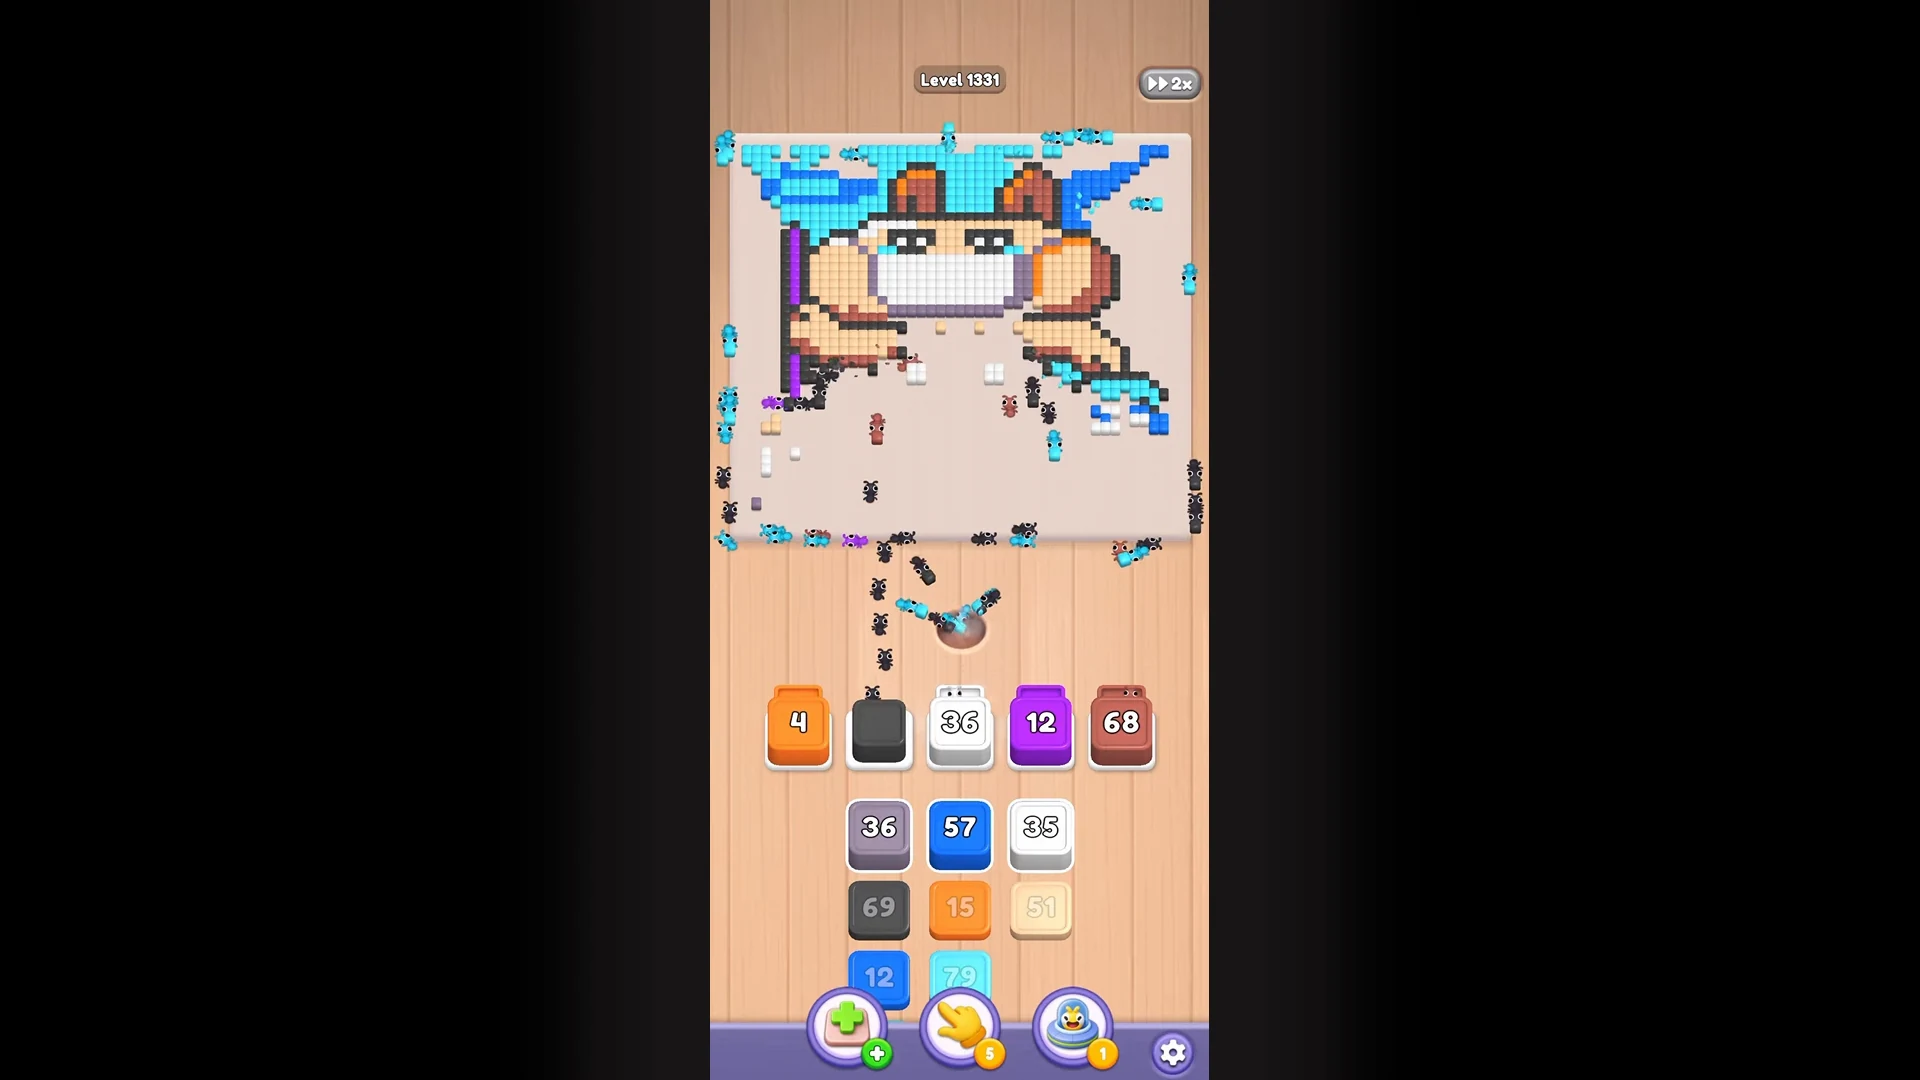
Step 17 — brown lower body. Tray: Orange · Dark grey · White · Purple · Brown. Match Brown to the beige-brown lower ground and body blocks, carried through the hole by brown ants.
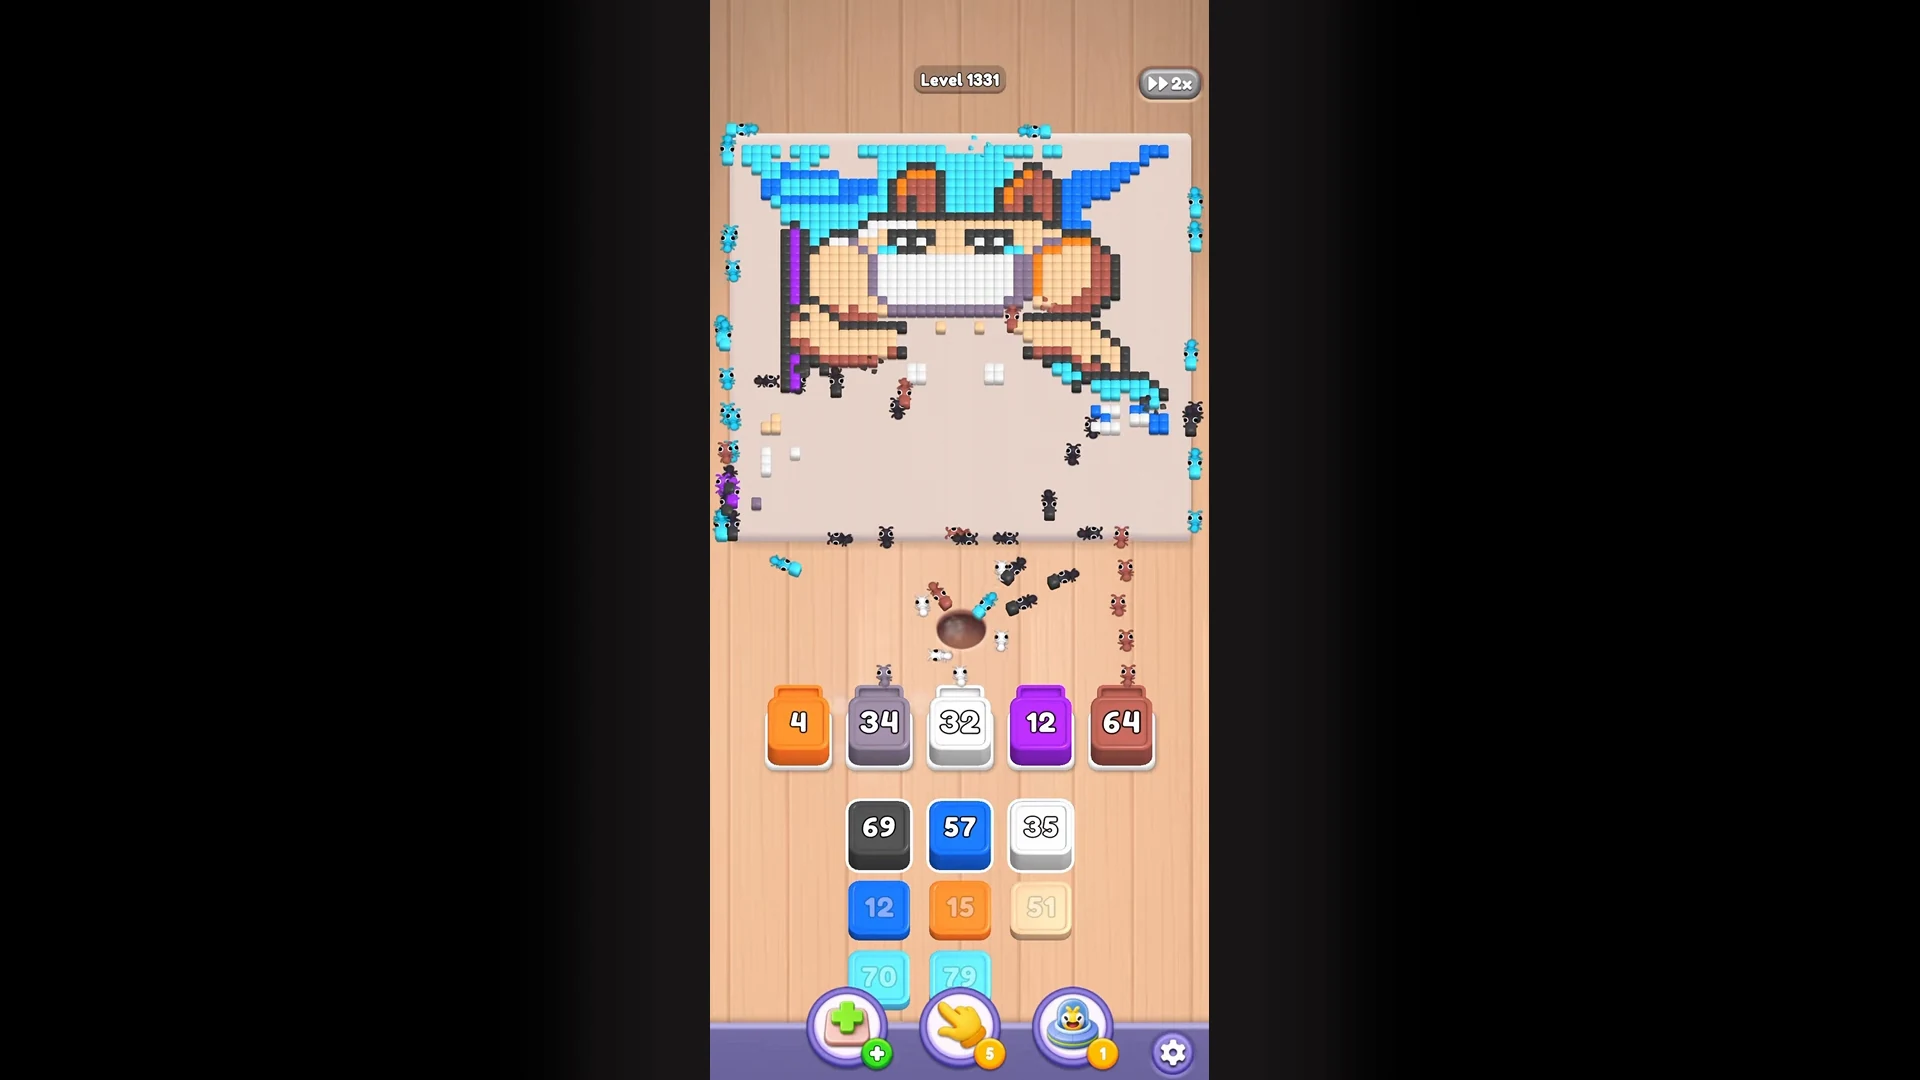
Step 18 — black outlines and white face. Tray: Dark Blue · Dark grey · Black · Purple · Brown. Match Black to the large black outline blocks while white ants handle the white face region in parallel.
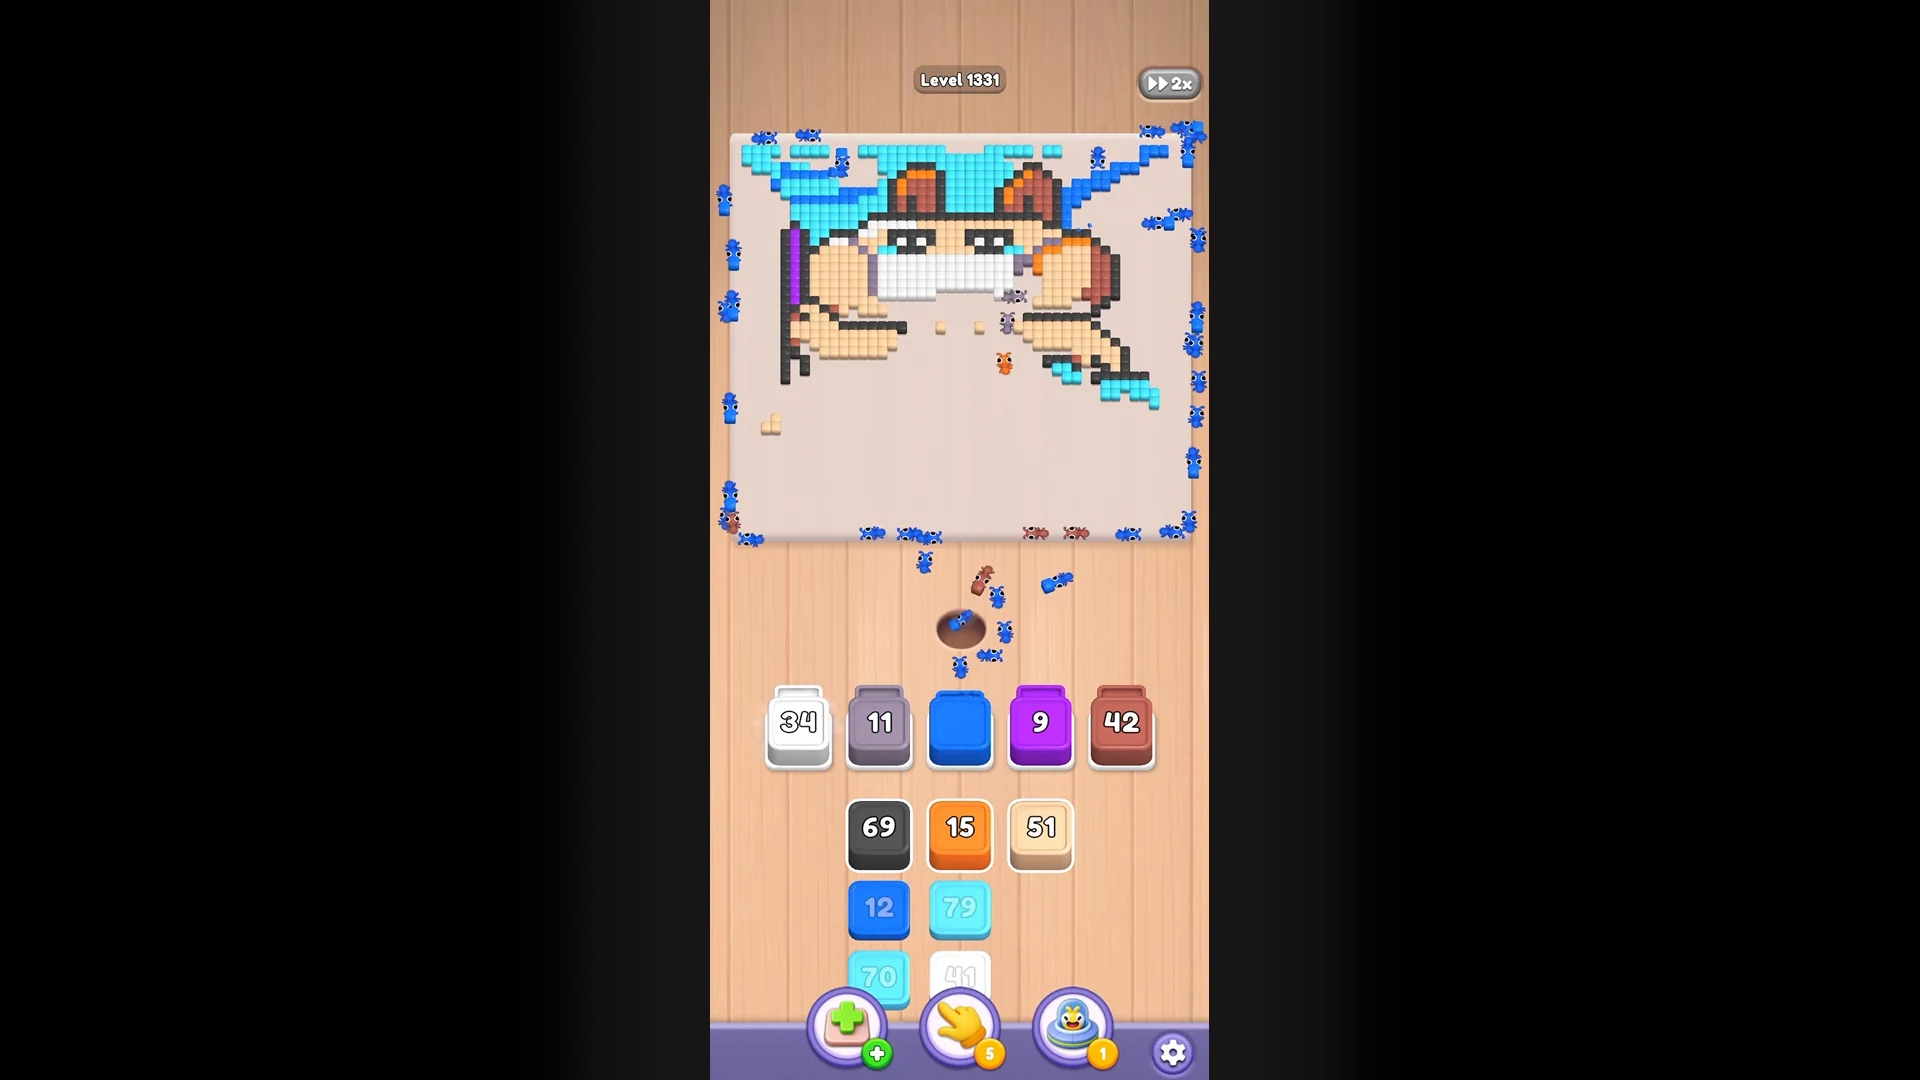
Step 19 — light cyan sky returns. Tray: Light Cyan · Dark grey · Beige · Purple · Brown. Match Light Cyan to the light-blue sky at the top as the picture clears from bottom to top.
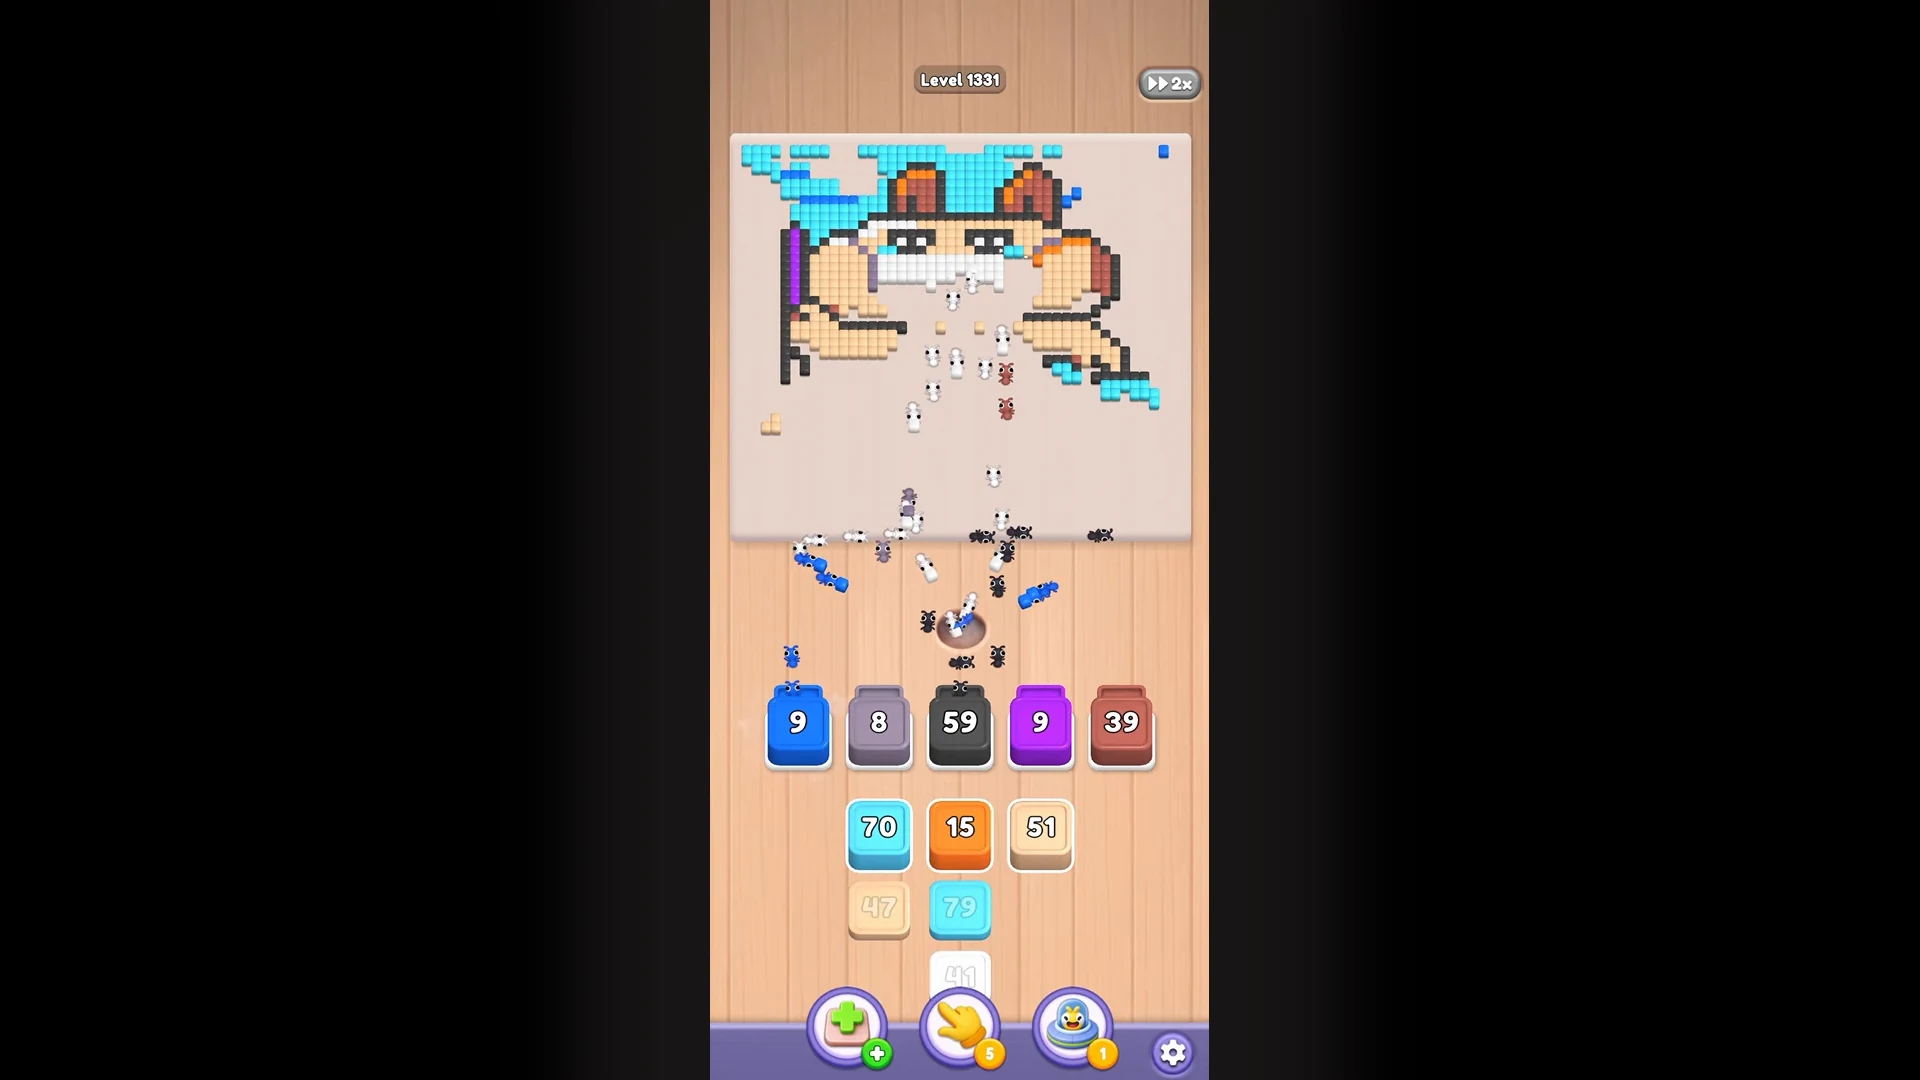
Step 20 — cyan finish, beige relay. Tray: Light Cyan · Dark grey · Beige · Beige · Brown. Match Light Cyan to close out the cyan zone, then let the two beige slots relay the remaining beige blocks.
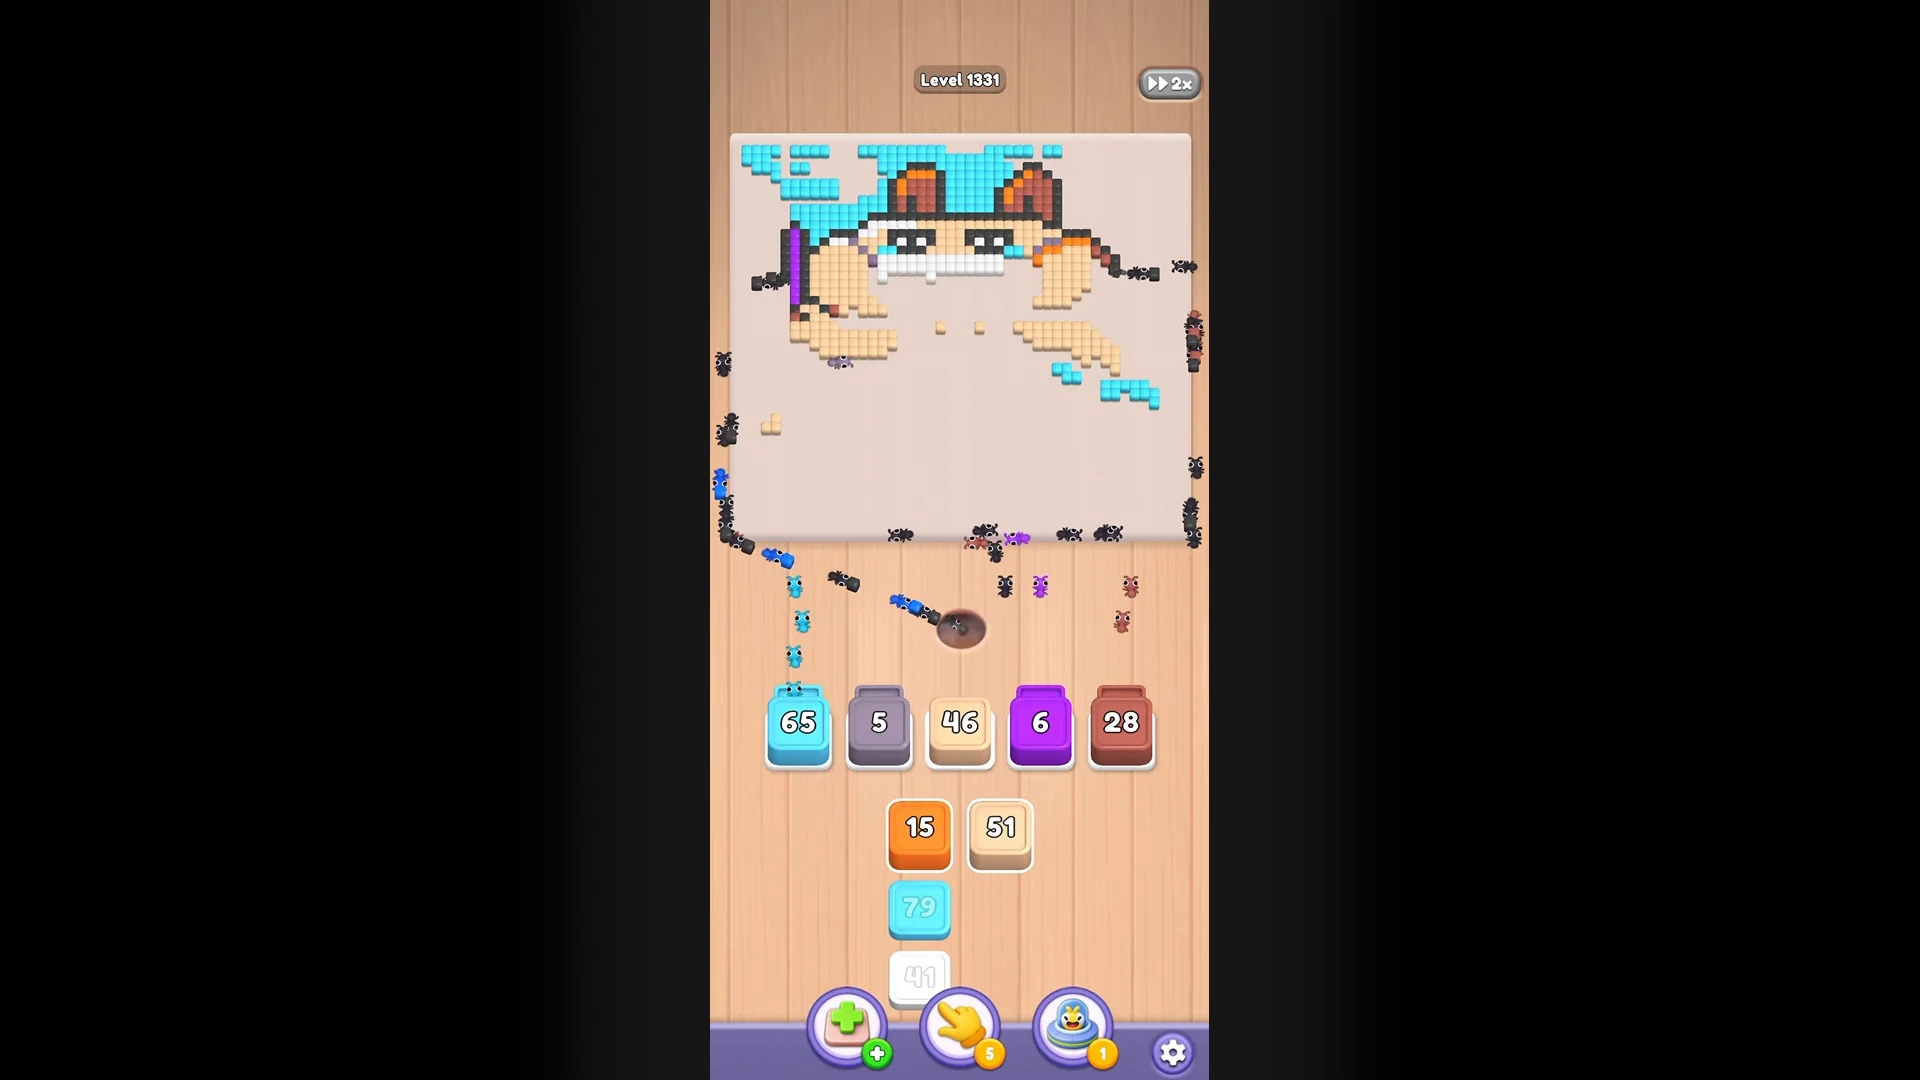
Step 21 — final cleanup. Tray: Light Cyan · Dark grey · Orange · Beige · Brown. Match the last Light Cyan blocks in the top-left corner and the level is complete.
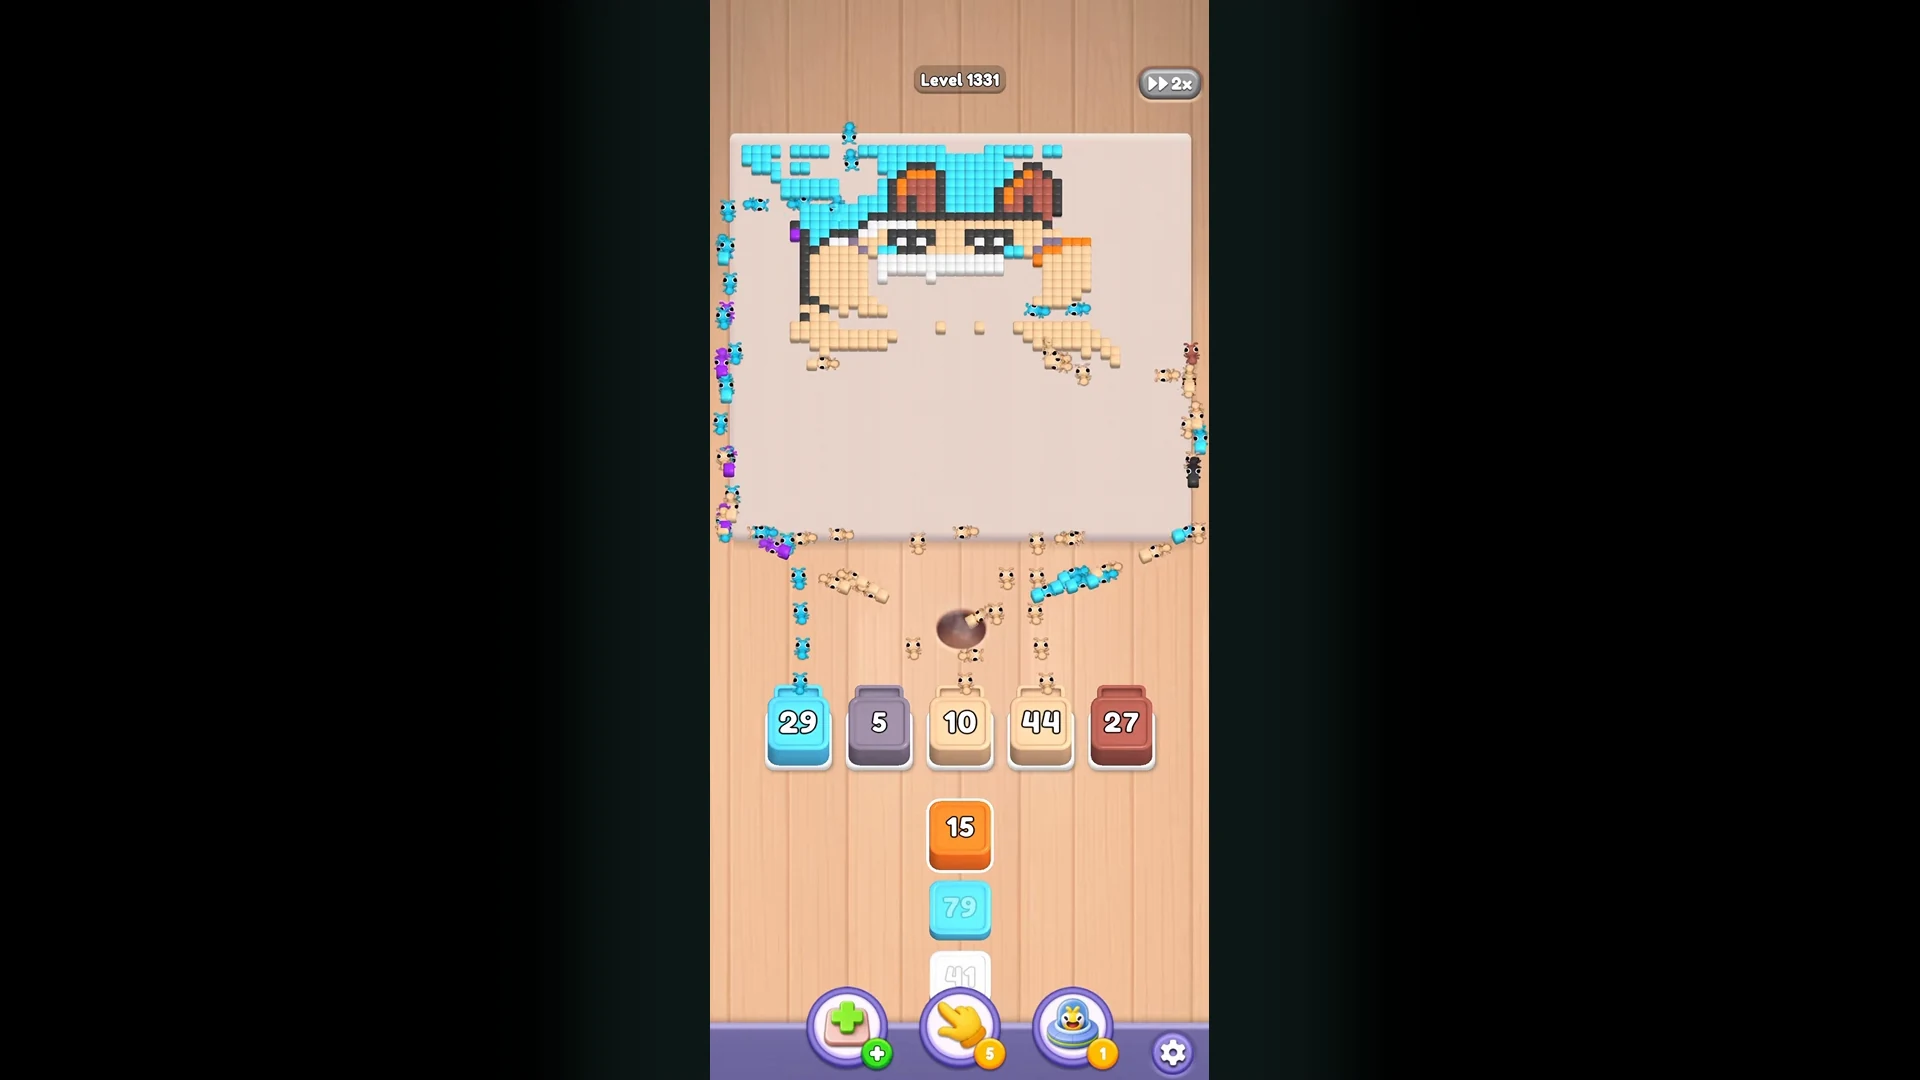
Quick tips to remember from this board. Read the tray left to right every single time — each slot tells you exactly how much work each squad will do. Let the giant batches (Light Cyan, Red, Brown) run their course instead of hunting small colors first. Pair big batches with the small detail colors waiting beside them so no slot sits idle. And when two slots of the same color appear (like the two Black slots), drain them together for a free tray reset.
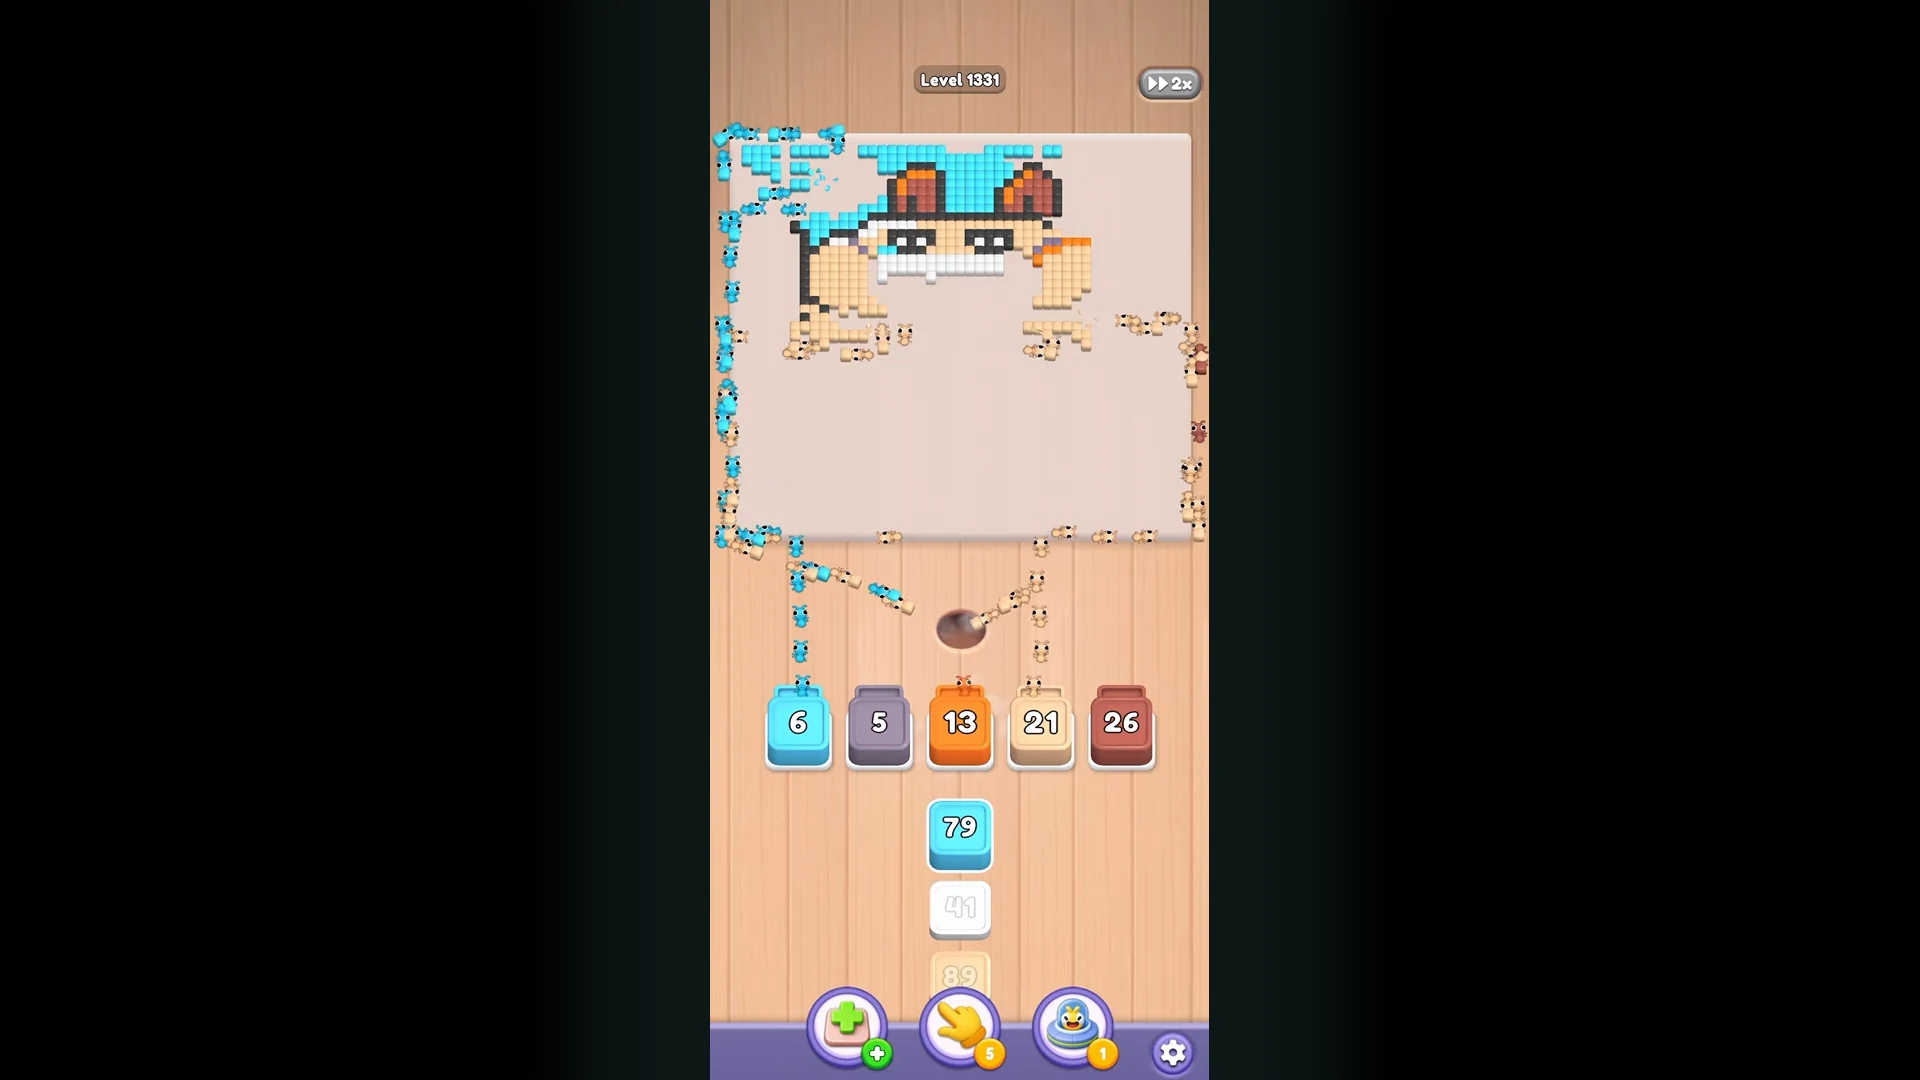
That is the full 21-step solution for level 1331. The winning pattern is the same as always: background and sky first, props and outlines next, then ride the giant batches — red overalls, brown body — and finish on the scattered top-corner pixels. Follow the sequence above with the frames as your checkpoint and the broom hamster will dissolve under the ant swarm in no time. Good luck, and happy hunting!