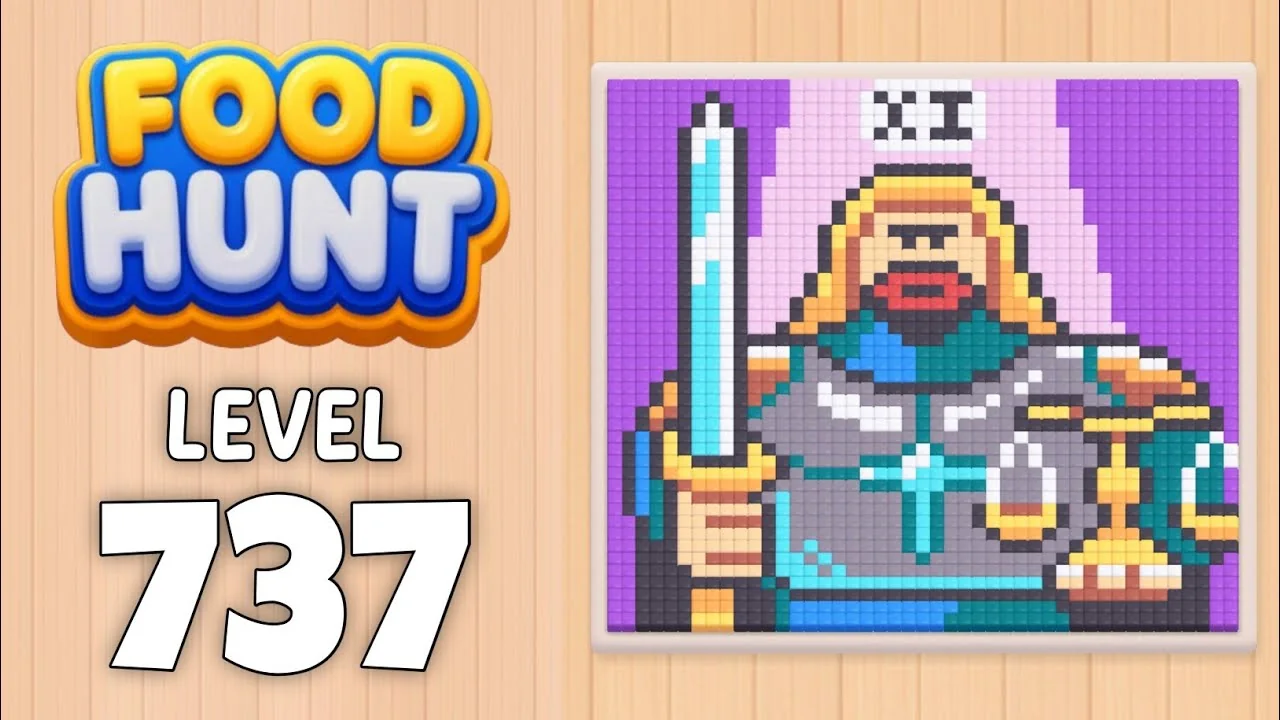
Food Hunt Level 737 Walkthrough
ExpertPixel-Art King with a Silver Sword
How do you beat level 737? Watch the video or follow the step-by-step picture and text guide to complete it!
Level board
Step-by-step walkthrough
Prefer screenshots to video? Every phase of the clear is below in order, with the block counts and the frames they were taken from — keep it open next to the game and follow along tap by tap.
Level: 737 — a pixel-art king with a golden crown, a red beard and a long silver sword, standing on a purple backdrop
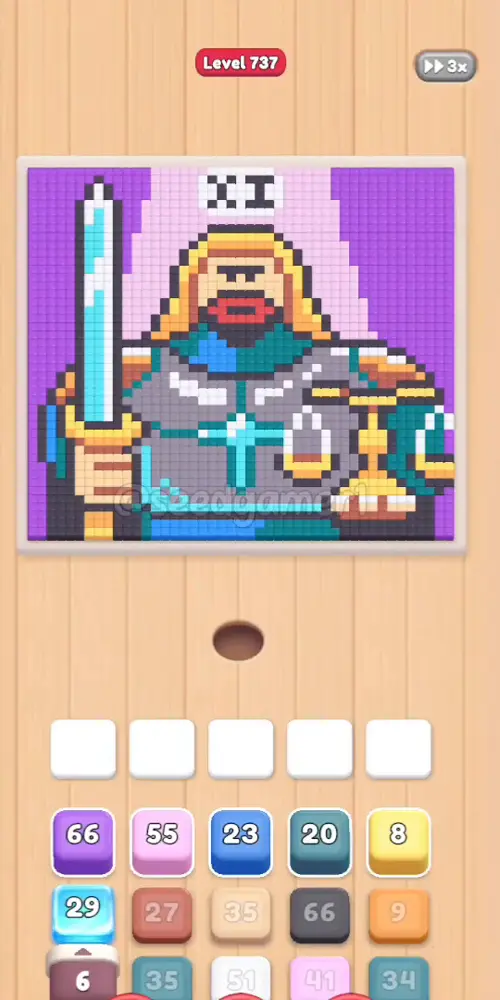
How the Level Works
1. Tap a color block in the bottom queue to send it into one of the five slots above. The queue is five independent columns that scroll upward — a column only advances when its own front block is taken, and the surviving columns slide back into the centre as columns run dry.
2. Ants of that color pour out of the hole and eat every reachable pixel of the matching color on the picture; the number printed on the block counts down while they work.
3. At 0 the block vanishes and frees its slot. A new block always flies to the leftmost free slot.
4. Pixels can be walled in. A block can sit for minutes holding a handful of pixels while the rest of its color is buried under other colors — those pixels fall the moment the blocking color is gone. That is normal, and it is what stretches this level to five and a half minutes.
5. Eat the entire picture to win. There is no move limit, so the order below only decides how fast the five slots recycle.
Complete Block Order (Which Color First, Then Which)
Timestamps are when the block lands in a slot (video time). Count is the number printed on the block when it lands.
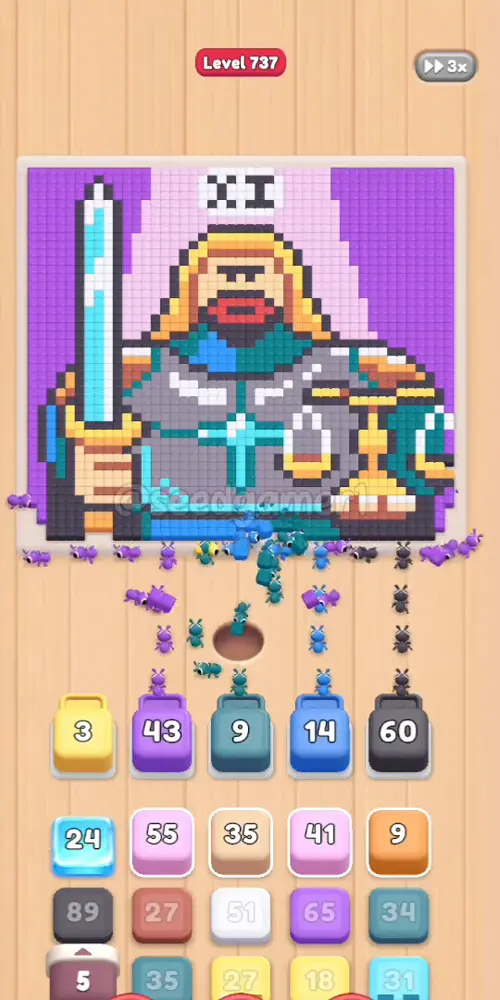
Phase 1 — The Opening Five (0:02.5 – 0:06.5)
| # | Time | Color Block | Count |
|---|---|---|---|
| 1 | 0:02.5 | 🟨 Yellow | 5 |
| 2 | 0:03 | 🟣 Purple | 66 |
| 3 | 0:05.5 | 💠 Teal | 19 |
| 4 | 0:06 | 🟦 Blue | 21 |
| 5 | 0:06.5 | ⬛ Dark grey | 65 |
Phase 2 — Second Wave (0:13.5 – 0:20)
| # | Time | Color Block | Count |
|---|---|---|---|
| 6 | 0:13.5 | 🩷 Pale pink | 55 |
| 7 | 0:14 | 🩷 Pale pink | 39 |
| 8 | 0:19 | 🟧 Orange | 7 |
| 9 | 0:19.5 | 💠 Teal | 32 |
| 10 | 0:20 | 🩵 Sky blue | 29 |
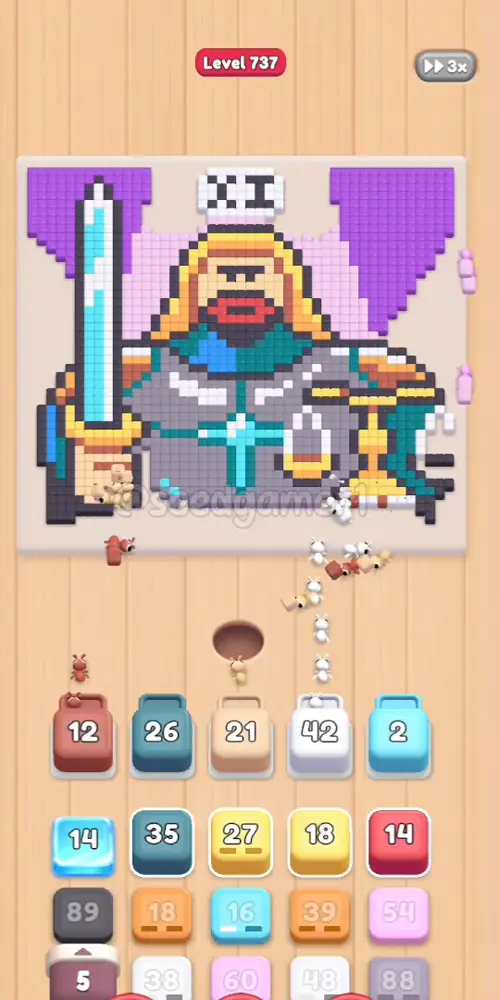
Phase 3 — The First Long Holds (0:24.5 – 0:58)
| # | Time | Color Block | Count |
|---|---|---|---|
| 11 | 0:24.5 | 🟣 Purple | 65 |
| 12 | 0:38.5 | 🟣 Purple | 71 |
| 13 | 0:53 | 🟫 Rust | 27 |
| 14 | 0:53.5 | 🟨 Sand | 34 |
| 15 | 0:58 | ⬜ White | 50 |
Phase 4 — Mid-Game (1:15 – 1:37.5)
| # | Time | Color Block | Count |
|---|---|---|---|
| 16 | 1:15 | 🟨 Yellow | 17 |
| 17 | 1:23 | 🟧 Orange | 38 |
| 18 | 1:37 | 🟥 Red | 14 |
| 19 | 1:37.5 | 🩷 Pale pink | 52 |
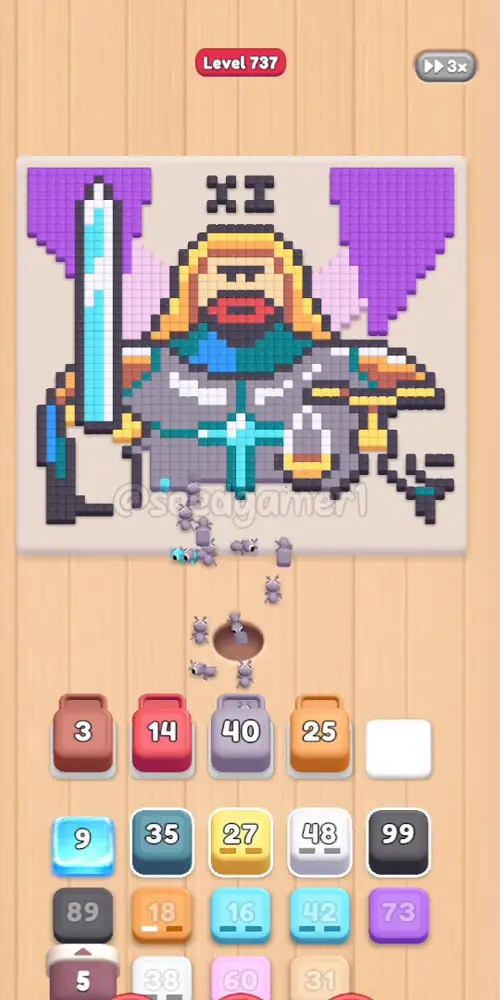
Phase 5 — The Violet Stretch (1:55.5 – 2:13)
| # | Time | Color Block | Count |
|---|---|---|---|
| 20 | 1:55.5 | 🟪 Mauve | 87 |
| 21 | 2:05 | ⬛ Dark grey | 98 |
| 22 | 2:13 | 🟣 Purple | 73 |
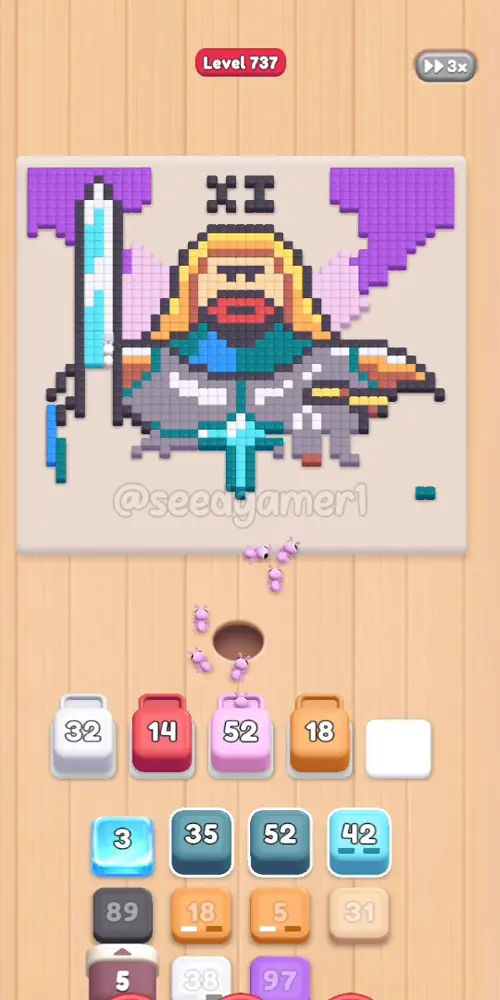
Phase 6 — The Slow Middle (2:34.5 – 3:00)
| # | Time | Color Block | Count |
|---|---|---|---|
| 23 | 2:34.5 | 🟨 Yellow | 27 |
| 24 | 2:36 | 🩵 Sky blue | 14 |
| 25 | 2:44.5 | ⬜ White | 46 |
| 26 | 3:00 | 🩷 Pale pink | 60 |
Phase 7 — Past Halfway (3:27 – 4:11)
| # | Time | Color Block | Count |
|---|---|---|---|
| 27 | 3:27 | 🩵 Sky blue | 40 |
| 28 | 3:51.5 | 💠 Teal | 51 |
| 29 | 3:51.5 | 🟧 Orange | 5 |
| 30 | 3:52.5 | 🟪 Mauve | 73 |
| 31 | 4:11 | ⬛ Dark grey | 87 |
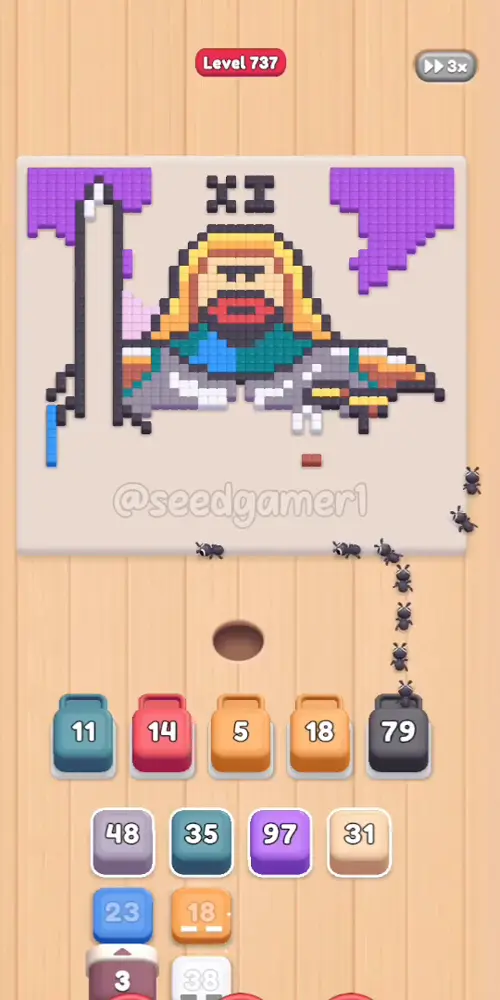
Phase 8 — The Last Colours (4:30 – 4:46.5)
| # | Time | Color Block | Count |
|---|---|---|---|
| 32 | 4:30 | 🟪 Mauve | 47 |
| 33 | 4:31 | 🟦 Blue | 23 |
| 34 | 4:40 | 🟫 Rust | 42 |
| 35 | 4:40.5 | ⬛ Dark grey | 76 |
| 36 | 4:43.5 | 🟣 Purple | 95 |
| 37 | 4:46.5 | 💠 Teal | 34 |
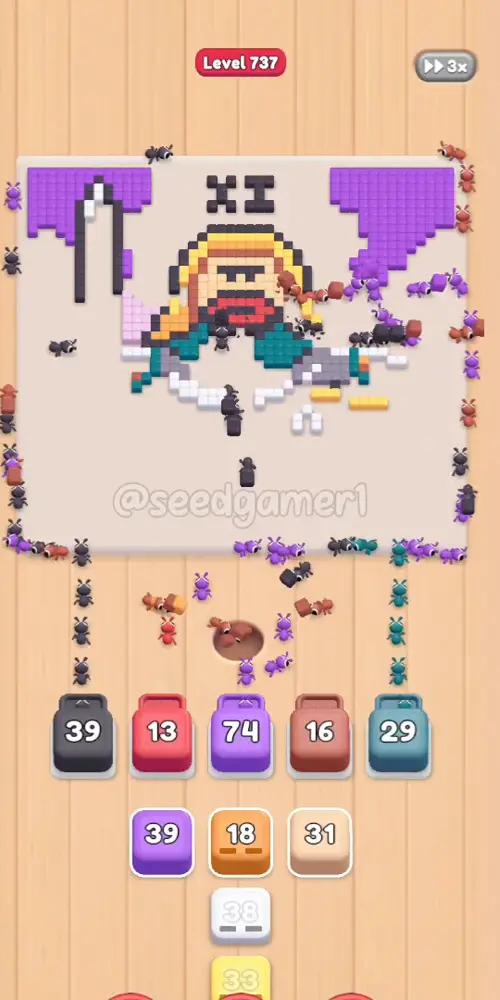
Phase 9 — Final Sweep (4:55.5 – 5:28)
| # | Time | Color Block | Count |
|---|---|---|---|
| 38 | 4:55.5 | 🟧 Orange | 18 |
| 39 | 5:00.5 | ⬜ White | 37 |
| 40 | 5:02 | 🟨 Yellow | 33 |
| 41 | 5:03 | 🟣 Purple | 52 |
| 42 | 5:20 | 🩷 Pale pink | 14 |
| 43 | 5:23.5 | 🟪 Mauve | 23 |
| 44 | 5:26.5 | ⬛ Dark grey | 50 |
| 45 | 5:27 | 🟣 Purple | 37 |
| 46 | 5:28 | 🟨 Sand | 31 |
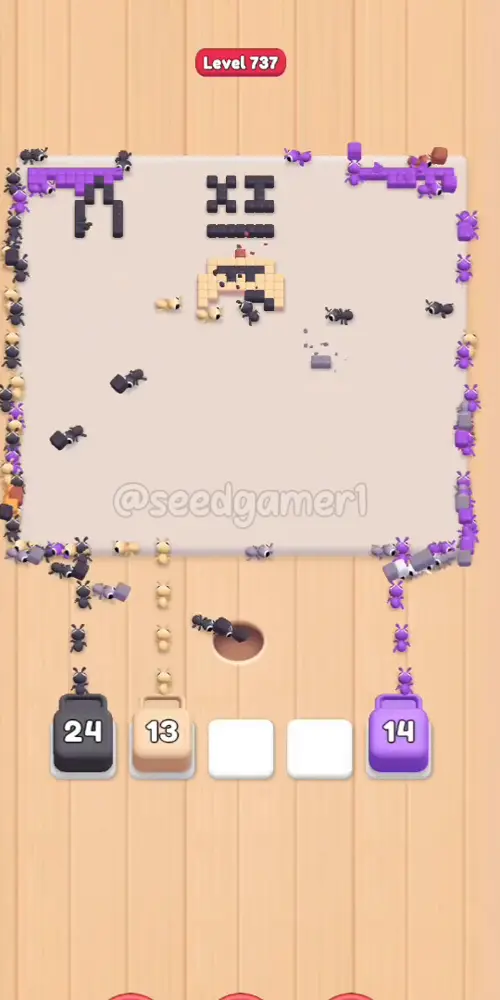
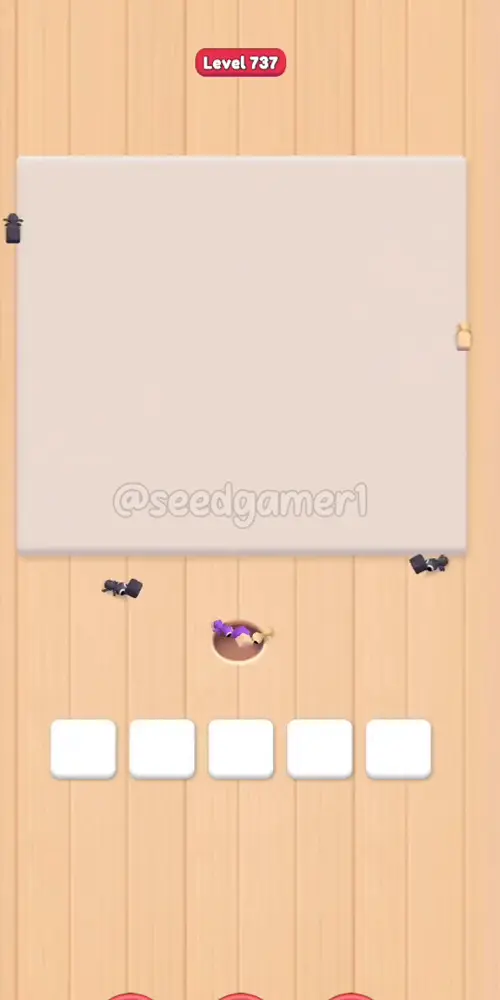
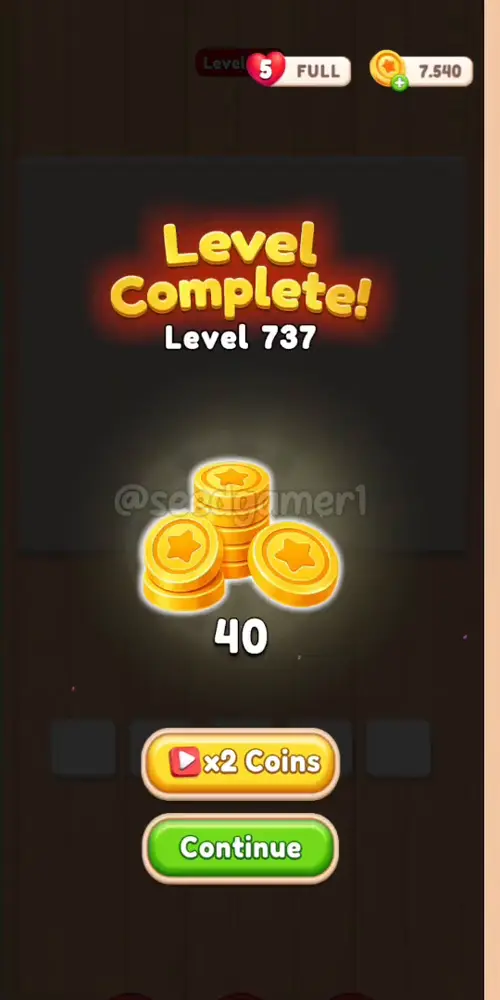
The very last pixel to fall is Sand: the board is completely empty at 5:34.5, and the Level Complete screen appears at 5:37.5.
Quick Reference — One-Line Order
Yellow 5 → Purple 66 → Teal 19 → Blue 21 → Dark grey 65 → Pale pink 55 → Pale pink 39 → Orange 7 → Teal 32 → Sky blue 29 → Purple 65 → Purple 71 → Rust 27 → Sand 34 → White 50 → Yellow 17 → Orange 38 → Red 14 → Pale pink 52 → Mauve 87 → Dark grey 98 → Purple 73 → Yellow 27 → Sky blue 14 → White 46 → Pale pink 60 → Sky blue 40 → Teal 51 → Orange 5 → Mauve 73 → Dark grey 87 → Mauve 47 → Blue 23 → Rust 42 → Dark grey 76 → Purple 95 → Teal 34 → Orange 18 → White 37 → Yellow 33 → Purple 52 → Pale pink 14 → Mauve 23 → Dark grey 50 → Purple 37 → Sand 31
Pro Tips
1. Keep all five slots full. The picture is cleared by volume, not by order, so the only real waste is an idle slot. The moment a block hits zero, tap the next one from whichever queue column is ready.
2. Big blocks first. Purple 66, Dark grey 98, Purple 95, Mauve 87 and Purple 73 sit on large connected areas, drain fast, and recycle their slots quickly. Get them in early while the board still has room for them.
3. Two slots are dead weight for most of the run. The Sky blue 29 (step 10, lands 0:20) parks in slot 5 until 2:03, and the Red 14 (step 18, lands 1:37) holds slot 2 until 4:59.5 — over three minutes with a single pixel colour left. Treat steps 10 and 18 as spent slots and plan the rest of the level around three working slots.
4. Three more long holds follow. Rust 27 (step 13, 0:53) keeps slot 1 until 2:37, the Orange 38 (step 17, 1:23) keeps slot 4 until 4:10.5, and the White 46 (step 25, 2:44.5) keeps slot 1 until 3:46.5.
5. Purple opens the board, everything else follows. All three of the early Purple blocks (steps 2, 11, 12) land in the first 40 seconds and each one takes a big bite out of the purple backdrop, which is what frees the pale pink halo behind the king.
6. Late-game colours are the slow ones. From 3:00 onwards only Orange, White, Yellow, Purple, Pale pink, Mauve, Dark grey, Rust and Teal are left; every Sky blue and Blue block is gone by 4:31, so do not save them.
7. The crown and the blue scarf are a trap for the last minute. Orange 5 (step 29) holds slot 3 for 35 seconds and White 37 (step 39) holds slot 2 for 27 seconds — expect the last two minutes to be spent watching numbers tick down, not tapping.
8. Finale. The last block you place is Sand 31 at 5:28, and the last pixel on the board is also Sand, eaten at 5:34.5. One clean run, no failed taps.
Colors in this level
Colors in this level: ⬛ Dark grey (the ink outline and dark shading of the king) · ⬜ White (the sword blade, the banner above the head and the armour highlights) · 🩵 Sky blue (the icy blue core of the sword blade) · 🟦 Blue (the blue scarf under the beard) · 💠 Teal (the teal cape and shoulder pads) · 🟪 Mauve (the grey-violet shading across the armour) · 🟣 Purple (the purple backdrop) · 🩷 Pale pink (the pale pink halo behind the king) · 🟨 Yellow (the golden crown, hair and trim) · 🟨 Sand (the skin of the face and hands) · 🟧 Orange (the orange shading in the hair and hilt) · 🟫 Rust (the dark red-brown shading in the beard) · 🟥 Red (the red beard and mouth)
Food Hunt Level 737 — frequently asked questions
- What colours are on the Food Hunt Level 737 board?
- The board image breaks down into 9 main colours, each covering at least 2% of it: dark grey (#6F6878, 33.7% of the board), purple (#AF5CE0, 16.0% of the board), white (#E8C6E6, 12.9% of the board), orange (#F4C56B, 8.3% of the board), dark cyan (#208591, 7.6% of the board), cyan (#5DD3F2, 6.8% of the board), red (#BF6A5B, 5.7% of the board), faint grey (#F0EEF4, 4.7% of the board) and pale orange (#FBDAA9, 4.3% of the board).
- Which colour should I clear first in Food Hunt Level 737?
- dark grey covers the most of the board at 33.7%, and purple is next at 16.0%. The step-by-step walkthrough above is this board's actual tap order; the colour shares here are only what each colour costs to clear.
- What difficulty is Level 737 in Food Hunt: Pixel Puzzle?
- Level 737 is rated Expert difficulty in Food Hunt: Pixel Puzzle.
- Is there a video walkthrough for this Food Hunt level?
- Yes — the walkthrough video on this page plays the full clear of this board, so you can follow the tap order block by block. The board image next to it shows what the finished picture is made of.
More expert walkthroughs
View all →
Featured walkthroughs
The levels players search for most - each with a full video guide.