Food Hunt Level 389 Walkthrough
AdvancedStuck on Food Hunt level 389? Follow the full 52-block clear of the Pirate Pufferfish board: a fast water opening, a green block parked for two full minutes, silver/black endgame chains, and a finale cascade that ends on Green 10.

Level board
Step-by-step walkthrough
Prefer screenshots to video? Every phase of the clear is below in order, with the block counts and the frames they were taken from — keep it open next to the game and follow along tap by tap.
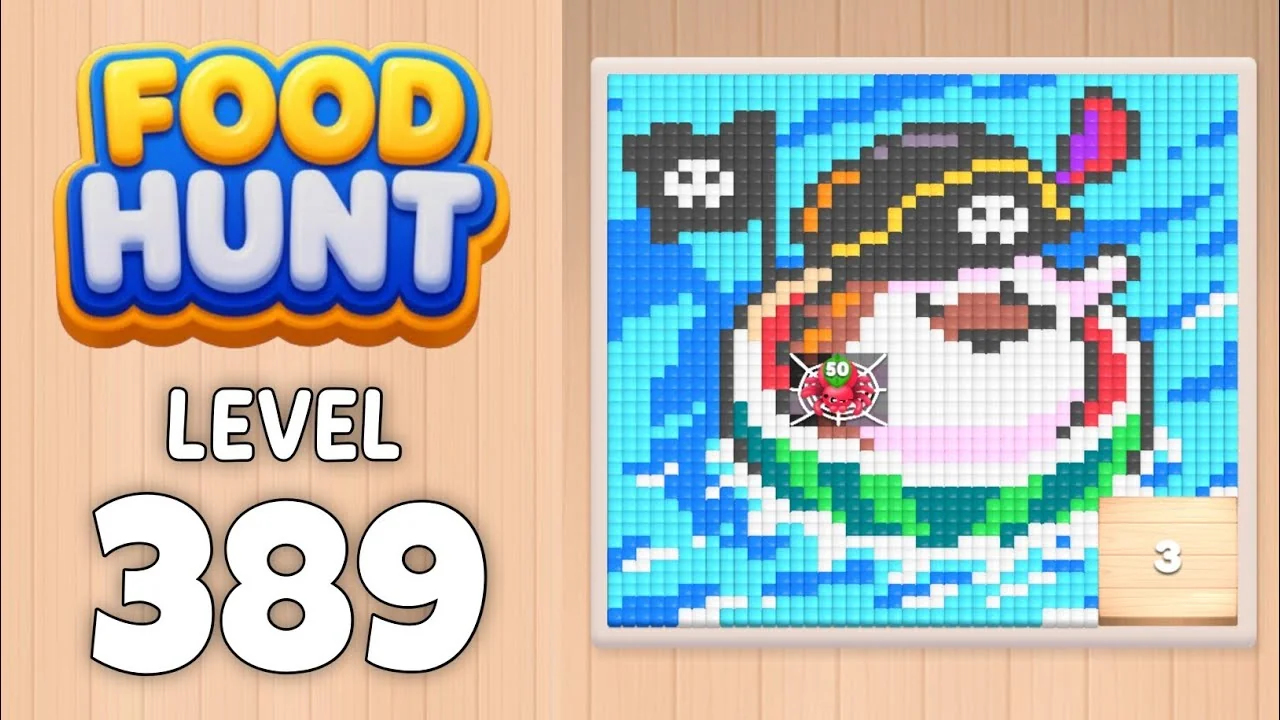
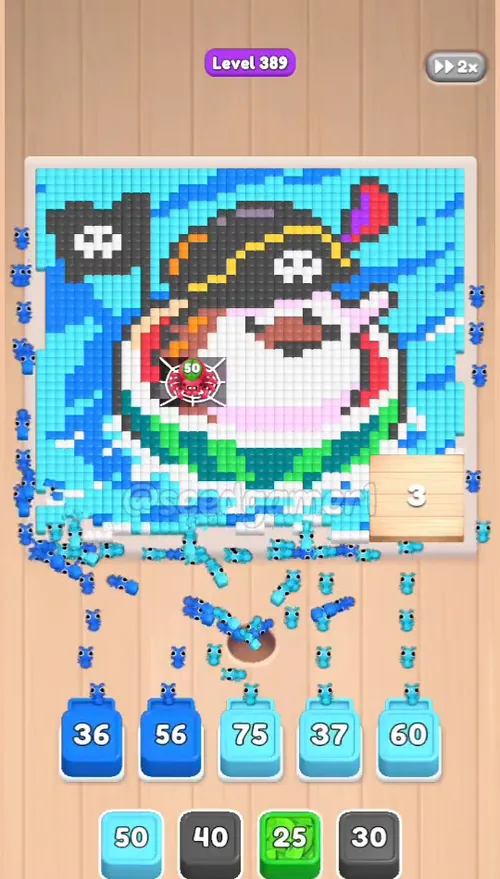
Level: 389 — pirate pufferfish on blue water (black pirate hat & skull flag, big white belly, green seaweed)
Source: frame-by-frame analysis of the Level 389 recording
Blocks fed: 52 | Total pixels: ~1,930 | Move limit: none — order only affects speed
How the Level Works
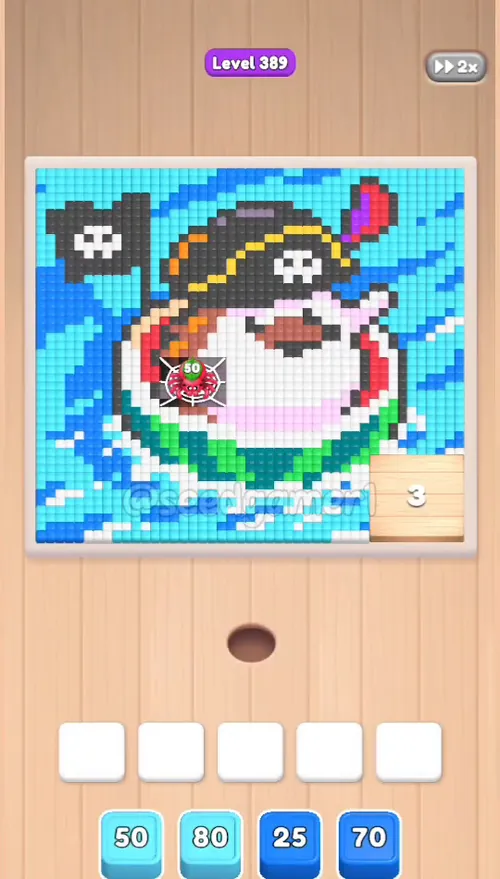
1. Tap a color block in the bottom queue to send it into one of the 5 slots above. 2. Ants of that color pour out and eat every reachable pixel of the matching color on the picture; the number on the block counts down as pixels are eaten. 3. When a block hits 0, it disappears and frees its slot. 4. Eat the entire picture to win. Pixels can be blocked by other colors, so some blocks pause ("stuck") until neighboring colors open the way — this is normal.
Colors in this level: Light Blue (water), Dark Blue (deep-water swirls), Royal Blue (dark ripples), Silver-White (belly / foam / skull), Black (pirate hat & flag), Dark Teal (corner shadows), Green (seaweed), Gold (hat trim), Pink (cheek & highlights), Red (gill accents), Brick Red (mouth interior), Beige (border), Purple (hat feather), Brown (wooden plank), Orange (hat spots), Lavender (belly shading).
Complete Block Order (Which Color First, Then Which)
Timestamps = when the block lands in a slot (video time). Count = block value shown when seated.
Phase 1 — Open with the Water (0:03–0:19)
| # | Time | Color Block | Count |
|---|---|---|---|
| 1 | 0:03 | 🟦 Dark Blue | ×70 |
| 2 | 0:03 | 🟦 Dark Blue | ×25 |
| 3 | 0:04 | 🩵 Light Blue | ×100 |
| 4 | 0:05 | 🩵 Light Blue | ×60 |
| 5 | 0:06 | 🩵 Light Blue | ×80 |
| 6 | 0:09 | 🟦 Dark Blue | ×58 |
| 7 | 0:19 | 🟩 Green | ×25 |
Phase 2 — The Long Stall Begins (0:25–0:41)
| # | Time | Color Block | Count |
|---|---|---|---|
| 8 | 0:25 | 🩵 Light Blue | ×49 |
| 9 | 0:30 | 🟨 Gold | ×10 |
| 10 | 0:31 | 🩷 Pink | ×25 |
| 11 | 0:31 | ⬜ Silver-White | ×50 |
| 12 | 0:36 | 🩵 Light Blue | ×80 |
| 13 | 0:41 | 💠 Dark Teal | ×19 |
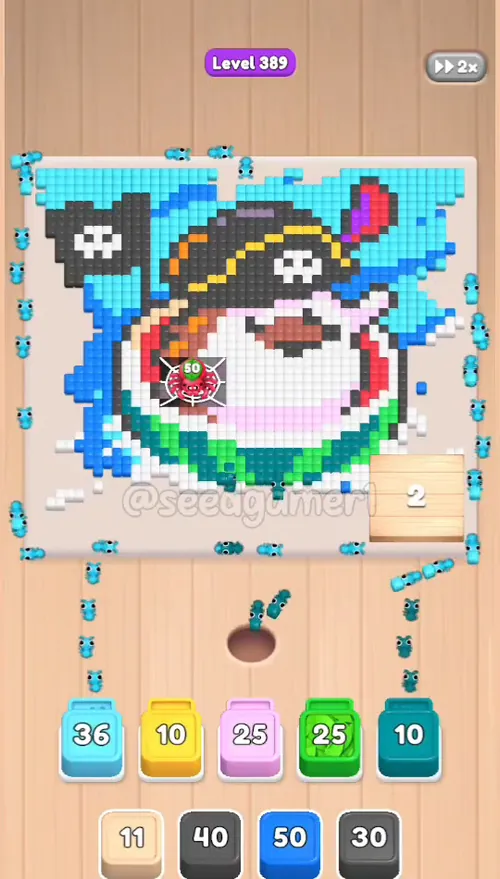
Phase 3 — Slot 5 Chain (0:49–1:24)
| # | Time | Color Block | Count |
|---|---|---|---|
| 14 | 0:49 | 🟦 Royal Blue | ×48 |
| 15 | 1:01 | ⬜ Silver-White | ×60 |
| 16 | 1:15 | ⬛ Black | ×40 |
| 17 | 1:16 | 🩵 Light Blue | ×89 |
| 18 | 1:24 | 🟦 Royal Blue | ×90 |
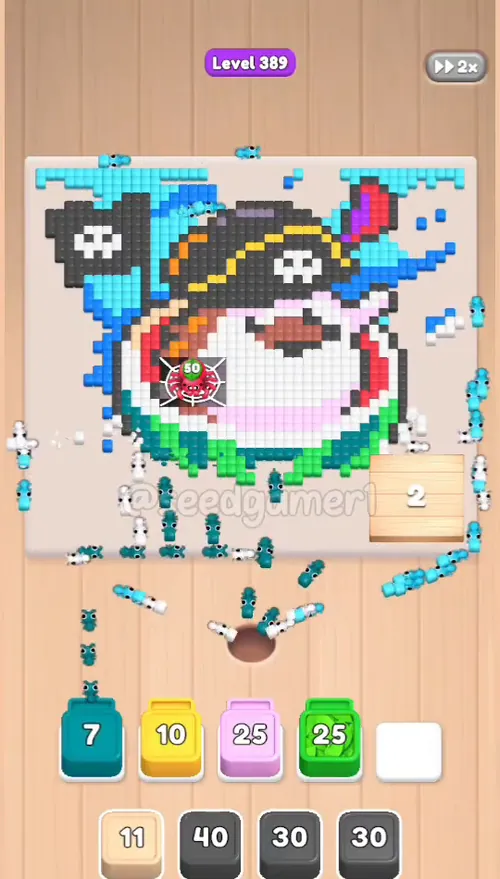
Phase 4 — Grinding Small Colors (1:34–1:49)
| # | Time | Color Block | Count |
|---|---|---|---|
| 19 | 1:34 | ⬛ Black | ×30 |
| 20 | 1:44 | ⬜ Beige | ×10 |
| 21 | 1:49 | ⬜ Beige | ×5 |
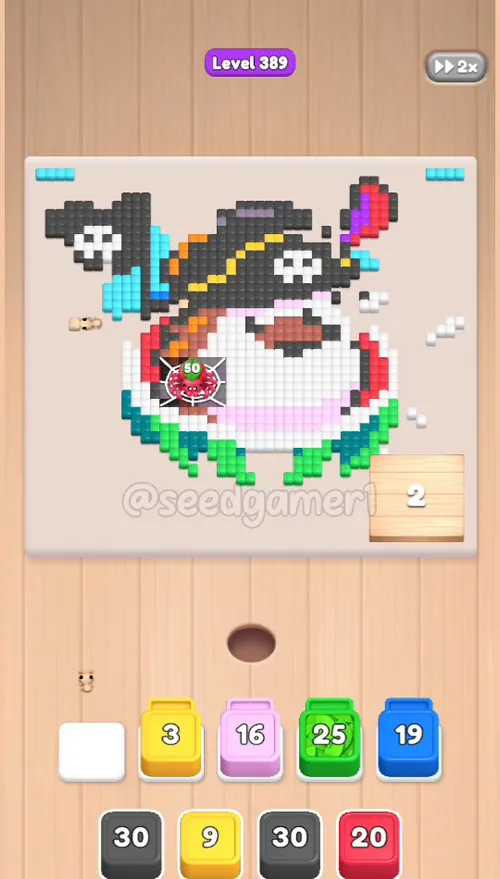
Phase 5 — Red and Green Unstick (2:05–2:43)
| # | Time | Color Block | Count |
|---|---|---|---|
| 22 | 2:05 | 🟥 Red | ×20 |
| 23 | 2:17 | ⬛ Black | ×30 |
| 24 | 2:24 | 🟩 Green | ×24 |
| 25 | 2:33 | ⬜ Silver-White | ×48 |
| 26 | 2:36 | 🟥 Red | ×20 |
| 27 | 2:43 | ⬛ Black | ×28 |
| 28 | 2:43 | 🩷 Pink | ×22 |
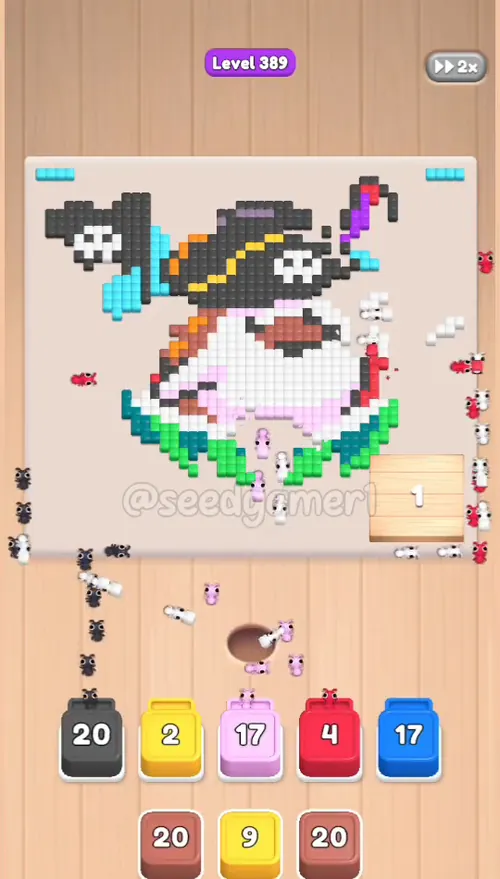
Phase 6 — Mouth Details (2:53–3:39)
| # | Time | Color Block | Count |
|---|---|---|---|
| 29 | 2:53 | 🟫 Brick Red | ×20 |
| 30 | 2:54 | 🩵 Light Blue | ×69 |
| 31 | 3:05 | 🟨 Gold | ×9 |
| 32 | 3:06 | ⬜ Silver-White | ×88 |
| 33 | 3:08 | ⬛ Black | ×28 |
| 34 | 3:30 | 🩷 Pink | ×24 |
| 35 | 3:33 | 🟣 Purple | ×8 |
| 36 | 3:39 | 🟩 Green | ×13 |
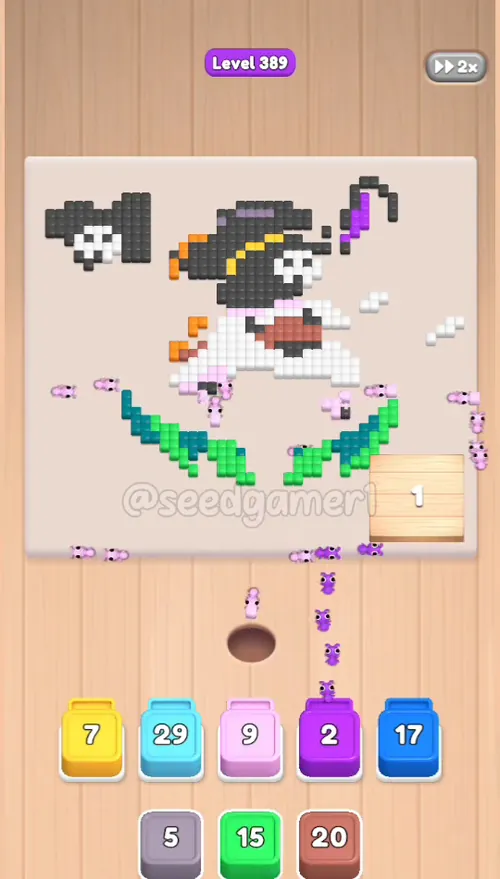
Phase 7 — Silver/Black Alternation (3:54–4:41)
| # | Time | Color Block | Count |
|---|---|---|---|
| 37 | 3:54 | 🟫 Brown | ×18 |
| 38 | 3:59 | 🟧 Orange | ×11 |
| 39 | 4:07 | ⬜ Silver-White | ×40 |
| 40 | 4:15 | ⬛ Black | ×29 |
| 41 | 4:21 | ⬜ Silver-White | ×49 |
| 42 | 4:22 | ⬛ Black | ×19 |
| 43 | 4:27 | 💠 Dark Teal | ×18 |
| 44 | 4:31 | 🟣 Lavender | ×4 |
| 45 | 4:32 | ⬛ Black | ×40 |
| 46 | 4:41 | ⬛ Black | ×50 |
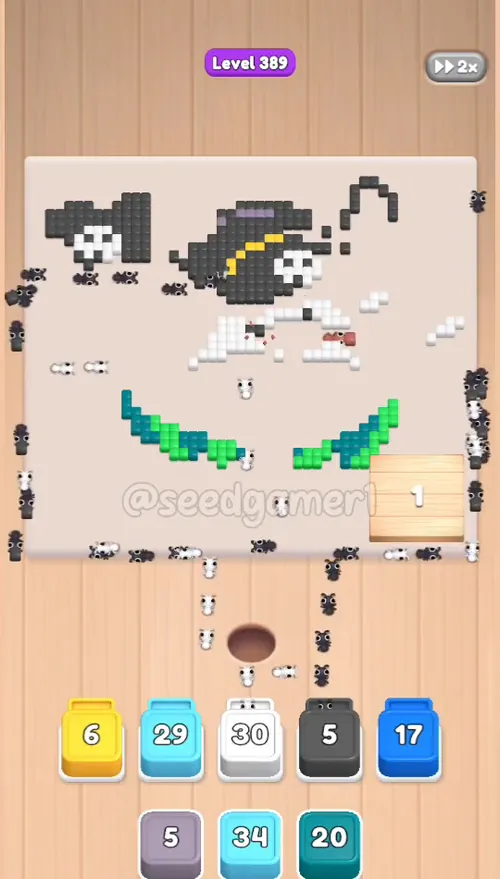
Phase 8 — Final Cascade (4:57–5:18)
| # | Time | Color Block | Count |
|---|---|---|---|
| 47 | 4:57 | 🩵 Light Blue | ×34 |
| 48 | 4:58 | 💠 Dark Teal | ×10 |
| 49 | 5:00 | 🟩 Green | ×24 |
| 50 | 5:01 | ⬜ Silver-White | ×48 |
| 51 | 5:05 | ⬛ Black | ×51 |
| 52 | 5:16 | 🟩 Green | ×10 |
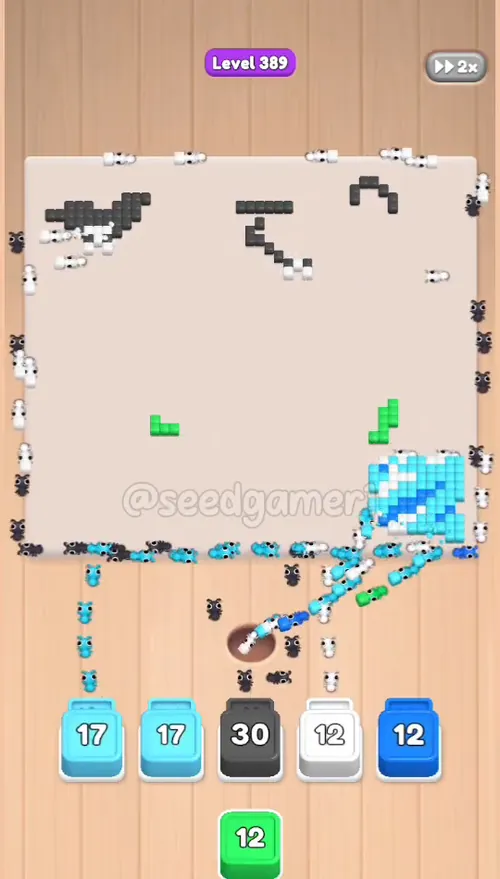
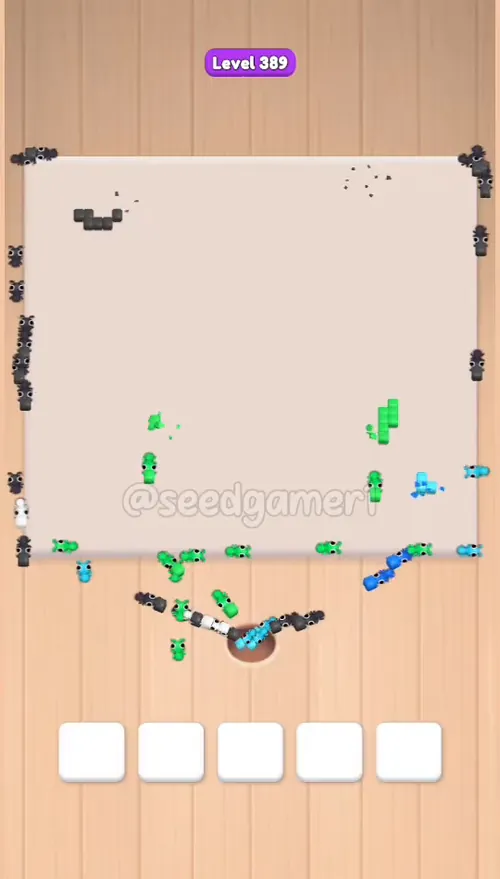
The very last pixel to fall is Green (~5:18) — the final seaweed remnant under the belly.
Quick Reference — One-Line Order
Dark Blue 70 → Dark Blue 25 → Light Blue 100 → Light Blue 60 → Light Blue 80 → Dark Blue 58 → Green 25 → Light Blue 49 → Gold 10 → Pink 25 → Silver 50 → Light Blue 80 → Dark Teal 19 → Royal Blue 48 → Silver 60 → Black 40 → Light Blue 89 → Royal Blue 90 → Black 30 → Beige 10 → Beige 5 → Red 20 → Black 30 → Green 24 → Silver 48 → Red 20 → Black 28 → Pink 22 → Brick Red 20 → Light Blue 69 → Gold 9 → Silver 88 → Black 28 → Pink 24 → Purple 8 → Green 13 → Brown 18 → Orange 11 → Silver 40 → Black 29 → Silver 49 → Black 19 → Dark Teal 18 → Lavender 4 → Black 40 → Black 50 → Light Blue 34 → Dark Teal 10 → Green 24 → Silver 48 → Black 51 → Green 10
Pro Tips
1. Keep all 5 slots full. An empty slot = idle ants. The run above cycles slots the moment a block clears. 2. Big blocks first. The opening ×100 / ×80 / ×70 water blocks drain fast and recycle slots quickly. 3. Stuck blocks are normal — expect four big stalls:
- Green ×25 (step 7) sits at ×25 for ~2 minutes (0:19 → 2:24) until the black/light-blue blocks above it drain.
- Gold ×10 (step 9) waits at ×10 for ~2:20 until 2:51.
- Pink ×25 (step 10) crawls from ×25 to ×2, cleared at 2:42.
- Royal Blue ×90 (step 18) freezes at ×17–19 from 2:23 and only finishes in the final cascade (5:16).
4. Slow colors last. The belly Silvers (×88/×49/×48) and hat Blacks (×40/×50/×51) only unlock in the last two minutes — don't panic-place them early; they'd just sit stuck. 5. Finale color. The last pixel of the level belongs to Green ×10 (the seaweed), placed at 5:16, cleared at ~5:18. 6. No fail state. One clean run takes ~5:18 of video time (the recording plays at 2×, so ~10:30 real time).
_Compiled from frame-by-frame video analysis: 648 frames (2 fps), per-frame slot tracking and countdown verification._
More advanced walkthroughs
View all →
Featured walkthroughs
The levels players search for most - each with a full video guide.