Food Hunt Level 200 Walkthrough
IntermediateStuck on Food Hunt level 200? Follow the full 62-block clear of the Lumberjack board: an opening burst, a long buried-yellow plateau with two parked husks, and a nine-block finale flood led by Orange 62.

Level board
Step-by-step walkthrough
Prefer screenshots to video? Every phase of the clear is below in order, with the block counts and the frames they were taken from — keep it open next to the game and follow along tap by tap.
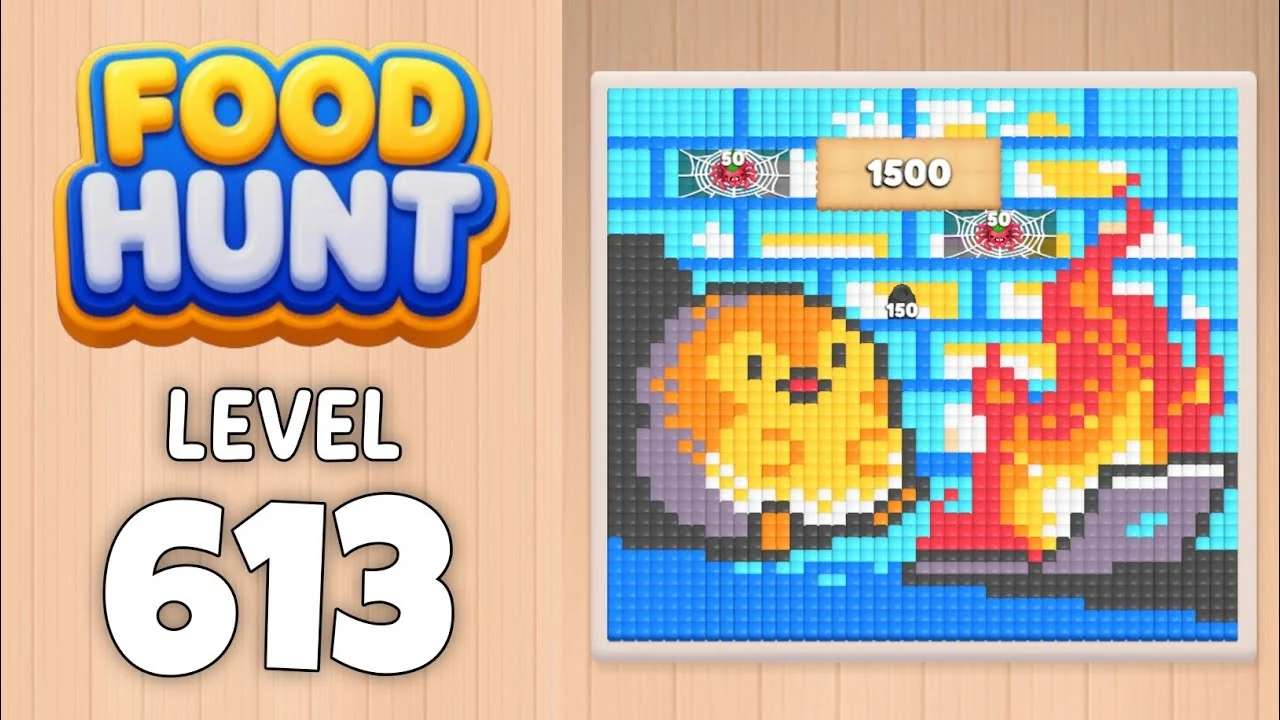
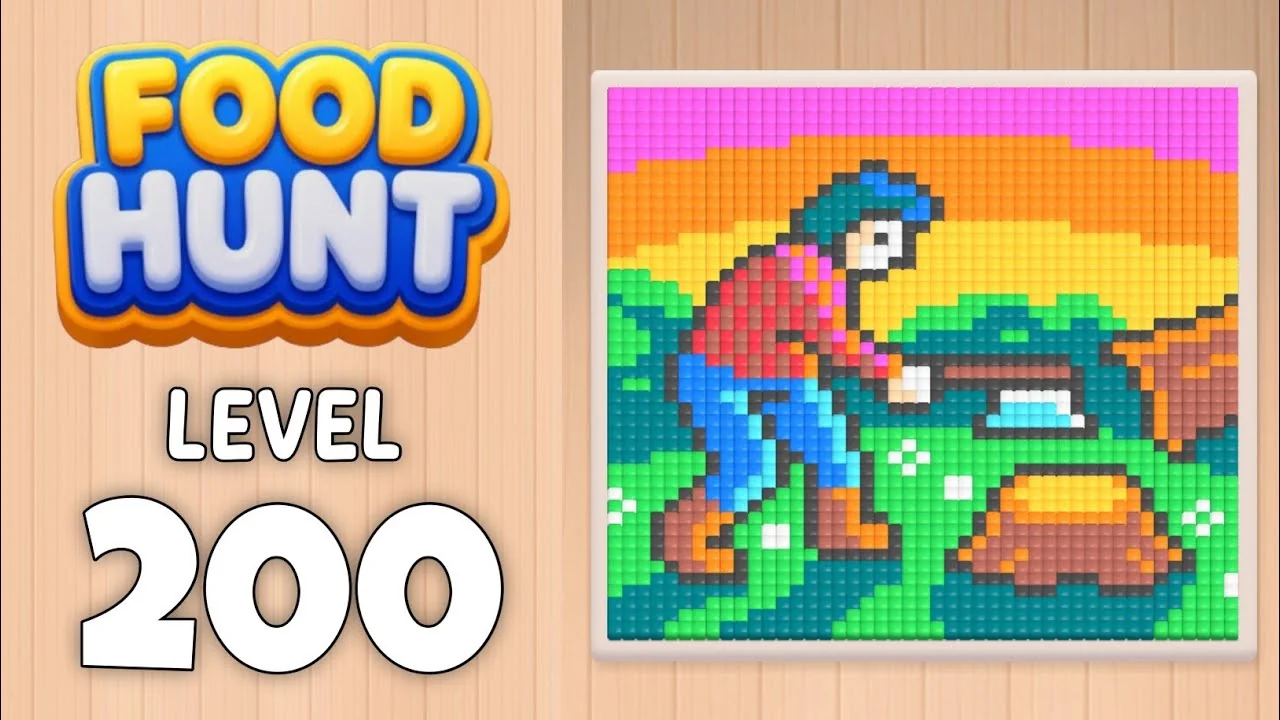
Level: 200 (EXTREME) — pixel-art lumberman in a red plaid shirt chopping wood, pink-orange-yellow sunset sky, teal bushes, green fields
Source: frame-by-frame analysis of the Level 200 recording (363 frames @ 1 fps, Seed Gamer gameplay, »2× speed enabled, cleared in one run)
Blocks fed: 62 | Total pixels: ~1,840 | Move limit: none — order only affects speed
How the Level Works
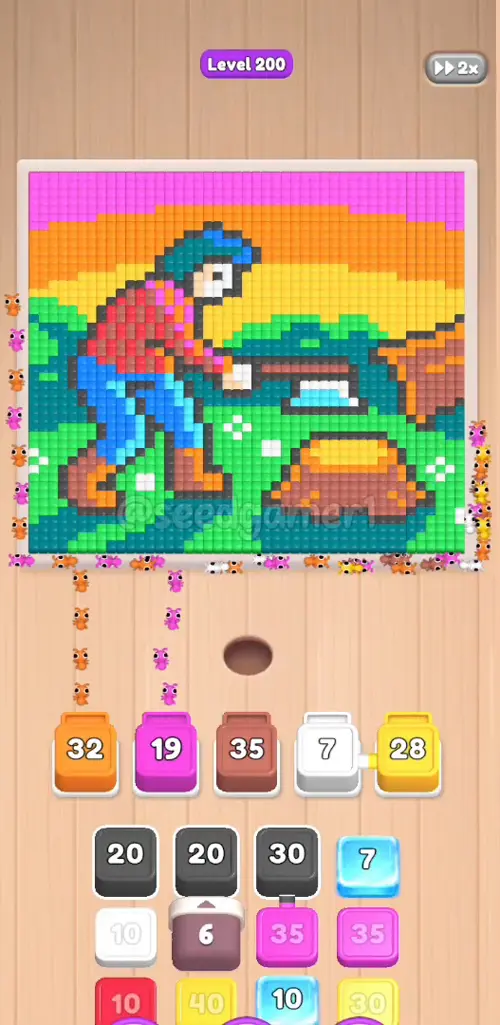
1. Tap a color block in the bottom queue to send it into one of the 5 slots above. 2. Ants of that color pour out and eat every reachable pixel of the matching color; the number on the block counts down as pixels are eaten. 3. When a block hits 0, it normally disappears and frees its slot — but on this level a finished block sometimes leaves a solid "husk" parked in its slot for ~2 minutes (see Pro Tips). Don't panic when it happens. 4. Eat the entire picture to win. Pixels sandwiched between other colors are unreachable — e.g. the big yellow sky band stays buried between the orange band above and the green field below until ~2:00. Stalled blocks are normal.
Complete Block Order (Which Color First, Then Which)
Timestamps = when the block lands in a slot (video time). Count = block value.
Phase 1 — Opening Burst (0:03–0:07)
Five large tiles fill every slot immediately and start chewing the sky.
| # | Time | Color Block | Count |
|---|---|---|---|
| 1 | 0:03 | 🟧 Orange | 46 |
| 2 | 0:03 | 🟪 Magenta | 34 |
| 3 | 0:04 | 🟫 Brown | 38 |
| 4 | 0:05 | ⬜ White | 7 |
| 5 | 0:05 | 🟨 Yellow | 32 |
Phase 2 — First Refill Cycle (0:12–0:38)
Magenta and orange finish first; the freed slots take darks and teals to open the bush/outline areas.
| # | Time | Color Block | Count |
|---|---|---|---|
| 6 | 0:12 | ⬛ Dark | 18 |
| 7 | 0:16 | 🟧 Orange | 17 |
| 8 | 0:22 | 💠 Teal | 38 |
| 9 | 0:30 | 🟩 Green | 36 |
| 10 | 0:38 | 💠 Teal | 39 |
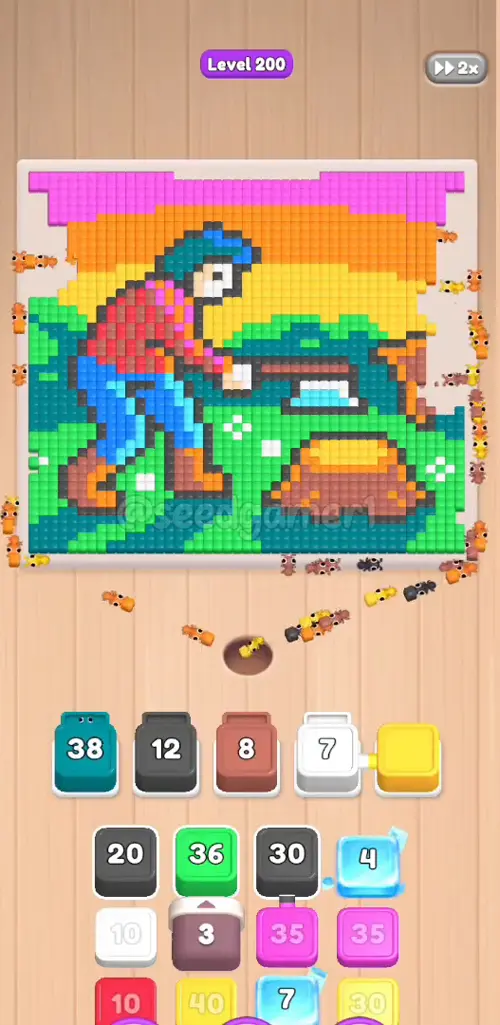
Phase 3 — Red Shirt & Yellow Band (0:50–1:07)
The yellow band is still boxed in, so its two blocks sit and drain only at the exposed ends.
| # | Time | Color Block | Count |
|---|---|---|---|
| 11 | 0:50 | 🟥 Red | 10 |
| 12 | 0:51 | 🟫 Brown | 37 |
| 13 | 0:52 | 🟩 Green | 35 |
| 14 | 1:00 | 🟪 Magenta | 31 |
| 15 | 1:03 | 🟨 Yellow | 30 |
| 16 | 1:07 | 🟨 Yellow | 40 |
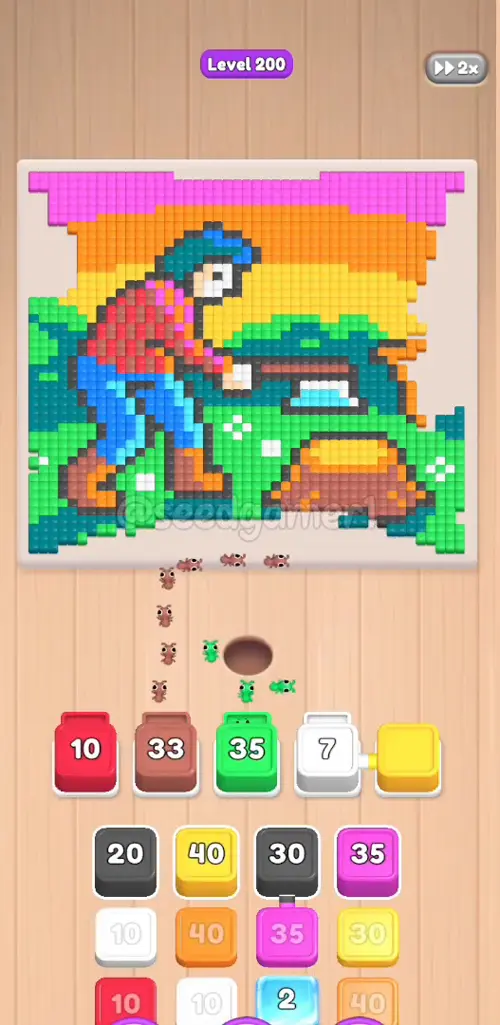
Phase 4 — Dark & Orange Grind (1:24–1:40)
Slow mid-game stretch: outlines and the orange band drain steadily while the yellow husk sits in slot 5.
| # | Time | Color Block | Count |
|---|---|---|---|
| 17 | 1:24 | ⬛ Dark | 19 |
| 18 | 1:38 | 🟧 Orange | 39 |
| 19 | 1:40 | 🟧 Orange | 39 |
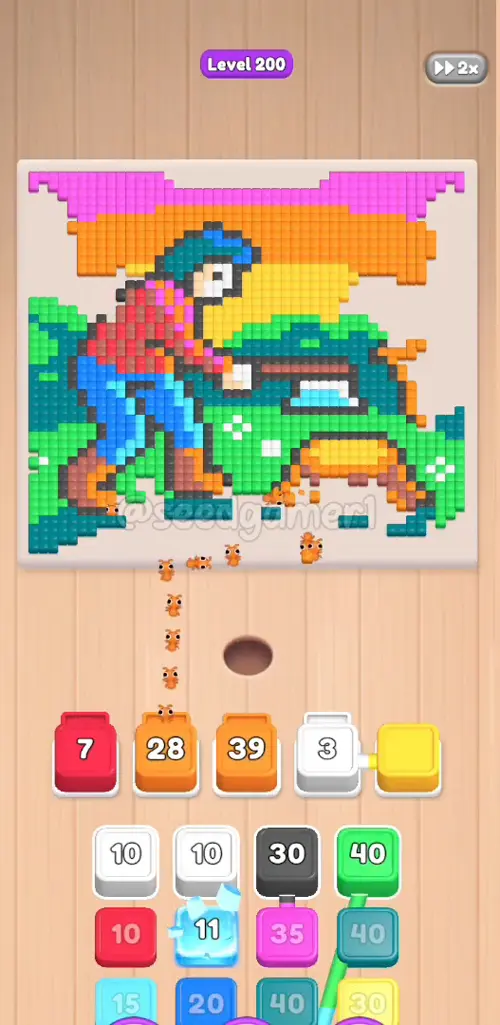
Phase 5 — Parallel Pairs (2:02–2:19)
Blocks land two at a time now that slots recycle faster.
| # | Time | Color Block | Count |
|---|---|---|---|
| 20 | 2:02 | ⬛ Dark | 26 |
| 21 | 2:02 | 🟪 Magenta | 31 |
| 22 | 2:10 | 💠 Teal | 37 |
| 23 | 2:10 | 🟩 Green | 38 |
| 24 | 2:19 | 🩵 Cyan | 10 |
| 25 | 2:19 | 🟩 Green | 38 |
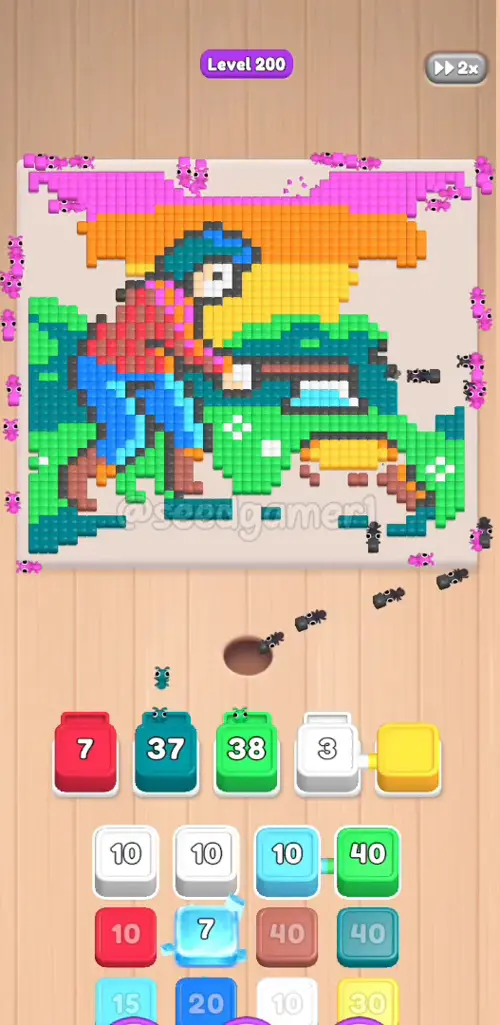
Phase 6 — Five Slots Active Again (2:22–2:50)
The yellow husk finally leaves (~2:21) once the last buried yellow is reachable — slot 5 is back in rotation.
| # | Time | Color Block | Count |
|---|---|---|---|
| 26 | 2:22 | 🟫 Brown | 39 |
| 27 | 2:24 | 💠 Teal | 38 |
| 28 | 2:33 | 🟨 Yellow | 28 |
| 29 | 2:33 | 🟧 Orange | 40 |
| 30 | 2:39 | ⬛ Dark | 29 |
| 31 | 2:40 | 🟩 Green | 27 |
| 32 | 2:50 | ⬜ White | 6 |
| 33 | 2:50 | 🟨 Yellow | 28 |
| 34 | 2:50 | 🟩 Green | 30 |
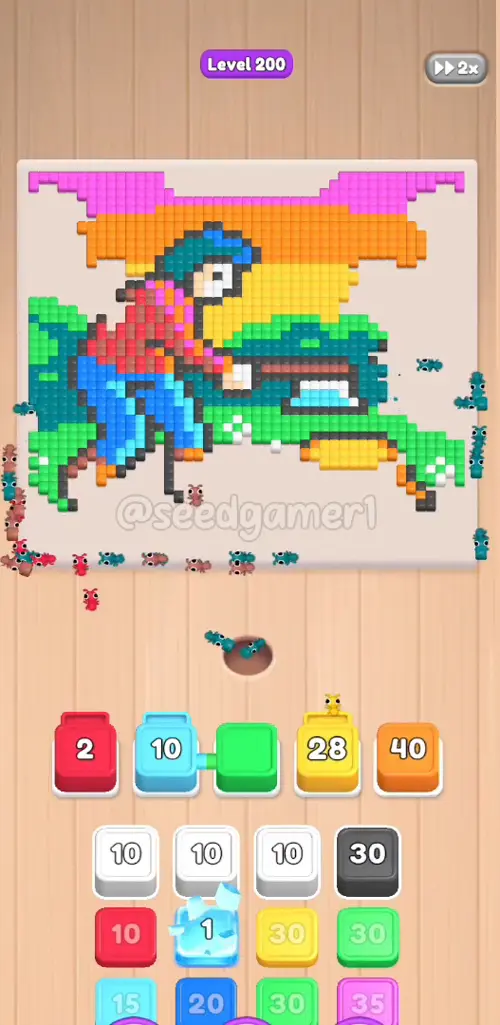
Phase 7 — The Long Grind (3:03–3:18)
Where the EXTREME badge bites: after these six land, three blocks stall for about a minute each.
| # | Time | Color Block | Count |
|---|---|---|---|
| 35 | 3:03 | 🟩 Green | 40 |
| 36 | 3:03 | 🟥 Red | 17 |
| 37 | 3:04 | 💠 Teal | 32 |
| 38 | 3:15 | 🟨 Yellow | 46 |
| 39 | 3:18 | ⬜ White | 10 |
| 40 | 3:18 | 🟧 Orange | 40 |
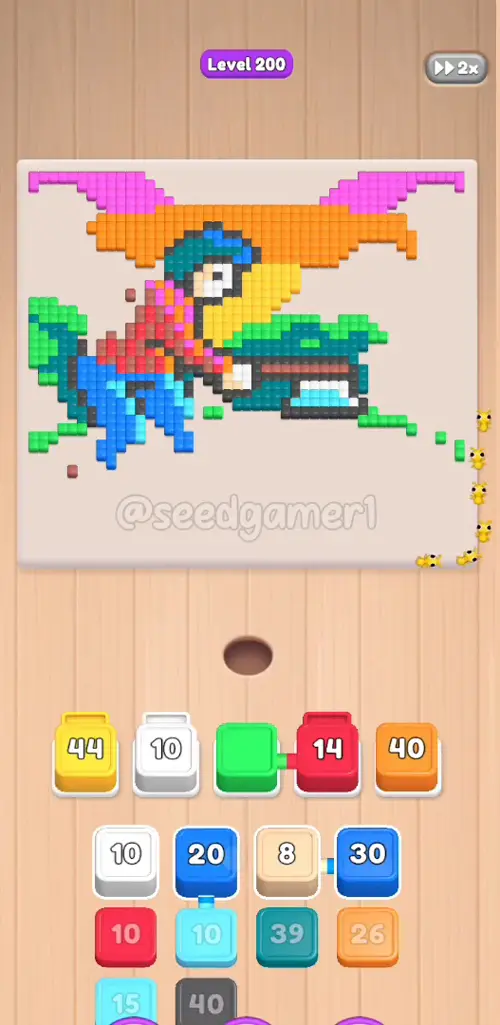
Phase 8 — Endgame Opens Up (4:04–5:18)
From ~4:20 everything unblocks: blues, tans and cyans that were buried all level finally drain.
| # | Time | Color Block | Count |
|---|---|---|---|
| 41 | 4:04 | 🟦 Blue | 17 |
| 42 | 4:04 | 🩵 Cyan | 8 |
| 43 | 4:21 | ⬛ Dark | 38 |
| 44 | 4:24 | 🟪 Magenta | 26 |
| 45 | 4:37 | 🟤 Tan | 8 |
| 46 | 4:37 | 🟦 Blue | 30 |
| 47 | 4:43 | ⬜ White | 9 |
| 48 | 4:55 | 🟧 Orange | 25 |
| 49 | 4:55 | 💠 Teal | 35 |
| 50 | 5:09 | 🟥 Red | 10 |
| 51 | 5:09 | 🩵 Cyan | 15 |
| 52 | 5:10 | 🟩 Green | 37 |
| 53 | 5:18 | 🟫 Brown | 37 |
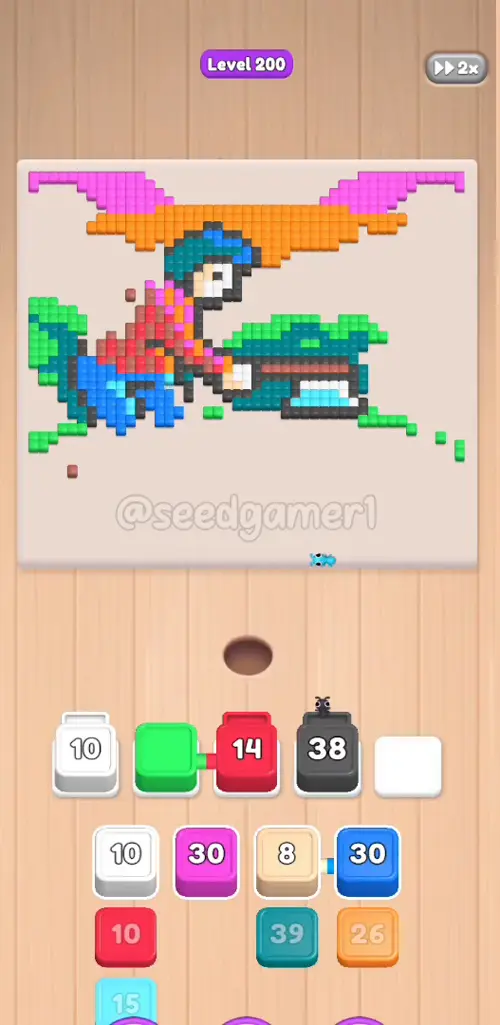
Phase 9 — Finale Flood (5:27–5:45)
Everything left is exposed — nine blocks land in 20 seconds. Orange 62 is the biggest block of the level.
| # | Time | Color Block | Count |
|---|---|---|---|
| 54 | 5:27 | 🟧 Orange | 36 |
| 55 | 5:27 | 🟪 Magenta | 33 |
| 56 | 5:29 | ⬛ Dark | 27 |
| 57 | 5:34 | 🟦 Blue | 21 |
| 58 | 5:35 | 🟩 Green | 36 |
| 59 | 5:35 | 🟧 Orange | 62 |
| 60 | 5:37 | ⬛ Dark | 36 |
| 61 | 5:39 | 🟪 Magenta | 30 |
| 62 | 5:45 | 💠 Teal | 52 |
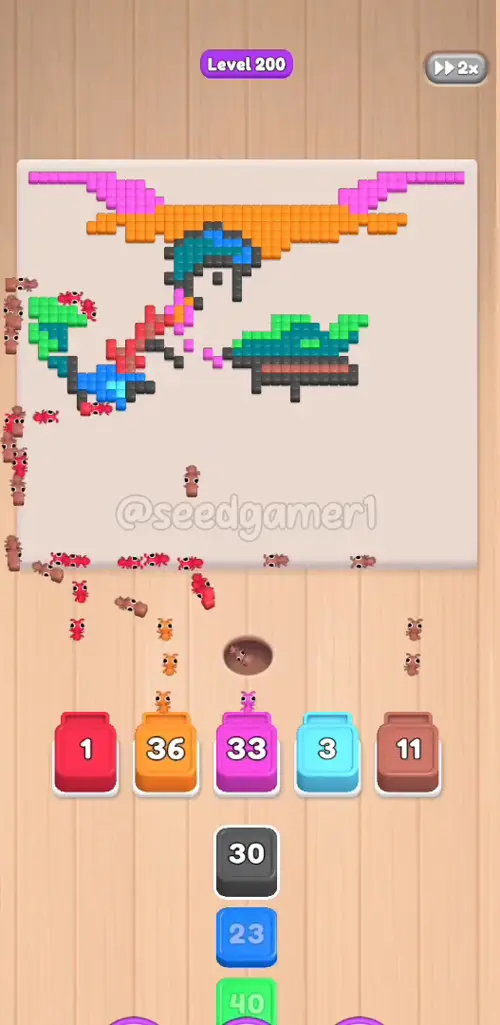
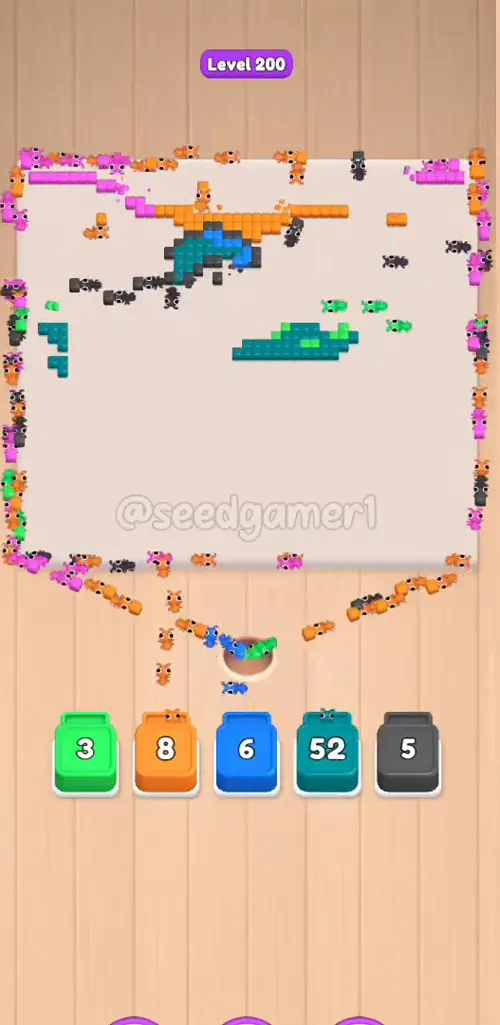
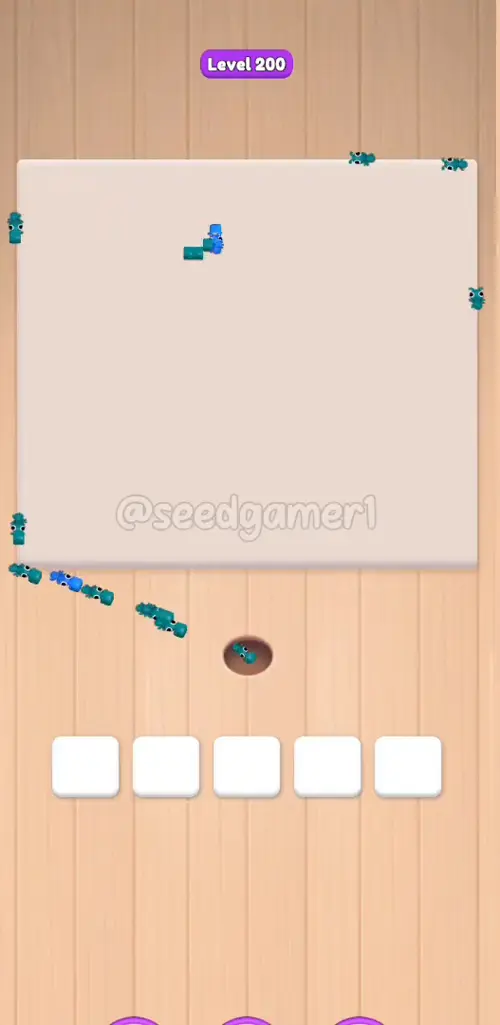
The very last pixel to fall is Teal (~5:56). The completion screen shows an in-game time of 7:14 (the video runs slightly fast: 6:03).
Quick Reference — One-Line Order
Orange 46 → Magenta 34 → Brown 38 → White 7 → Yellow 32 → Dark 18 → Orange 17 → Teal 38 → Green 36 → Teal 39 → Red 10 → Brown 37 → Green 35 → Magenta 31 → Yellow 30 → Yellow 40 → Dark 19 → Orange 39 → Orange 39 → Dark 26 → Magenta 31 → Teal 37 → Green 38 → Cyan 10 → Green 38 → Brown 39 → Teal 38 → Yellow 28 → Orange 40 → Dark 29 → Green 27 → White 6 → Yellow 28 → Green 30 → Green 40 → Red 17 → Teal 32 → Yellow 46 → White 10 → Orange 40 → Blue 17 → Cyan 8 → Dark 38 → Magenta 26 → Tan 8 → Blue 30 → White 9 → Orange 25 → Teal 35 → Red 10 → Cyan 15 → Green 37 → Brown 37 → Orange 36 → Magenta 33 → Dark 27 → Blue 21 → Green 36 → Orange 62 → Dark 36 → Magenta 30 → Teal 52
Pro Tips
1. Keep all 5 slots full — but expect the husk. The finished Yellow 32 (~0:21) and the finished Green 40 (~3:11) each leave a solid colored husk parked in their slot for about two minutes. The slot can't be reused while the husk sits there, so you'll run long stretches on 4 slots. It clears on its own once that color's buried pixels become reachable — don't waste taps worrying about it. 2. Big blocks first. ×38–×62 blocks sit on large connected areas, drain fast, and recycle slots quickly. The 46/40/39 opening wave is what makes the early game fast. 3. Stuck blocks are normal. Observed stalls: White 7 parks at 7 from ~0:07 to 2:21 (flower pixels buried under the whole scene); Yellow band is boxed in until ~2:00; Red 17 stalls at 14 (~3:25→4:21); White 10 stalls at 10 (~3:18→4:25). Do not discard or panic-tap around them. 4. Slow colors last. White (flowers), Tan (wagon cover) and Cyan (window details) are tiny scattered details that only unlock in the endgame — they're placed late here, and that's correct. 5. Finale color. Teal 52 (hat + bush bulk) holds the very last pixel of the level (~5:56). 6. No fail state. One clean run: ~6:03 of video (7:14 on the in-game timer).
_Compiled from frame-by-frame video analysis: 363 frames (1 fps), per-frame slot tracking and countdown verification._
More intermediate walkthroughs
View all →
Featured walkthroughs
The levels players search for most - each with a full video guide.