Food Hunt Level 172 Walkthrough
IntermediateStuck on Food Hunt level 172? Follow the full 68-block clear of the Diving Helmet board: an opening blue flood, a 63-second Pink stall, the dig colors that unstick it, and an orange-and-black endgame sweep.
Level board
Step-by-step walkthrough
Prefer screenshots to video? Every phase of the clear is below in order, with the block counts and the frames they were taken from — keep it open next to the game and follow along tap by tap.
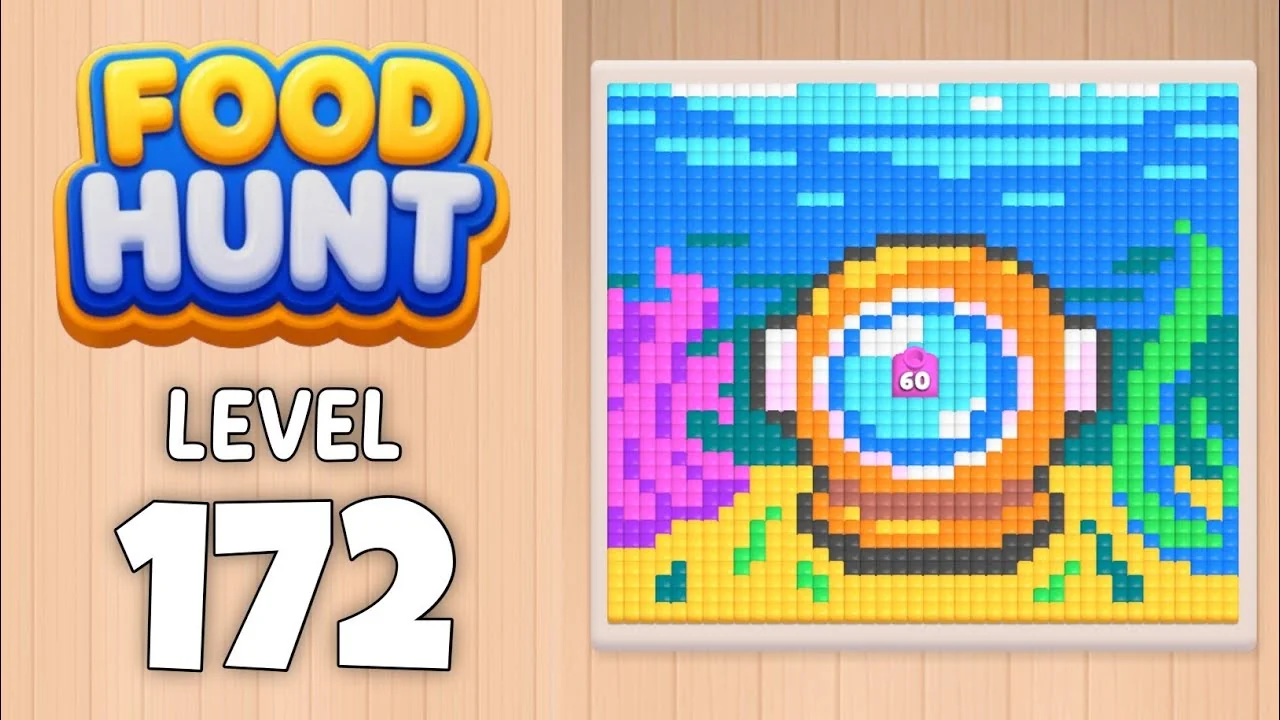
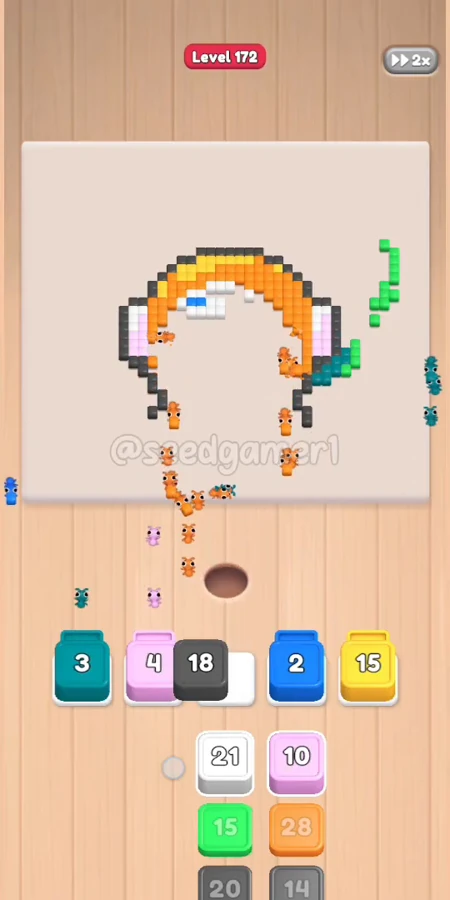
Level: 172 (HARD) — underwater scene: orange diving helmet on a sandy seabed, purple coral left, green seaweed right, blue water & sky bands above
Source: frame-by-frame analysis of the Level 172 recording — 196 frames @ 1 fps (1 frame = 1 second of video), every slot row tracked. Recording plays at 2x speed (badge visible in-game), so the ~3:16 video equals ~1:38 of real game time. Level Complete at ~3:09 video time.
Blocks fed: 68 | Total pixels: ~1,540 | Move limit: none — order only affects speed
Timestamp convention: times below are video timestamps (= frame number, since extraction is 1 fps). Divide by 2 for real game time.
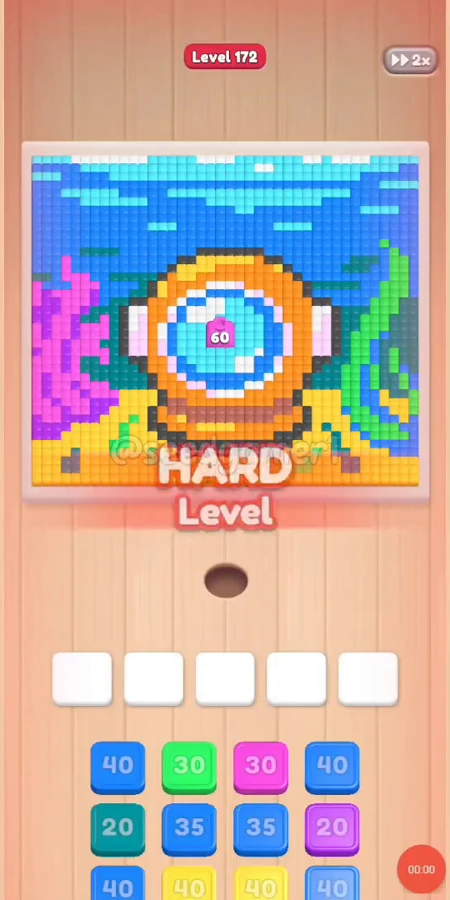
How the Level Works
1. Tap a color block in the bottom queue to send it into one of the 5 slots above. 2. Ants of that color pour out and eat every reachable pixel of the matching color on the picture; the number on the block counts down as pixels are eaten. 3. When a block hits 0, it disappears and frees its slot. 4. Eat the entire picture to win. Pixels can be buried under other colors, so some blocks pause ("stuck") until neighboring colors open the way — this is normal on HARD levels.
Color → area map used below: Blue = seawater | Sky Blue = upper sky band | Purple = left coral body | Magenta = bright coral tips | Teal = dark seaweed fronds | Green = right seaweed | Yellow = sandy seabed | White = helmet glass highlights | Pink = pink accents on the sand | Orange = helmet rim & ring | Brown = sand shadows | Black = outline contours.
Complete Block Order (Which Color First, Then Which)
"Time" = when the block lands in a slot (video time, ±1 s). Value shown is the block's worth as it lands. Blocks landing in the same second are listed together; their relative order doesn't change the outcome.
Phase 1 — Open the Edges (0:04–0:16)
| # | Time | Color Block | Value |
|---|---|---|---|
| 1 | 0:04 | 🟦 Blue | ×40 |
| 2 | 0:04 | 🟣 Purple | ×25 |
| 3 | 0:05 | 🟦 Blue | ×40 |
| 4 | 0:05 | 🟩 Green | ×15 |
| 5 | 0:07 | ⬜ White | ×10 |
| 6 | 0:10 | 🟦 Blue | ×40 |
| 7 | 0:13 | 🩵 Sky Blue | ×32 |
| 8 | 0:16 | 🟨 Yellow | ×30 |
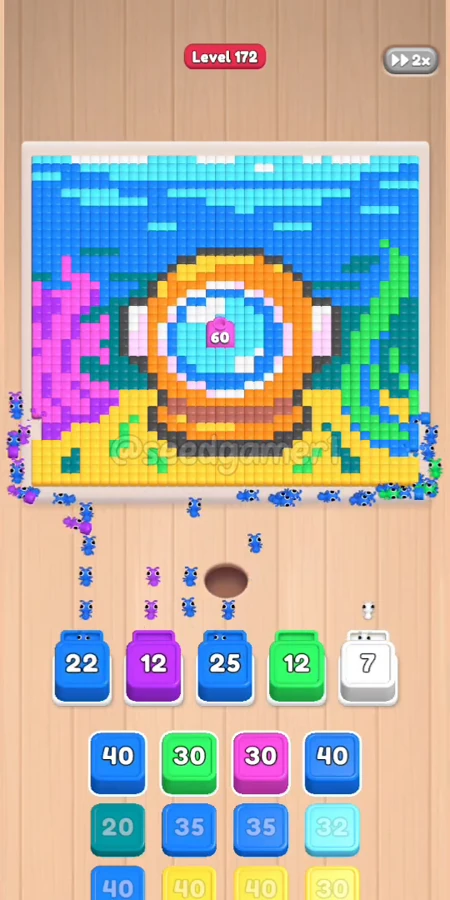
Phase 2 — Coral & Mid Water (0:20–0:33)
| # | Time | Color Block | Value |
|---|---|---|---|
| 9 | 0:20 | 🟣 Purple | ×25 |
| 10 | 0:20 | 💠 Teal | ×35 |
| 11 | 0:24 | 🩷 Pink | ×30 |
| 12 | 0:25 | 🟦 Blue | ×35 |
| 13 | 0:32 | ⬛ Black | ×10 |
| 14 | 0:33 | 🟩 Green | ×30 |
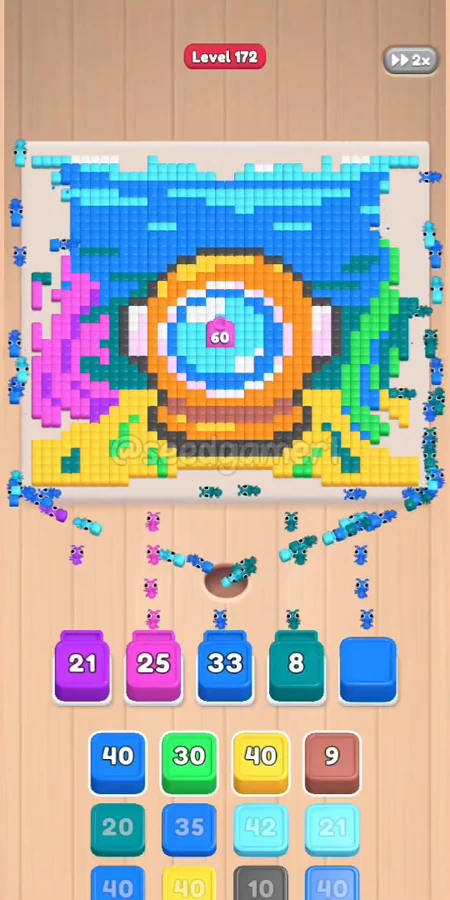
Phase 3 — Sand & Second Blue Wave (0:37–0:51)
| # | Time | Color Block | Value |
|---|---|---|---|
| 15 | 0:37 | 🟦 Blue | ×35 |
| 16 | 0:38 | 🟦 Blue | ×36 |
| 17 | 0:39 | 🩵 Sky Blue | ×40 |
| 18 | 0:40 | 🟨 Yellow | ×40 |
| 19 | 0:48 | 🟦 Blue | ×25 |
| 20 | 0:51 | 🩷 Pink | ×15 |
| 21 | 0:51 | 🟨 Yellow | ×15 |
| 22 | 0:51 | 💠 Teal | ×36 |
Phase 4 — White & Teal Rotation, First Digs (0:54–1:27)
| # | Time | Color Block | Value |
|---|---|---|---|
| 23 | 0:54 | 🩵 Sky Blue | ×22 |
| 24 | 1:05 | ⬜ White | ×12 |
| 25 | 1:05 | 💠 Teal | ×24 |
| 26 | 1:06 | 🩷 Pink | ×20 |
| 27 | 1:11 | 🩵 Sky Blue | ×35 |
| 28 | 1:18 | 🟧 Orange | ×8 |
| 29 | 1:26 | 🟫 Brown | ×12 |
| 30 | 1:27 | 🩵 Sky Blue | ×21 |
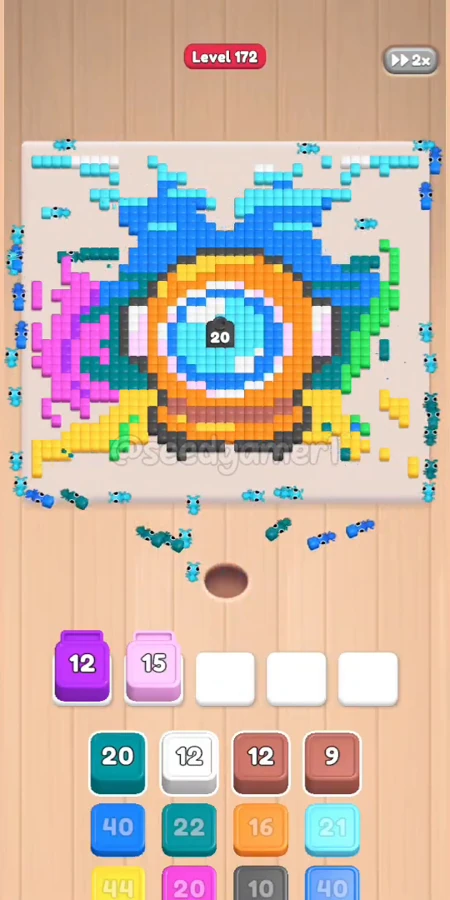
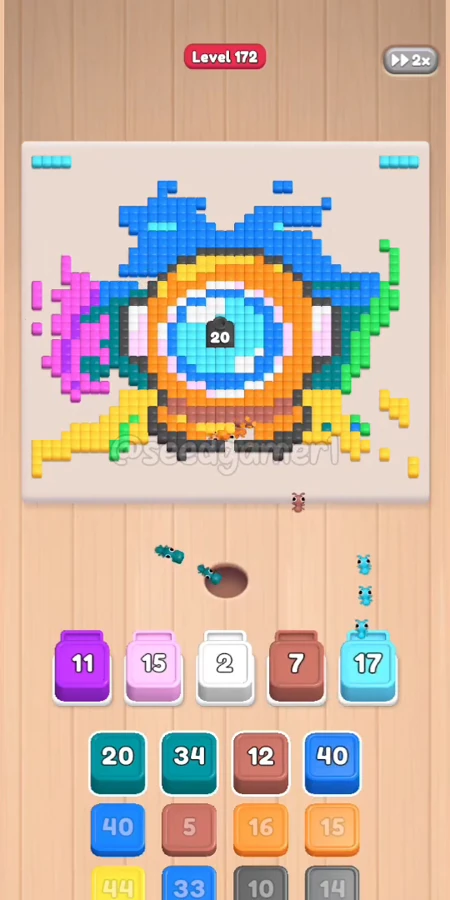
Phase 5 — Big Blue & Opening the Helmet (1:32–2:03)
| # | Time | Color Block | Value |
|---|---|---|---|
| 31 | 1:32 | 🟦 Blue | ×40 |
| 32 | 1:40 | 🟧 Orange | ×15 |
| 33 | 1:44 | ⬛ Black | ×14 |
| 34 | 1:46 | 🟪 Magenta | ×20 |
| 35 | 1:51 | 🟫 Brown | ×12 |
| 36 | 1:57 | ⬛ Black | ×10 |
| 37 | 1:59 | 🟦 Blue | ×20 |
| 38 | 2:02 | 💠 Teal | ×34 |
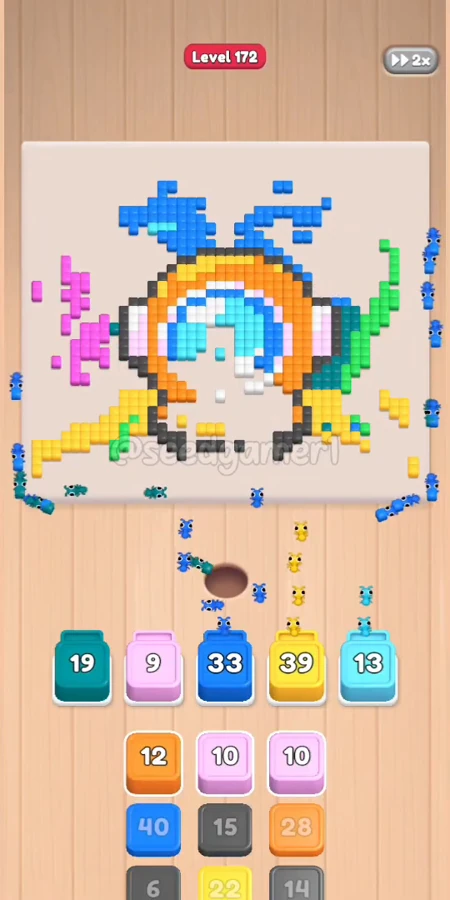
Phase 6 — Endgame Blocks Enter (2:07–2:28)
| # | Time | Color Block | Value |
|---|---|---|---|
| 39 | 2:07 | 🟨 Yellow | ×12 |
| 40 | 2:08 | 🟦 Blue | ×33 |
| 41 | 2:08 | 🟨 Yellow | ×2 |
| 42 | 2:08 | 🩵 Sky Blue | ×5 |
| 43 | 2:18 | 💠 Teal | ×20 |
| 44 | 2:18 | 🟦 Blue | ×40 |
| 45 | 2:19 | 🟨 Yellow | ×44 |
| 46 | 2:19 | 🩵 Sky Blue | ×16 |
| 47 | 2:23 | 🟧 Orange | ×12 |
| 48 | 2:26 | 🟦 Blue | ×40 |
| 49 | 2:26 | ⬛ Black | ×5 |
| 50 | 2:27 | 🟪 Magenta | ×36 |
| 51 | 2:28 | 🩵 Sky Blue | ×20 |
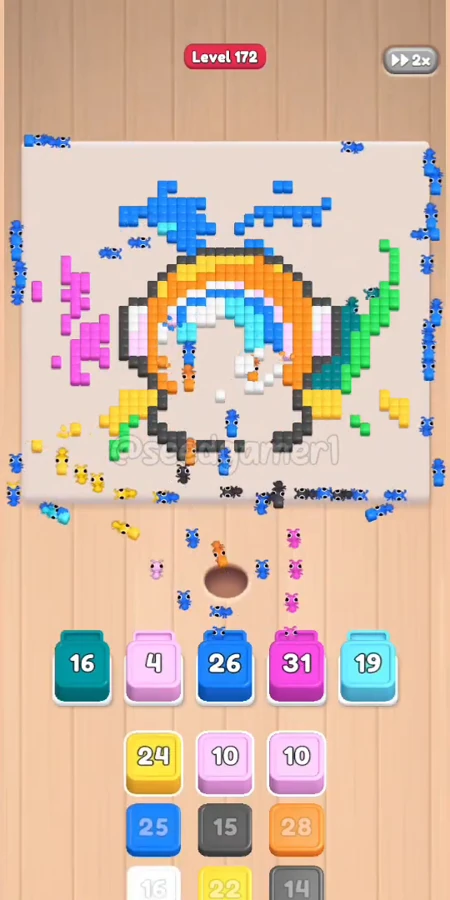
Phase 7 — Glass, Sand & Outline Sweep (2:35–2:50)
| # | Time | Color Block | Value |
|---|---|---|---|
| 52 | 2:35 | 🟨 Yellow | ×24 |
| 53 | 2:36 | 🟦 Blue | ×25 |
| 54 | 2:37 | ⬜ White | ×16 |
| 55 | 2:38 | 🟩 Green | ×23 |
| 56 | 2:39 | 🟦 Blue | ×10 |
| 57 | 2:42 | ⬛ Black | ×13 |
| 58 | 2:42 | 🩷 Pink | ×10 |
| 59 | 2:44 | 🟨 Yellow | ×22 |
| 60 | 2:45 | 🟧 Orange | ×24 |
| 61 | 2:50 | ⬛ Black | ×18 |
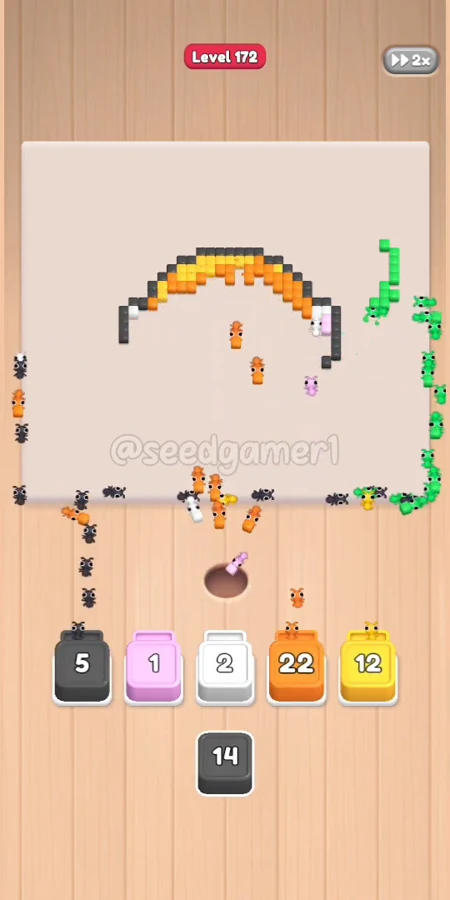
Phase 8 — Final Sweep (2:54–3:09)
| # | Time | Color Block | Value |
|---|---|---|---|
| 62 | 2:54 | 🩷 Pink | ×10 |
| 63 | 2:55 | 🟧 Orange | ×28 |
| 64 | 2:55 | ⬜ White | ×21 |
| 65 | 3:00 | 🟩 Green | ×15 |
| 66 | 3:02 | ⬛ Black | ×20 |
| 67 | 3:04 | 🟧 Orange | ×25 |
| 68 | 3:05 | ⬛ Black | ×14 |
The last pixels to fall belong to Orange (helmet rim, ×1 left at 3:08) and Yellow (sand, ×2) — the board is fully clean at ~3:09 video time, and the Level Complete screen (x2 Coins / Continue) appears at ~3:16.
Quick Reference — One-Line Order
Blue40 → Purple25 → Blue40 → Green15 → White10 → Blue40 → SkyBlue32 → Yellow30 → Purple25 → Teal35 → Pink30 → Blue35 → Black10 → Green30 → Blue35 → Blue36 → SkyBlue40 → Yellow40 → Blue25 → Pink15 → Yellow15 → Teal36 → SkyBlue22 → White12 → Teal24 → Pink20 → SkyBlue35 → Orange8 → Brown12 → SkyBlue21 → Blue40 → Orange15 → Black14 → Magenta20 → Brown12 → Black10 → Blue20 → Teal34 → Yellow12 → Blue33 → Yellow2 → SkyBlue5 → Teal20 → Blue40 → Yellow44 → SkyBlue16 → Orange12 → Blue40 → Black5 → Magenta36 → SkyBlue20 → Yellow24 → Blue25 → White16 → Green23 → Blue10 → Black13 → Pink10 → Yellow22 → Orange24 → Black18 → Pink10 → Orange28 → White21 → Green15 → Black20 → Orange25 → Black14
Pro Tips
1. Keep all 5 slots full — never idle. The recording itself shows the cost: from 1:00–1:05 three slots sat empty while Pink 15 and Purple 12 were stuck, burning ~6 seconds for nothing. The fix is digging colors (Brown/Orange/Black), not waiting. 2. Big blocks first. Blue 40s, Yellow 44 (the sand mass) and Teal 35 drain huge connected areas and recycle slots fast. The player feeds four Blue 40s in the first 1:40 for exactly this reason. 3. Stuck blocks are the real boss of this level (video times, from the frame data):
- Pink 15 (lands 0:52) — stalls at 15 from 0:52 to 1:55 (~63 s, the longest stall), then clears quickly once the sand and helmet ring open up. Don't panic-feed duplicates; dig around it.
- Purple 25 (lands 0:20) — freezes at 12 (~0:35–1:10) and again at 11 (~1:11–1:43); total ~68 s in slot. It finally drains at 2:08.
- White 12 (lands 1:05) — stalls at 2 from 1:08 to 1:44 (2 pixels buried under the helmet).
- Sky Blue 21 (lands 1:27) — stalls at 12 from 1:29 to 2:03.
- Blue 10 (lands 2:39) — stalls at 2 for ~16 s inside the glass.
- Yellow 22 (lands 2:44) — stalls at 15 from 2:46 to 3:03, right under the helmet ring.
4. Slow colors last. Both Pink 10s (#58, #62) only unlock after the sand, glass and ring are stripped — feed them late. The second Yellow 22 must wait for Orange 28 to expose its last 15 pixels. 5. Finale colors. The endgame belongs to Orange (helmet rim & ring) + Black (outline) — the last four blocks are Orange 25, Black 20, Orange 25(→22), Black 14. The run ends with Orange ×1 and Yellow ×2 falling together at ~3:08–3:09. 6. No fail state. One clean run; at 2x playback the clear takes ~1:38 of game time (3:16 of video).
_Compiled from verified frame-by-frame analysis: all 196 frames read individually (1 fps), slot row tracked frame-by-frame, landing times and values taken from the slot numbers themselves; totals cross-checked (~1,540 pixels across 68 blocks)._
More intermediate walkthroughs
View all →
Featured walkthroughs
The levels players search for most - each with a full video guide.