Food Hunt Level 401 Walkthrough
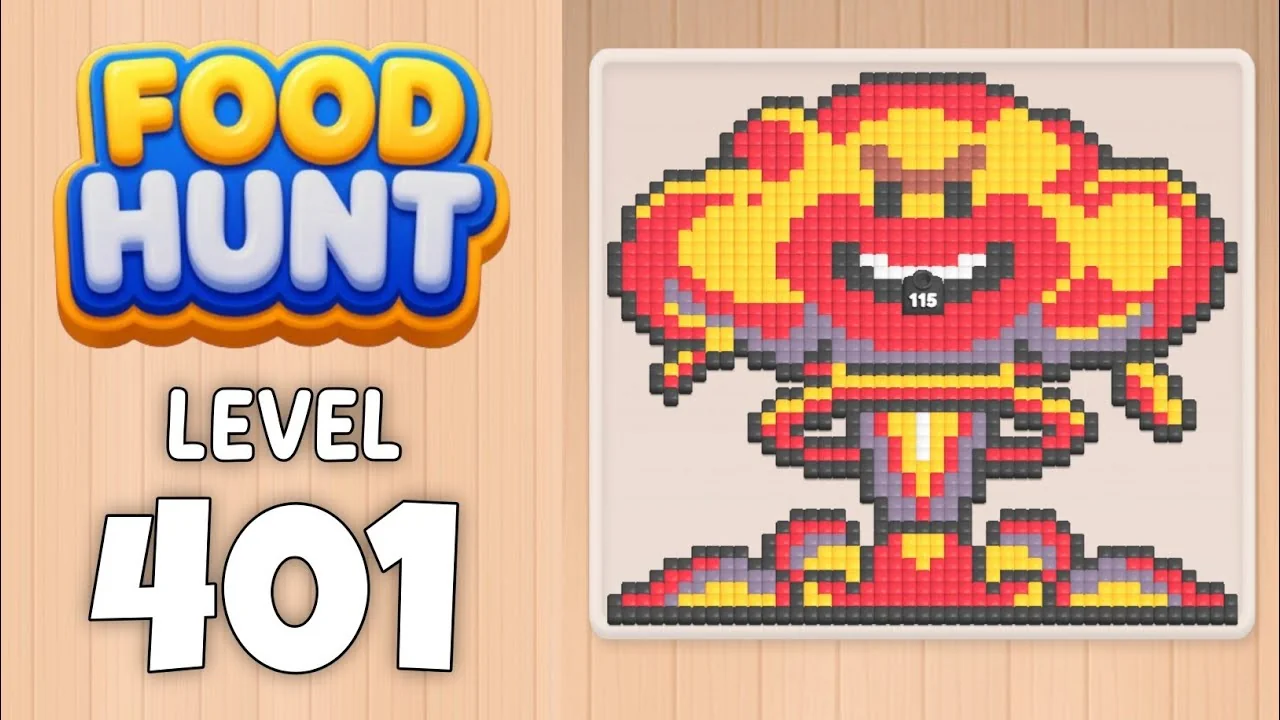
ExpertStuck on Food Hunt Level 401 (EXTREME)? This illustrated guide tracks the full 41-block clear of the muscular warrior pixel art in one run at 2x speed.

Level board
Step-by-step walkthrough
Prefer screenshots to video? Every phase of the clear is below in order, with the block counts and the frames they were taken from — keep it open next to the game and follow along tap by tap.
Level 401 in Food Hunt: Pixel Puzzle is an EXTREME difficulty board. The walkthrough below is built from a frame-by-frame analysis of a clean one-run clear (41 blocks fed, cleared in 3 minutes 20 seconds at 2x speed, 40 coins reward), so every step reflects what actually happened on the board rather than a best guess.
Quick mechanics recap before the steps. The bottom tray holds four active slots plus a discard slot marked X. Tapping a numbered tile sends that many ants after the matching color — a Red 46 tile eats 46 red pixels. Each tile's number counts down while its squad is eating, and when it hits zero the slot frees up and the next tile slides in from the queue. The X slot removes a tile you cannot use yet. In this level the player also uses the X slot as a fifth active lane for a low-priority dark tile — the dark squad keeps draining while you keep the four big slots cycling through red, dark, and yellow.
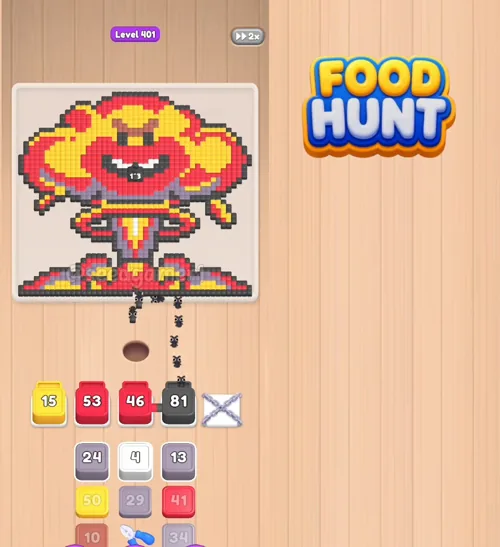
Three habits make this level clearable in one run. First, turn 2x speed on from the very first frame — this level takes roughly six and a half minutes of real time at 1x, and the queue is dense. Second, feed the four largest queue tiles in immediately so all four slots start draining together. Third, never discard a stuck tile: white 4 stuck for about 50 seconds, grey 22 stuck for about 40 seconds, and yellow 29 stuck for about 30 seconds. They unstick on their own once a neighboring color opens the way, and throwing them away costs you the slot and the ants.
Phase 1 — open with the four biggest tiles (0:03). The queue is front-loaded with huge blocks, so the first three seconds of the level decide the entire pace. Tap Yellow 15, Red 53, Red 46, and Dark 81 (or 84, depending on how you read the tile) into all four slots. Red and dark are the biggest connected regions on the board, and feeding them together means the picture starts losing pixels from the chest and head outline simultaneously. Within six seconds the dark tile is already down to the high 50s — that is your drain baseline for the rest of the run.
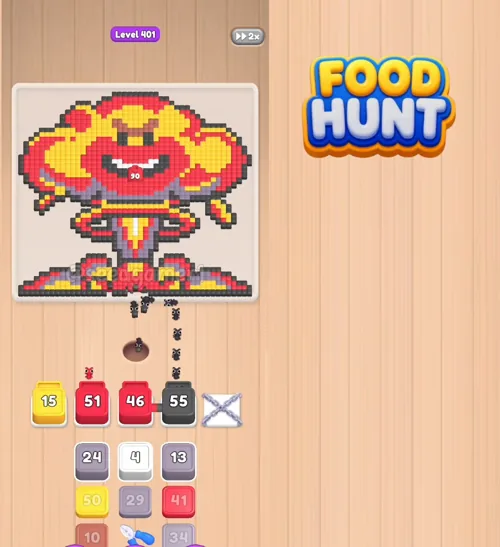
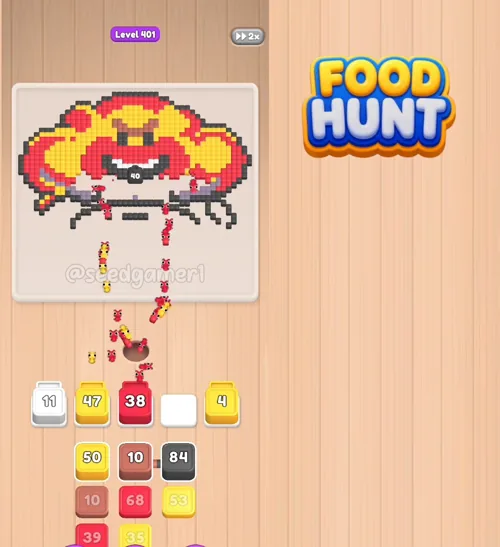
Phase 2 — yellow finishes first, grey enters (0:15 to 0:30). Yellow 15 hits zero first, ahead of the red tiles, because yellow pixels are scattered across the chest and arms. The moment slot 1 frees up, tap Grey 10 into it to start chewing through the grey accents on the chest emblem. Within a few seconds the dark 81 will also be down around 27, and red 53 will be down around 38 — that is your cue to refill slot 1 with Red 38 and slot 3 with Grey 22, while a fresh Dark 27 keeps the outline falling. By 0:30 the picture is roughly half-eaten and you have all four slots running with no wasted ants.
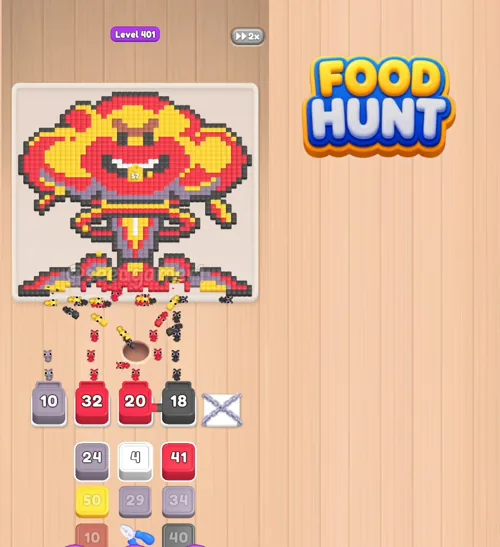
Phase 3 — white details and a fifth lane (0:30 to 0:55). When red slot 2 hits zero, tap White 4 in its place. White pixels are tiny scattered accents that big dark and red tiles cannot reach, so even a stuck white 4 is worth keeping alive. Around the same time the player starts using the X slot as a fifth lane and drops Dark 62 into it — dark 62 is not critical right now, but the drain is free, so why not. By 0:55 all five lanes are running: red 47 in slot 4, grey 16 in slot 3, white 4 in slot 2, red 13 in slot 1, dark 62 in the X lane.
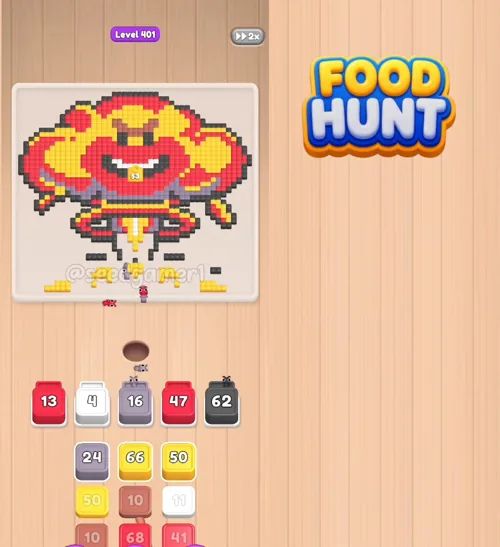
Phase 4 — the stuck-tile plateau (0:55 to 1:30). This is where Level 401 earns its EXTREME badge. White 4, grey 16, and several later tiles all freeze for 30 to 60 seconds while buried pixels wait for their neighboring colors to be eaten. The picture looks stuck, but it is not — the ants are still moving, just slowly. Do not panic. Do not discard stuck tiles. Keep cycling colors: Yellow 29, Yellow 66, Yellow 20, Grey 22, Yellow 9 come in one after another, with the reds and darks still draining in the background. By 1:30 the picture is mostly outline, and you have bought the stuck tiles enough time to start moving again.
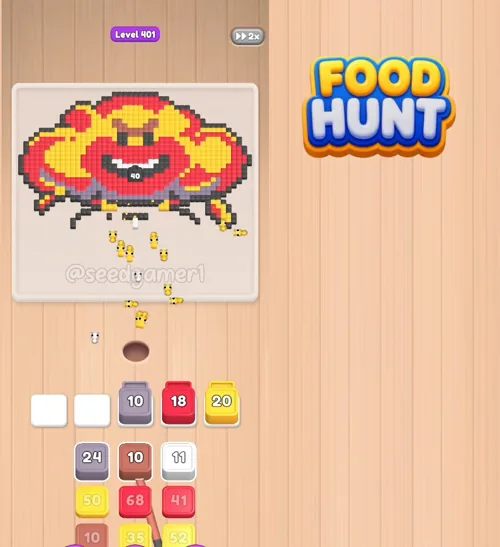
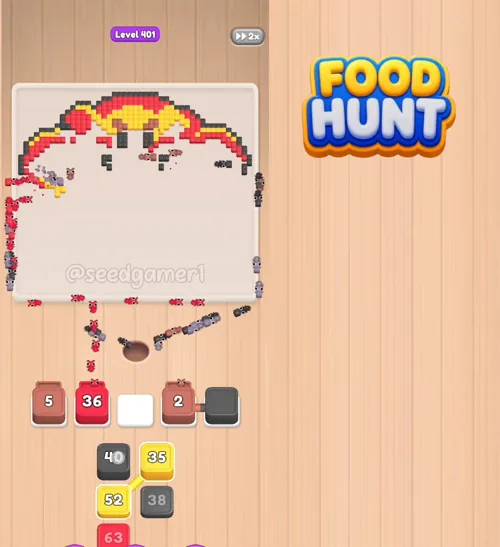
Phase 5 — the color pivot to grey and white (1:30 to 2:15). Once yellow finally drains, the grey and white lanes suddenly have paths to pixels that were buried under it. The player leans into grey and white for this whole stretch, with Yellow 28 and Yellow 10 acting as the cleanup for the last big yellow cluster, and Dark 79 refilling the outline lane. This is also where the picture visibly transitions from a chunky warrior shape to a sparse outline — most of the yellow, red, and dark body is gone, only the outer outline and a few accent pixels remain.
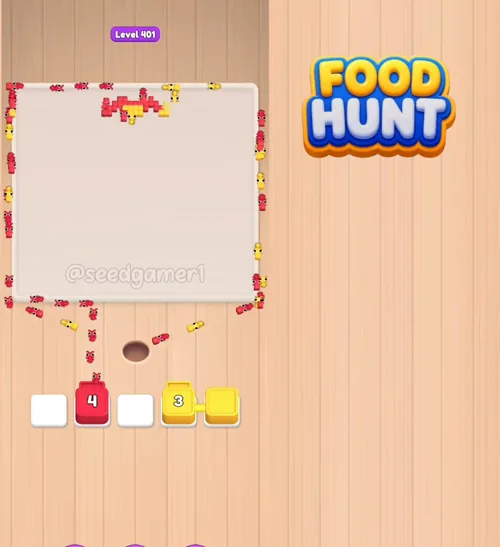
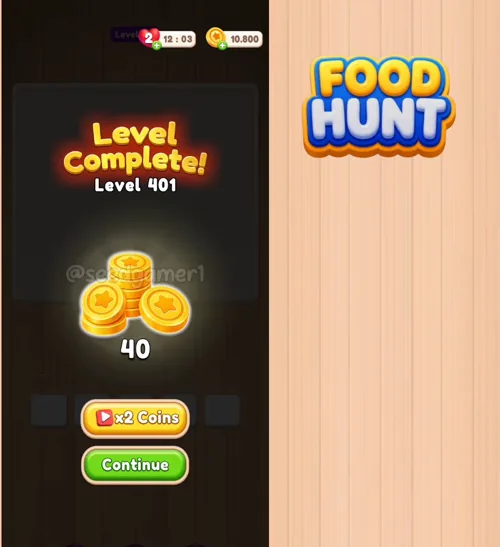
Phase 6 — the final push (2:15 to 3:20). The last roughly 40 pixels are scattered single red, yellow, and dark cells around the boots and the outline. Small tiles finish them: Red 10, Red 8, Yellow 27, Yellow 10, Dark 27, Red 6, Red 5, Red 36, Red 2, Red 1, Red 56, Dark 29, Yellow 35, Yellow 18, Red 4, Yellow 3. The very last pixel to fall is a red cell on the lower body outline — so always keep at least one red tile running in the final stretch. The picture dissolves into the victory animation, the 40-coin reward lands, and Level 401 is solved.
To sum up the tips: turn on 2x speed immediately, fill all four slots with the biggest queue tiles in the first three seconds, use the X slot as a fifth dark lane instead of discarding, never throw away stuck tiles (white, grey, and yellow will all freeze at some point — they unstick on their own), keep at least one red lane running through the whole level, and remember the finale is a red pixel so do not let the red lane run dry in the last minute. Follow the order above and the muscular warrior will be gone in roughly three and a half minutes. Good luck, and happy hunting!
More expert walkthroughs
View all →
Featured walkthroughs
The levels players search for most - each with a full video guide.